Hugging Face provides a wide range of models that use advanced machine learning techniques across domains like natural language processing and computer vision. One of the key advancements is the ability to generate images directly from text using models such as Stable Diffusion.
- Supports text-to-image generation using powerful diffusion models
- Enables creation of realistic and detailed images from textual prompts
- Includes models like Stable Diffusion XL for high quality outputs
- Useful for applications in design, content creation and visualization
Pre-requisites
- diffusers: A library from HuggingFace for diffusion models, commonly used for generative tasks such as text-to-image generation.
- invisible_watermark: This library is typically used to embed and detect invisible watermarks in digital images, useful for copyright protection.
Install required libraries
pip install diffusers
pip install invisible-watermark transformers accelerate safetensors
Implementation
1. Implementing Stable Diffusion XL Base Model
Step 1: Import Libraries
Import the required libraries for loading the model and handling tensors.
from diffusers import DiffusionPipeline
import torch
Step 2: Load the Model
Load the Stable Diffusion XL model with optimized settings for performance and memory usage.
pipe = DiffusionPipeline.from_pretrained(
    "stabilityai/stable-diffusion-xl-base-1.0",
    torch_dtype=torch.float16,
    use_safetensors=True,
    variant="fp16"
)
Step 3: Move Model to GPU
Transfer the pipeline to GPU for faster image generation.
pipe.to("cuda")
Step 4: Define the Prompt
Provide a text description for image generation.
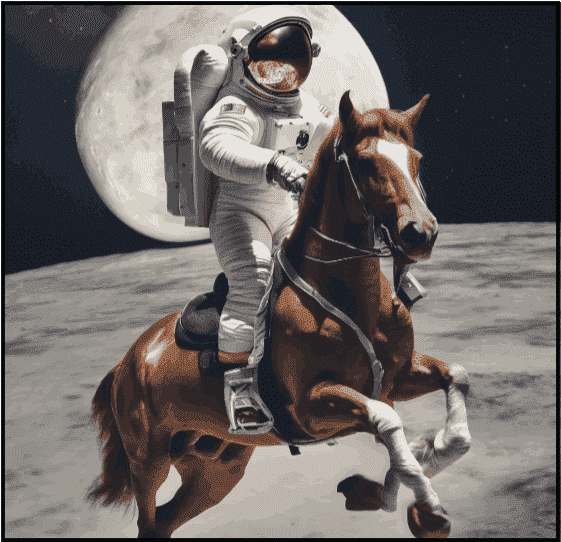
prompt = "An astronaut riding a green horse"
Step 5: Generate the Image
Run the model to generate the image and extract the result.
image = pipe(prompt=prompt).images[0]
image.save("output.png")
print(image)
Output:
2. Implementation using HuggingFace Inference API
We can also generate images using the Hugging Face Inference API without loading the model locally.
Step 1: Get API Access
- Go to the Stable Diffusion XL model page
- Click on Deploy then Inference API
- Copy your API token
Step 2: Import Required Libraries
These libraries help send API requests, process image data and display the result.
import requests
import io
from PIL import Image
from IPython.display import display
Step 3: Set API URL and Headers
Defines the model endpoint and includes your API key for access.
API_URL = "https://api-inference.huggingface.co/models/stabilityai/stable-diffusion-xl-base-1.0"
headers = {"Authorization": "Bearer YOUR_API_KEY"}
Step 4: Create Request Function
Sends the prompt to the API and returns the generated image as raw data.
def query(payload):
    response = requests.post(API_URL, headers=headers, json=payload)
    return response.content
Step 5: Generate Image from Prompt
Provides a text prompt to the model, which generates an image based on it.
image_bytes = query({
    "inputs": "Dog playing"
})
Step 6: Convert and Display Image
Converts the raw image data into a viewable image and displays it.
image = Image.open(io.BytesIO(image_bytes))
display(image)
Note: The API may return errors (JSON/HTML) instead of images if the model is unavailable, loading, or the request is invalid.
Output:
.jpg)
