Nginx is a free and open-source web server and reverse proxy designed to handle a large number of simultaneous connections efficiently. It is widely used for web serving, load balancing and media streaming. Known for high performance and scalability, Nginx is commonly deployed in production environments to manage traffic and improve reliability.
- Supports reverse proxy with caching
- Provides load balancing and fault tolerance
- Handles static files and auto-indexing
- Supports SSL and virtual server configuration
- Includes FastCGI support with caching
Install Nginx from Source
Step 1: Download Nginx Source Archive
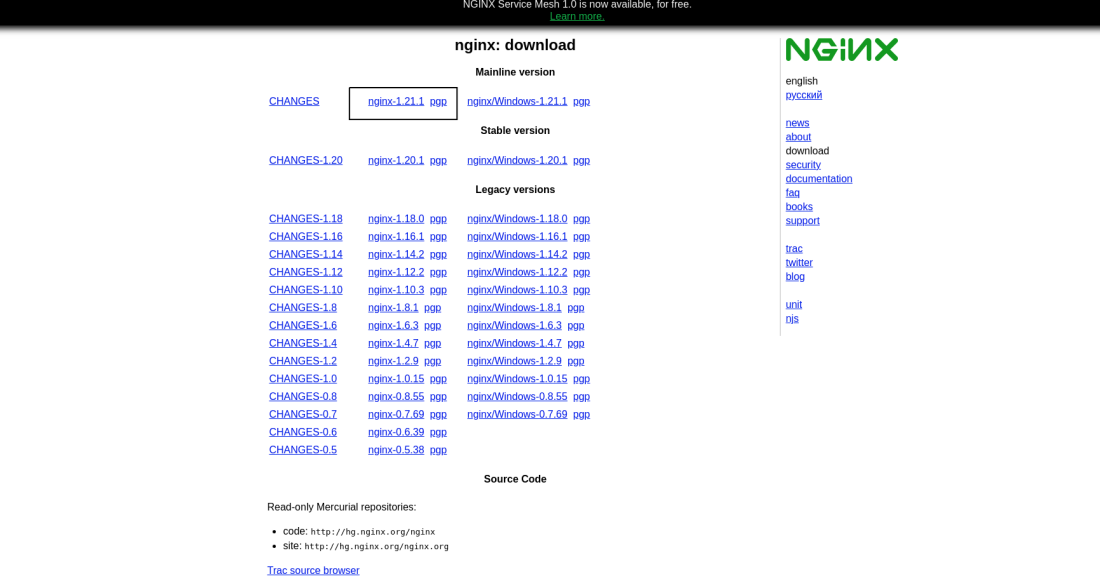
Download the Nginx archive from this link and save the archive file on your desktop.
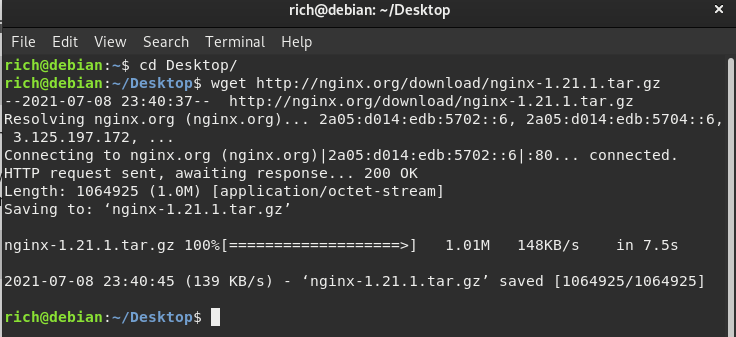
- Or, you can download the Nginx web server archive file by running the following command in the terminal, wget will fetch the archive file and save it to the location where you have opened the terminal.
Command:
wget http://nginx.org/download/nginx-1.21.1.tar.gzOutput:
Step 2: Extract the Archive
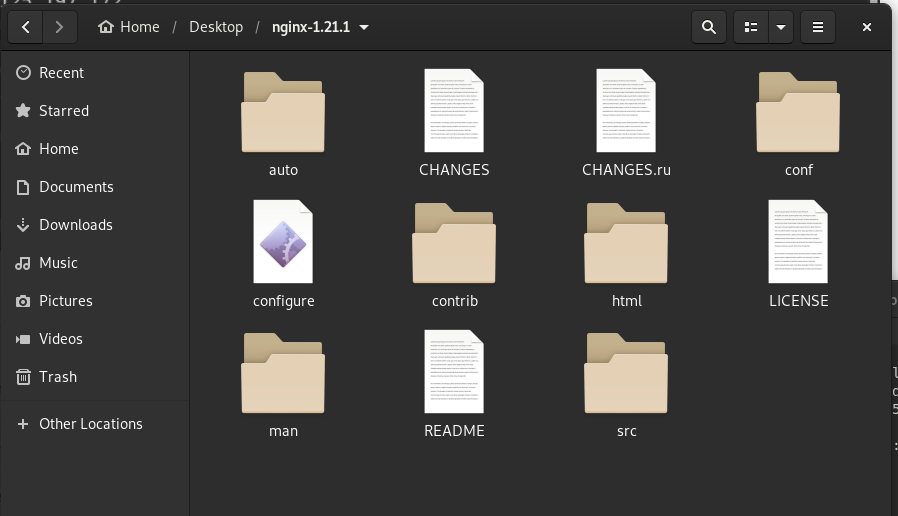
After downloading the archive, we need to navigate the folder where we have downloaded that archive and have to extract the archive using any archive utility. You can run the following command to extract the Nginx archive file.
tar -xf nginx-1.21.1.tar.gz- The folder structure should look like this.
Step 3: Configure and Build Nginx
To begin the installation of Nginx, navigate to the extracted folder and open the terminal here, then run the following command.
- Navigate to the directory
Command:
cd ~/Desktop/nginx-1.21.1- Start the configuration installer of the Nginx.
Command:
./configureHere below is a summary of the configuration file:
Configuration summary
  + using system PCRE library
  + OpenSSL library is not used
  + md5: using system crypto library
  + sha1: using system crypto library
  + using system zlib library

  nginx path prefix: "/usr/local/nginx"
  nginx binary file: "/usr/local/nginx/sbin/nginx"
  nginx configuration prefix: "/usr/local/nginx/conf"
  nginx configuration file: "/usr/local/nginx/conf/nginx.conf"
  nginx pid file: "/usr/local/nginx/logs/nginx.pid"
  nginx error log file: "/usr/local/nginx/logs/error.log"
  nginx http access log file: "/usr/local/nginx/logs/access.log"
  nginx http client request body temporary files: "client_body_temp"
  nginx http proxy temporary files: "proxy_temp"
  nginx http fastcgi temporary files: "fastcgi_temp"
  nginx http uwsgi temporary files: "uwsgi_temp"
  nginx http scgi temporary files: "scgi_temp"
- Build the Nginx package from the source using the make command.
Command:
make- Command to install the built package.
Command:
sudo make installThis command will install Nginx in the /usr/local/nginx directory.
Step 4: Verify Installation
Confirm the installation and check the installed version of Nginx, navigate to /usr/local/nginx using the cd command (change directory)
Command:
cd /usr/local/nginx/sbin- To check the current installed version of the Nginx.
Command:
./nginx -vOutput:

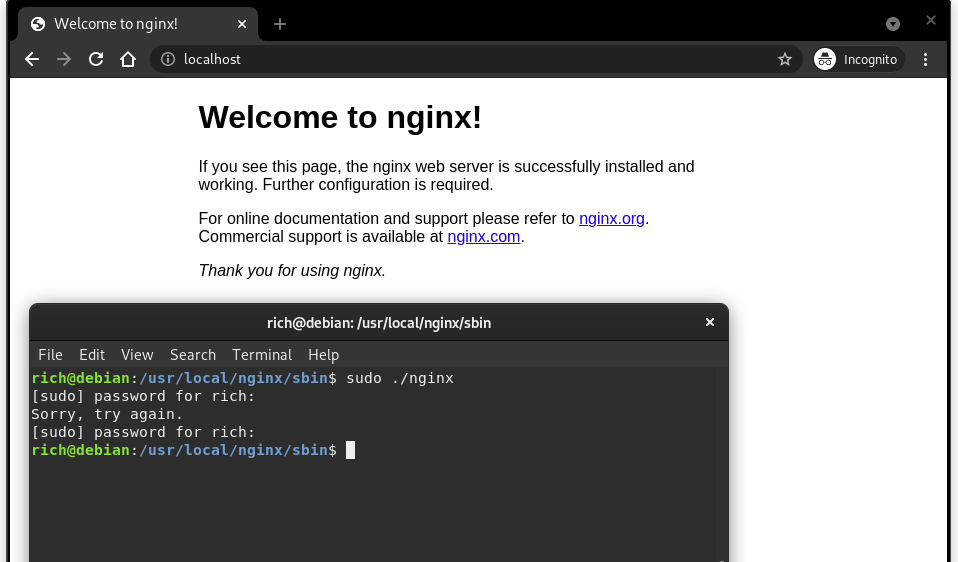
Starting the Nginx server
Navigate to the default location where Nginx is installed
Command:
cd /usr/local/nginx/sbin- Now, start the Nginx server
Command:
sudo ./nginx- Open localhost in a browser to verify the server is running.
Output:
Change the default Nginx Listening port
By default, the Nginx is configured to listen on port 80. If you want to change the default Nginx listening port, you can do that by reconfiguring the nginx.conf file located under /usr/local/nginx/conf.
Step 1: Open Configuration File
Open the nginx.conf file
Command:
sudo nano /usr/local/nginx/conf/nginx.confStep 2: Modify Port
After opening, the nginx.conf file should look like this:
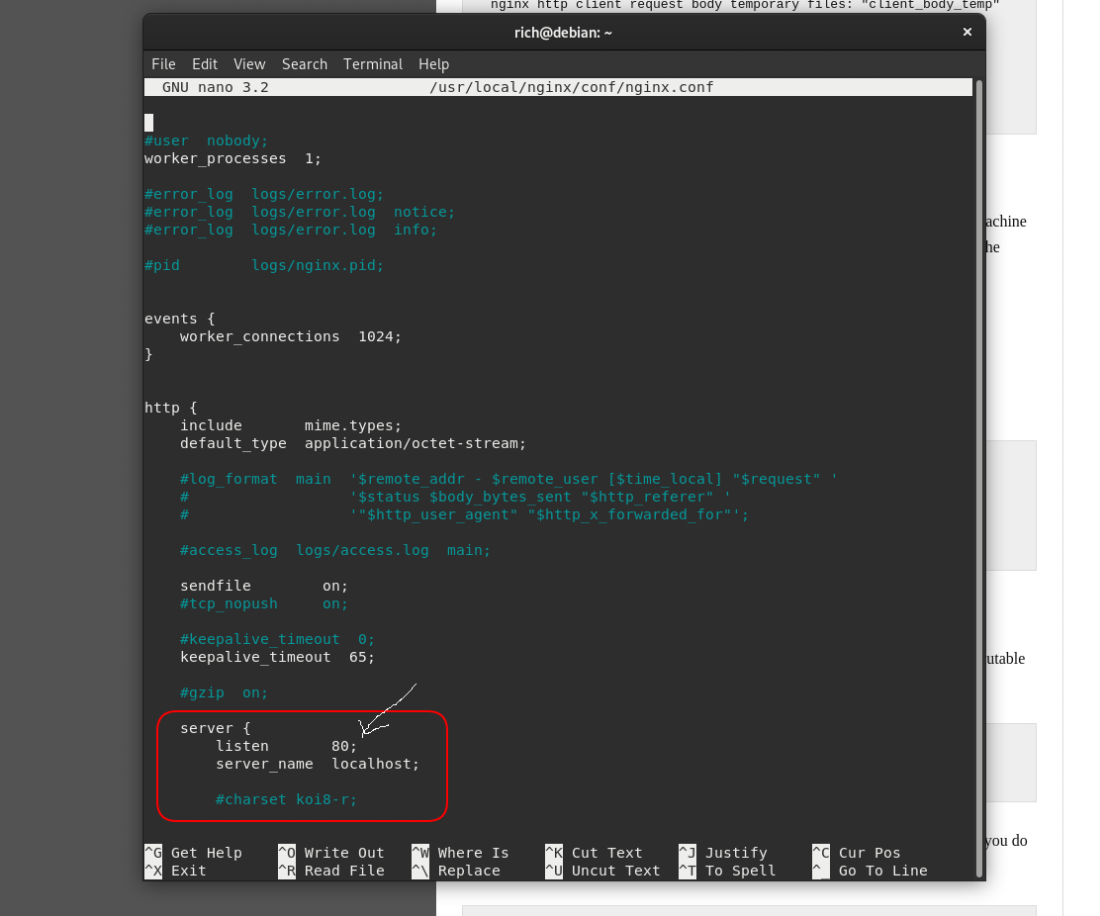
Change it to your desired port. For example:
listen 5555;Step 3: Save the File
- Press CTRL + O to save
- Press Enter to confirm
- Press CTRL + X to exit
Step 4: Test and Restart Nginx
Before restarting, it’s a good practice to test the configuration:
sudo nginx -t- If the test is successful, restart Nginx:
sudo systemctl restart nginx- If systemctl is not available, use: sudo service nginx restart
Step 5: Verify the Change
Open your browser and visit:
http://localhost:5555- If everything is configured correctly, Nginx should now be running on the new port.
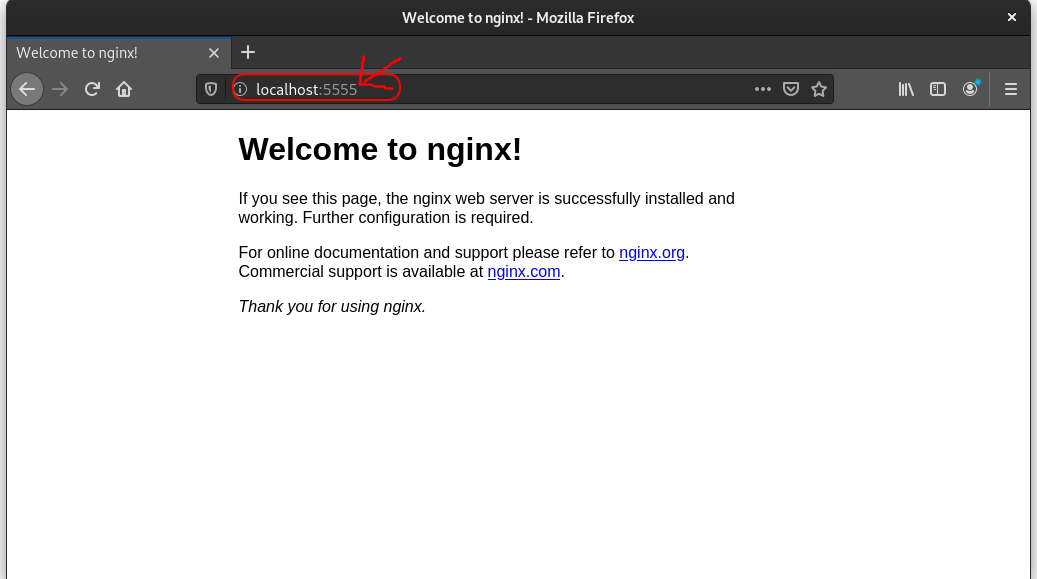
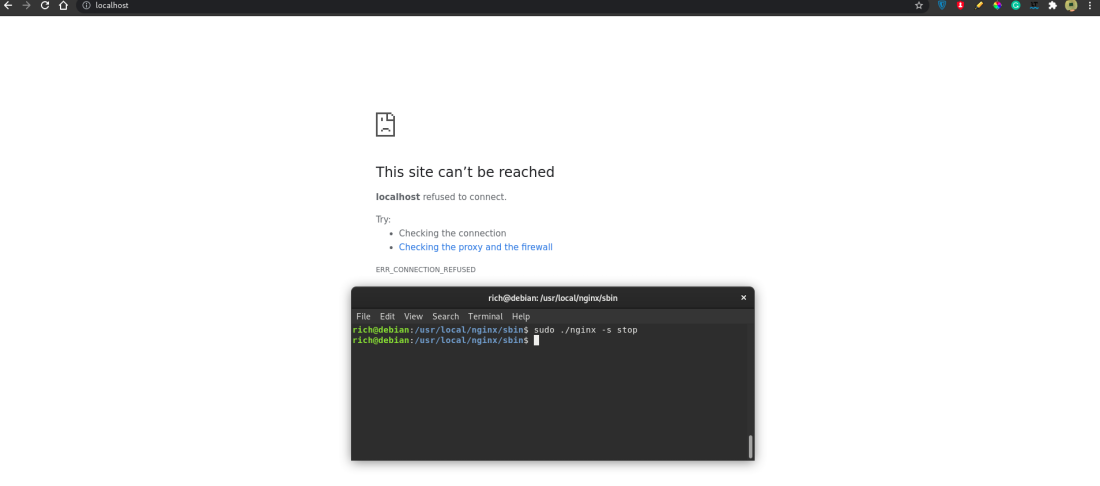
Stopping the Nginx server
To stop the Nginx server, we just need to add the flag -s to stop the Nginx.
Command:
sudo ./nginx -s stopThis will stop the Nginx server, you can refresh the localhost page and see.
Output:
Uninstalling the Nginx server
To uninstall Nginx, run the command in the terminal with superuser permissions
Command:
sudo rm -f -R /usr/local/nginx && rm -f /usr/local/sbin/nginx- sudo: Executes the command with superuser (administrative) privileges.
- rm: Removes files and directories.
- -f: Forces removal without prompting for confirmation.
- -R: Recursively removes directories and their contents.
- &&: Executes the second command only if the first command completes successfully.
- /usr/local/nginx: Directory where Nginx is installed, including its configuration files and related resources.
- /usr/local/sbin/nginx: Location of the Nginx executable (binary) file.
Note: Ensure correct path before deletion as rm -f -R permanently removes files
