Installing WordPress on Red Hat Linux 9 can be a great way to create a dynamic website or blog. In this guide, we will walk you through the installation process step by step. Before we begin, make sure you have a Red Hat Linux 9 system set up and have administrative access to install software.
Table of Content
Step 1: Update Your System in Kali Linux
Before installing any new software, it's a good practice to update your system's package repository and installed packages to the latest versions. Open a terminal and run the following commands:
sudo yum update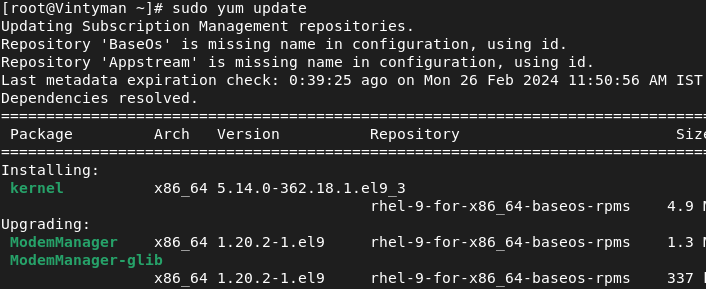
Step 2: Install LAMP Stack in Kali Linux
WordPress requires a web server, a database server, and PHP to run. We will install the Apache web server, MariaDB database server, and PHP.
Install Apache in Kali Linux
Run the following command to install Apache:
sudo yum install httpd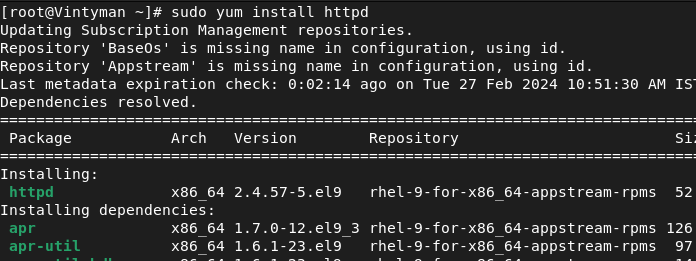
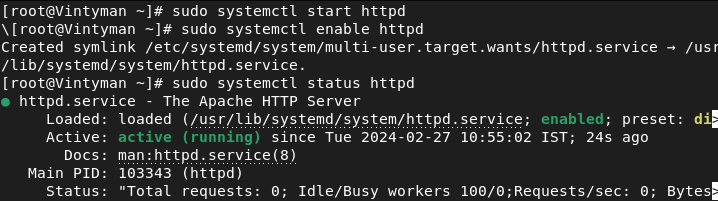
Start the Apache service and enable it to start on boot:
sudo systemctl start httpd
sudo systemctl enable httpd
Install MariaDB in kali Linux
Install MariaDB, a MySQL-compatible database server:
sudo yum install mariadb-server

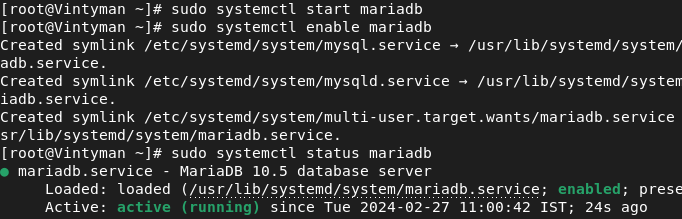
Start the MariaDB service and enable it to start on boot:
sudo systemctl start mariadb
sudo systemctl enable mariadb
Secure your MariaDB installation:
sudo mysql_secure_installation
Follow the on-screen prompts to set a root password, remove anonymous users, disallow root login remotely, remove test databases, and reload privileges.
Install PHP in Kali Linux
Install PHP and required PHP extensions:
sudo yum install php php-mysqlnd php-gd php-xml php-mbstring
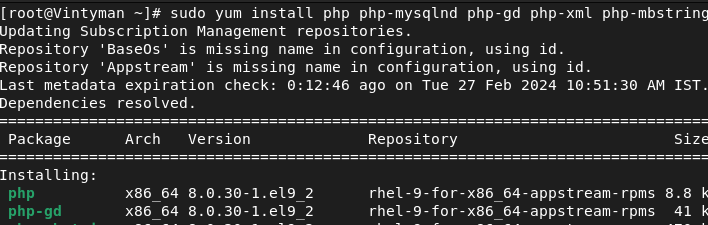
Restart the Apache service to apply the PHP configuration:
sudo systemctl restart httpd
![]()
Step 3: Install WordPress in Kali Linux
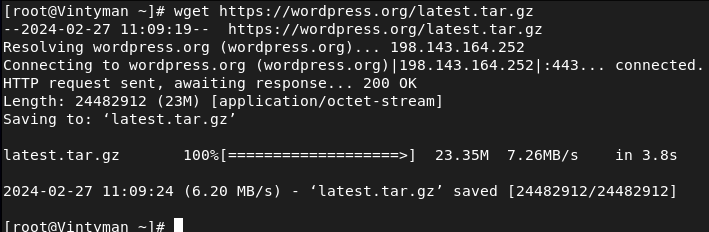
Download the latest version of WordPress from the official website:
wget https://wordpress.org/latest.tar.gz
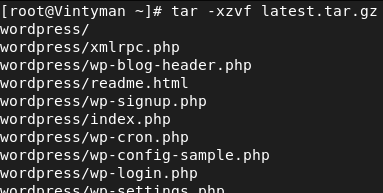
Extract the downloaded archive:
tar -xzvf latest.tar.gz
Move the WordPress files to the Apache web server root directory:
sudo cp -r wordpress/* /var/www/html/
![]()
Set the correct permissions for the WordPress files:
sudo chown -R apache:apache /var/www/html/
sudo chmod -R 755 /var/www/html/

Step 4: Configure the Database
Create a new database and user for WordPress:
sudo mysql -u root -p
Enter your MariaDB root password when prompted. Then, create a new database and user:
CREATE DATABASE wordpress;
CREATE USER 'wordpress'@'localhost' IDENTIFIED BY 'your_password';
GRANT ALL PRIVILEGES ON wordpress.* TO 'wordpress'@'localhost';
FLUSH PRIVILEGES;
EXIT;

Step 5: Configure WordPress
Rename the WordPress configuration file:
cd /var/www/html/
mv wp-config-sample.php wp-config.php

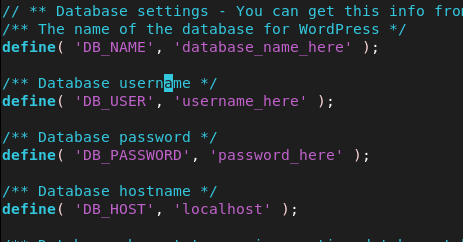
Edit the `wp-config.php` file and update the database connection settings:
sudo nano wp-config.php
Replace the following lines with your database name, username, and password:
define('DB_NAME', 'wordpress');
define('DB_USER', 'wordpress');
define('DB_PASSWORD', 'your_password');
Step 6: Complete the Installation
Open your web browser and navigate to `http://localhost` or your server's IP address. You will see the WordPress setup page. Follow the on-screen instructions to complete the installation:
- Choose a language and click "Continue."
- Enter your site title, username, password, and email address.
- Click "Install WordPress."
Step 7: Log in to WordPress
Once the installation is complete, you can log in to your WordPress admin dashboard by going to `http://localhost/wp-admin%60 and entering the username and password you set during the installation
Conclusion
In conclusion, installing WordPress on Red Hat Linux 9 involves setting up a LAMP stack, downloading and configuring WordPress, and creating a database. By following the step-by-step guide outlined above, you can create a dynamic website or blog on your Red Hat Linux 9 system. Remember to keep your system updated and secure, and enjoy the flexibility and customization options that WordPress offers.
