


Thanks to their lightweight design, massive number of app images, and high compatibility with other tools, Docker containers are amazing for self-hosting FOSS services on your local hardware. Plus, getting Docker Desktop, Engine, Compose, and other tools running on Linux operating systems is fairly simple, as all you have to do is run a few commands in the terminal and watch the scripts work their magic.
On the other hand, Windows 11 users need to rely on WSL2 or Hyper-V as the backend for Docker Desktop, which can complicate things for newcomers. Nevertheless, here’s a step-by-step guide to help you arm your Windows 11 machine with Docker Desktop.
Enabling Virtualization in the BIOS
Since the Hyper-V or WSL2 backend relies on CPU virtualization, you’ll have to turn on this facility in the BIOS. We have a detailed tutorial on how to enable virtualization on your system, but here’s a short version:
- Restart your PC and mash the Delete key as it boots up.
-
Head to the Advanced CPU Settings section in the Tweaker tab.

-
Depending on your motherboard manufacturer, enable the SVM Mode/Intel VT-x/AMD-V/CPU Virtualization setting.
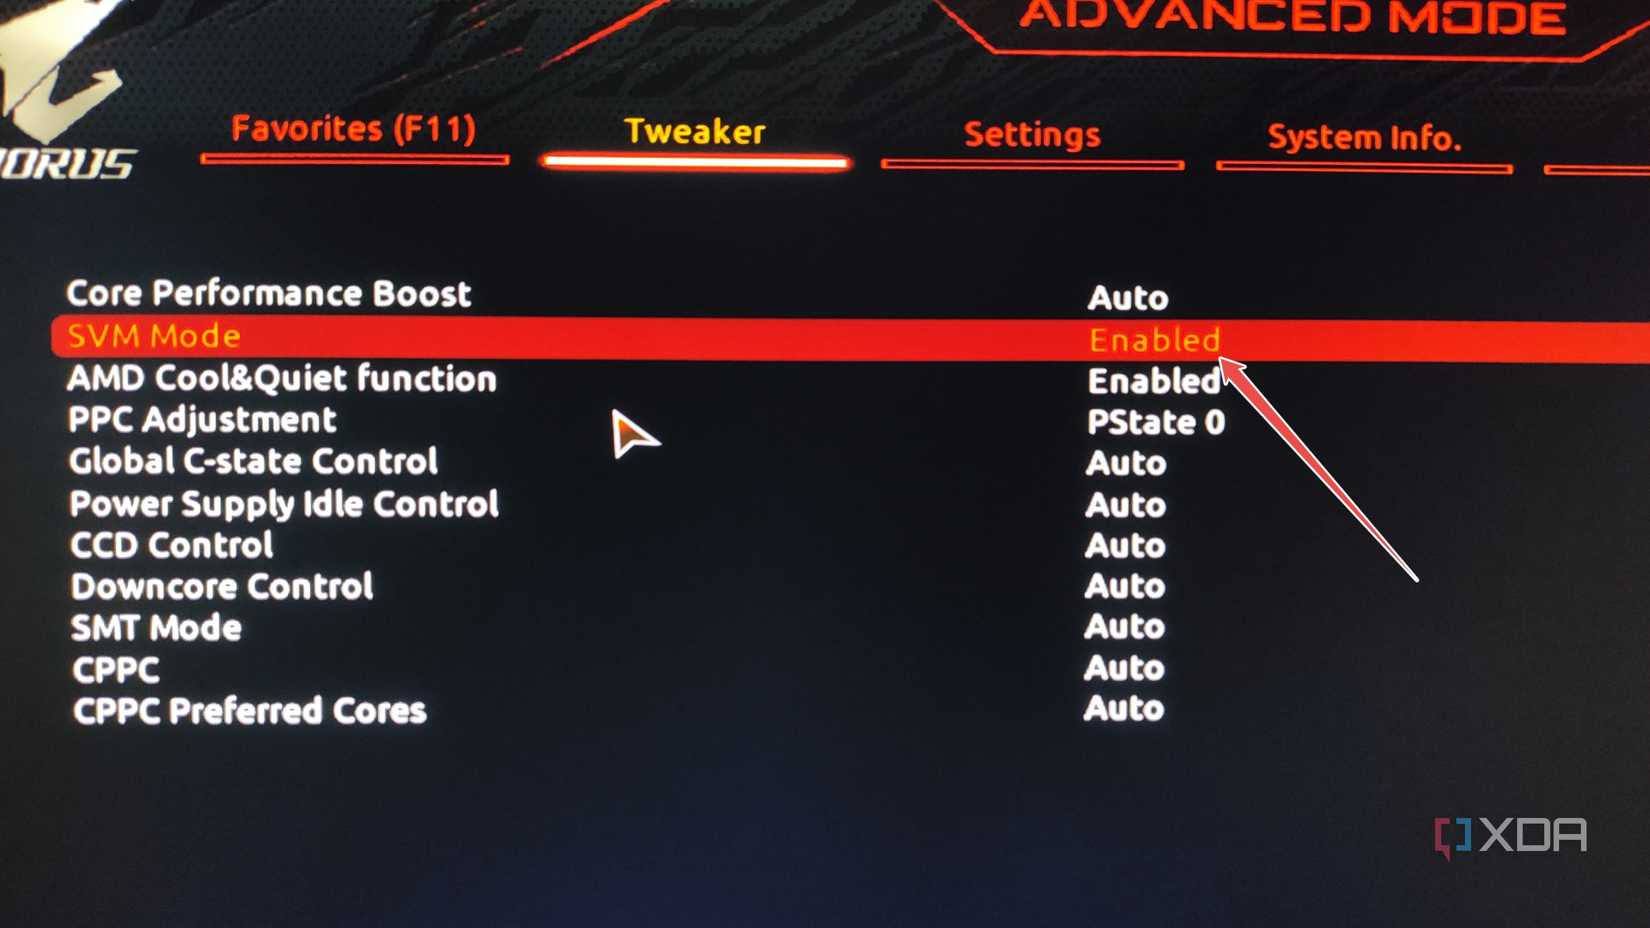
- Remember to save the changes before you exit the BIOS.


Setting up Docker Desktop
Since the WSL2 integration is more optimized than Hyper-V on Windows 11 Home, we’ll use the former as the backend for Docker Desktop. Assuming you haven’t previously set up WSL2 on your system, you can follow these steps to install both WSL2 and Docker Desktop:
- Download the setup.exe file for Docker Desktop from the official website and run it as an administrator.
-
Enable the checkbox next to the Use WSL2 instead of Hyper-V (recommended) option and hit OK.

-
When the setup wizard has finished downloading the WSL2 and Docker Desktop files, hit the Close and restart button.

-
Once the PC reboots, launch Docker Desktop and tap any key inside the WSL2 wizard to install the latter on your PC.

- Head to the Microsoft Store and press the Get button to download Ubuntu WSL app.
- Restart your PC a second time and run Docker Desktop once again when it reboots.
-
Accept the Docker Subscription Service Agreement.

-
Enter your Docker credentials to sign into your account.
Alternatively, you can hit the Skip button to proceed to the Docker Dashboard.


Turning your Windows 11 machine into a self-hosting battlestation

Assuming you’ve followed all the steps properly, you should be able to search for your favorite images and run them inside Docker containers. If Docker Desktop fails to start your containers, you can head to the WSL integration section inside the Resources tab of the Settings menu and press Refetch distro to add the WSL2 distribution to the app.
But if you’re not fond of going through this long process, Type-2 hypervisors like VirtualBox provide a straightforward means to run Docker containers with the help of virtual machines.
