


Hosting your own VPN can be a great way to access your home network remotely. All your self-hosted services can be available on a fast, light connection, but setting one up can become cumbersome as the peers start to rack up. WireGuard itself is lean, rapid, and robust, but its setup process can be unfriendly, especially as you add more devices. That's where wg-easy (or WireGuard Easy) comes into the picture. It simplifies the setup process, streamlines management of peers, and turns downloading configs into a single-click process.
An all-in-one solution
I chose it for its simplicity

As someone who has relatively little experience with Docker and setting up VPNs like WireGuard, I was looking for something that gave all the robustness that WireGuard offers, just without needing to hassle through all the setup and writing .conf files for each peer. wg-easy deploys in a Docker Compose container, making it extremely lightweight, and easy to use alongside other Docker containers, like Pi-hole, Home Assistant, and, of course, a reverse proxy. I used Caddy for setting up my reverse proxy, enabling access through a subdomain connected to my hosted website. You can use something like Nginx or Traefik, but Caddy was suggested on their website, so I went with it.
Setting up the network
Easy, with a few key pitfalls

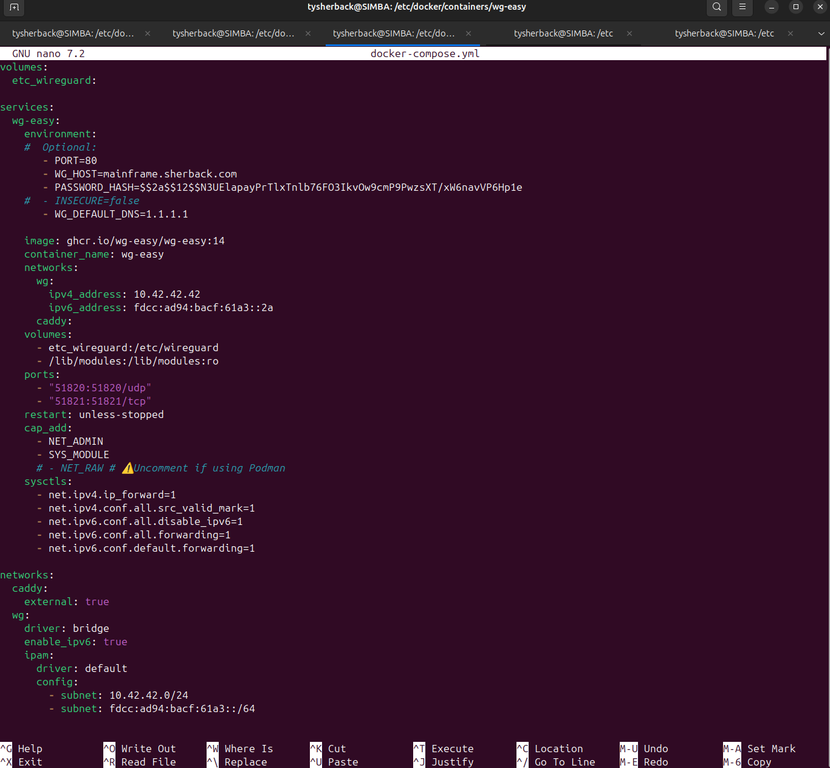
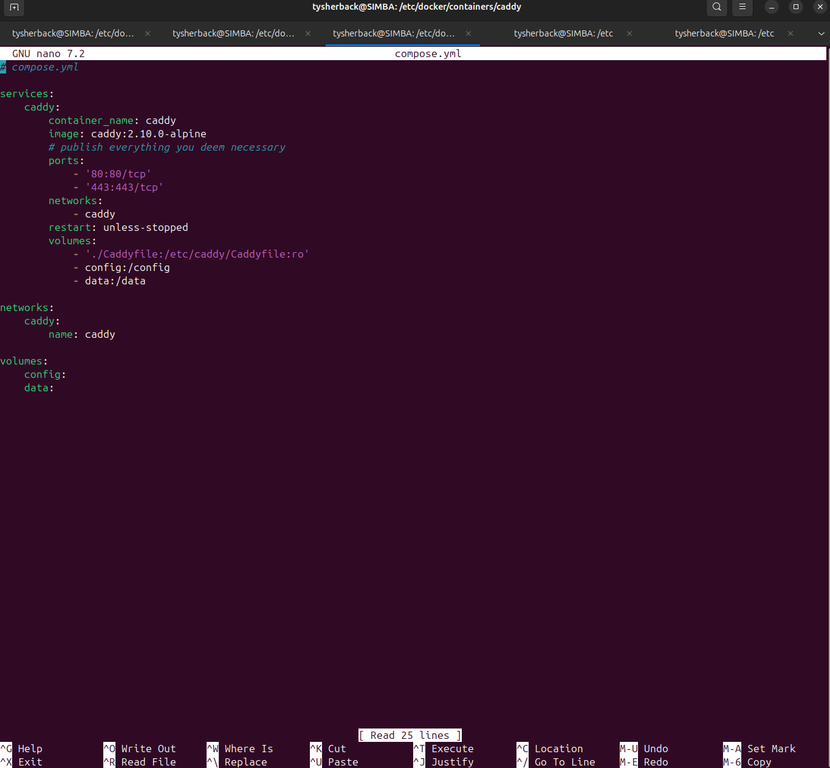
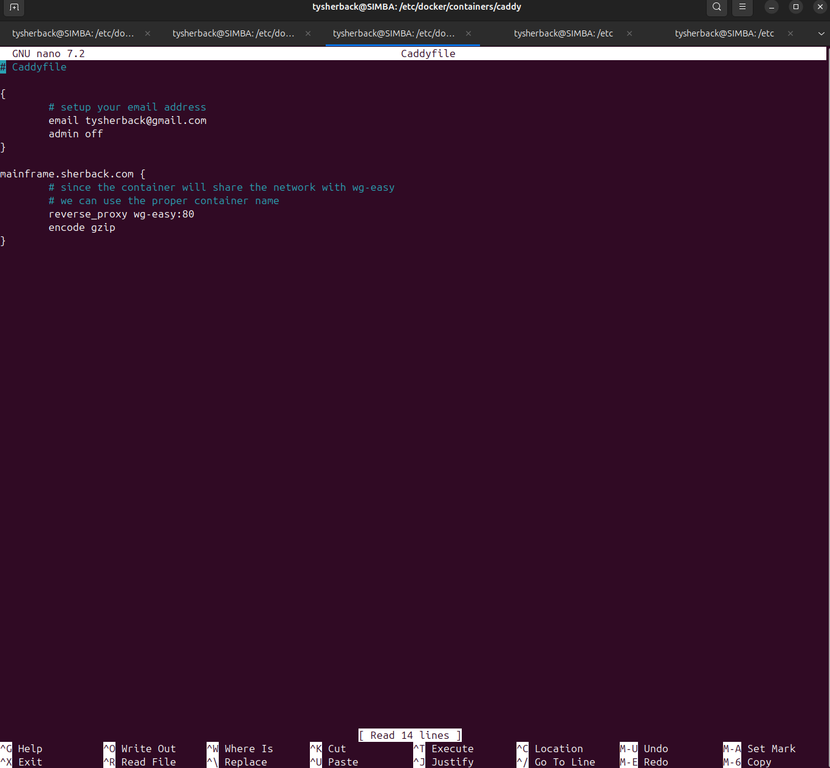


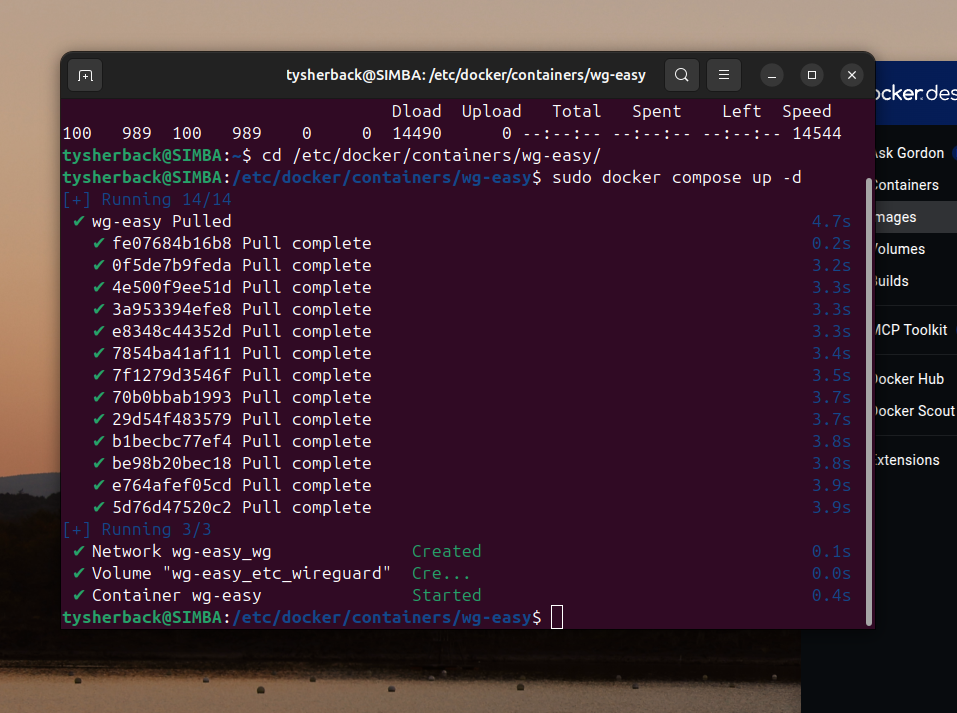
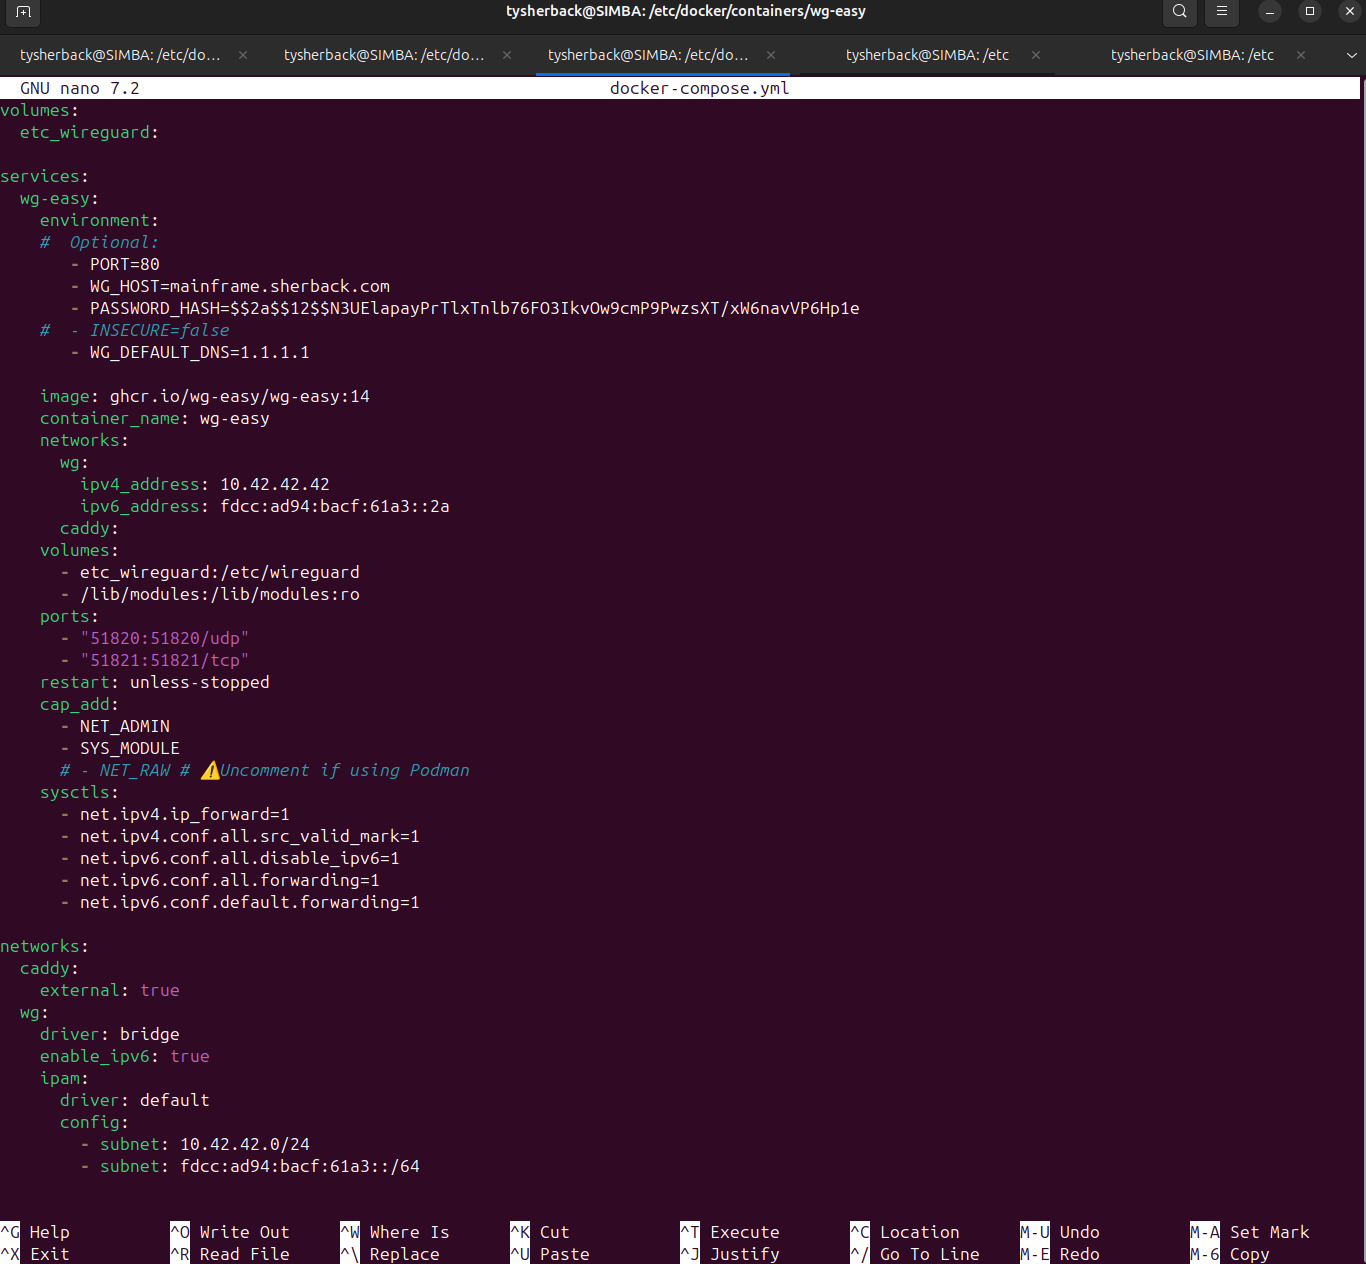
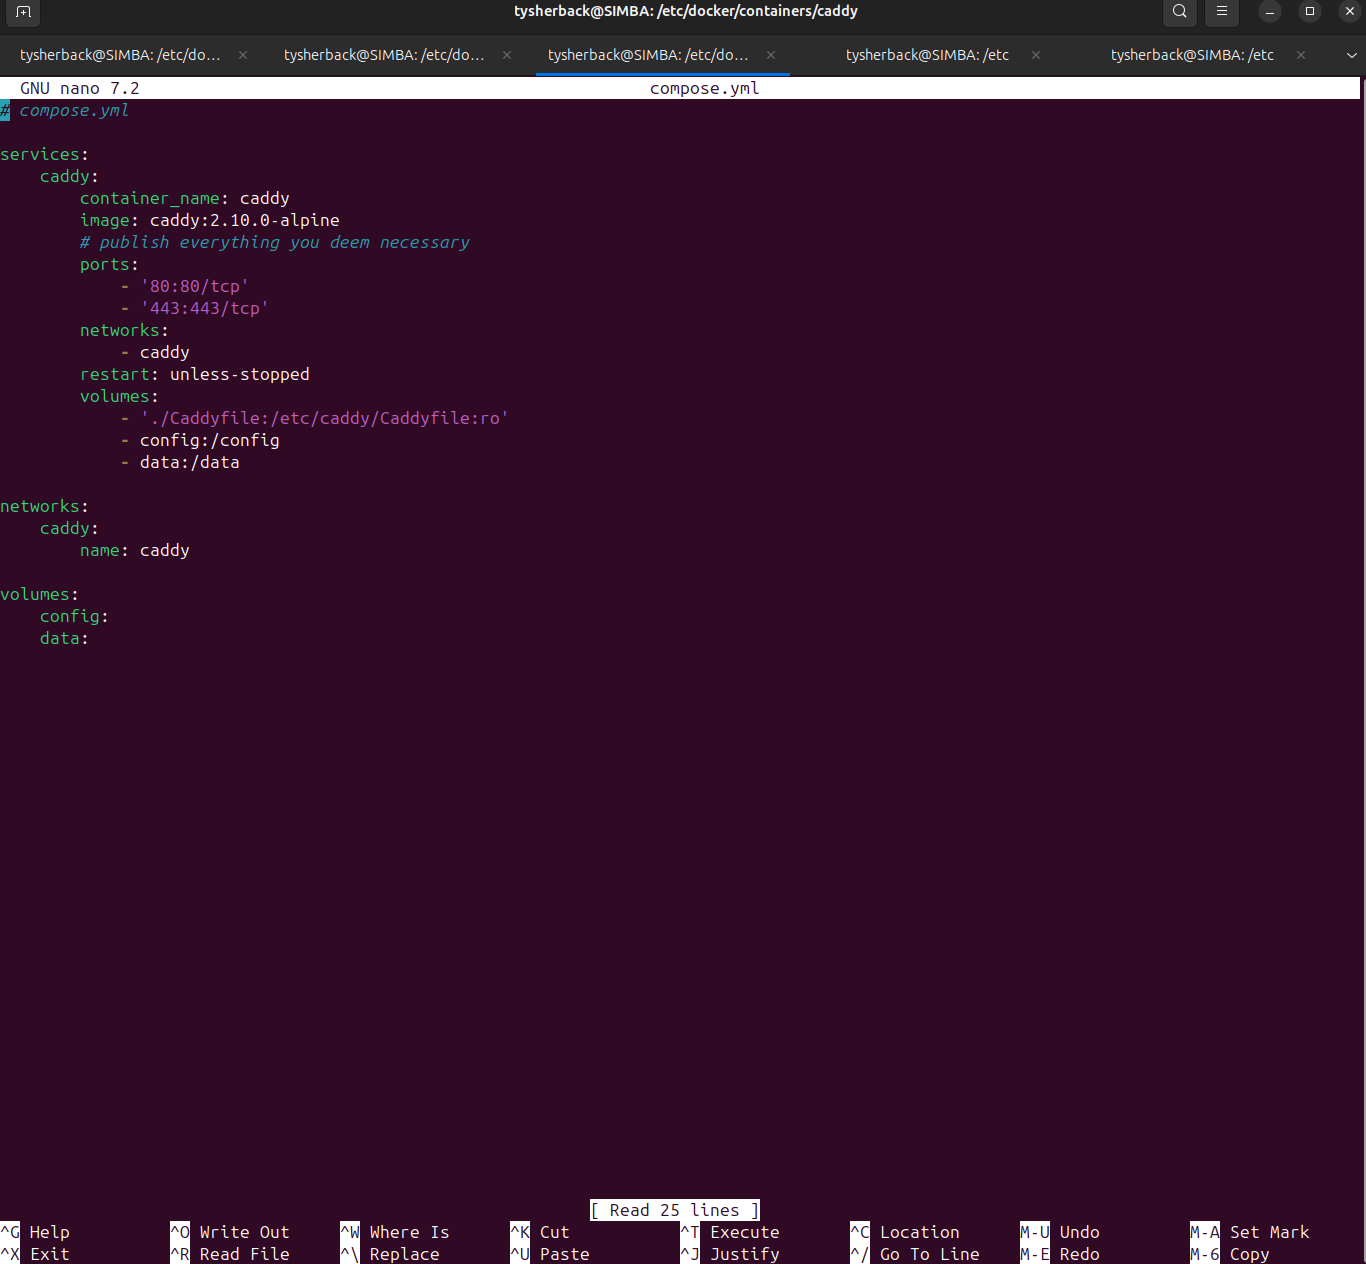
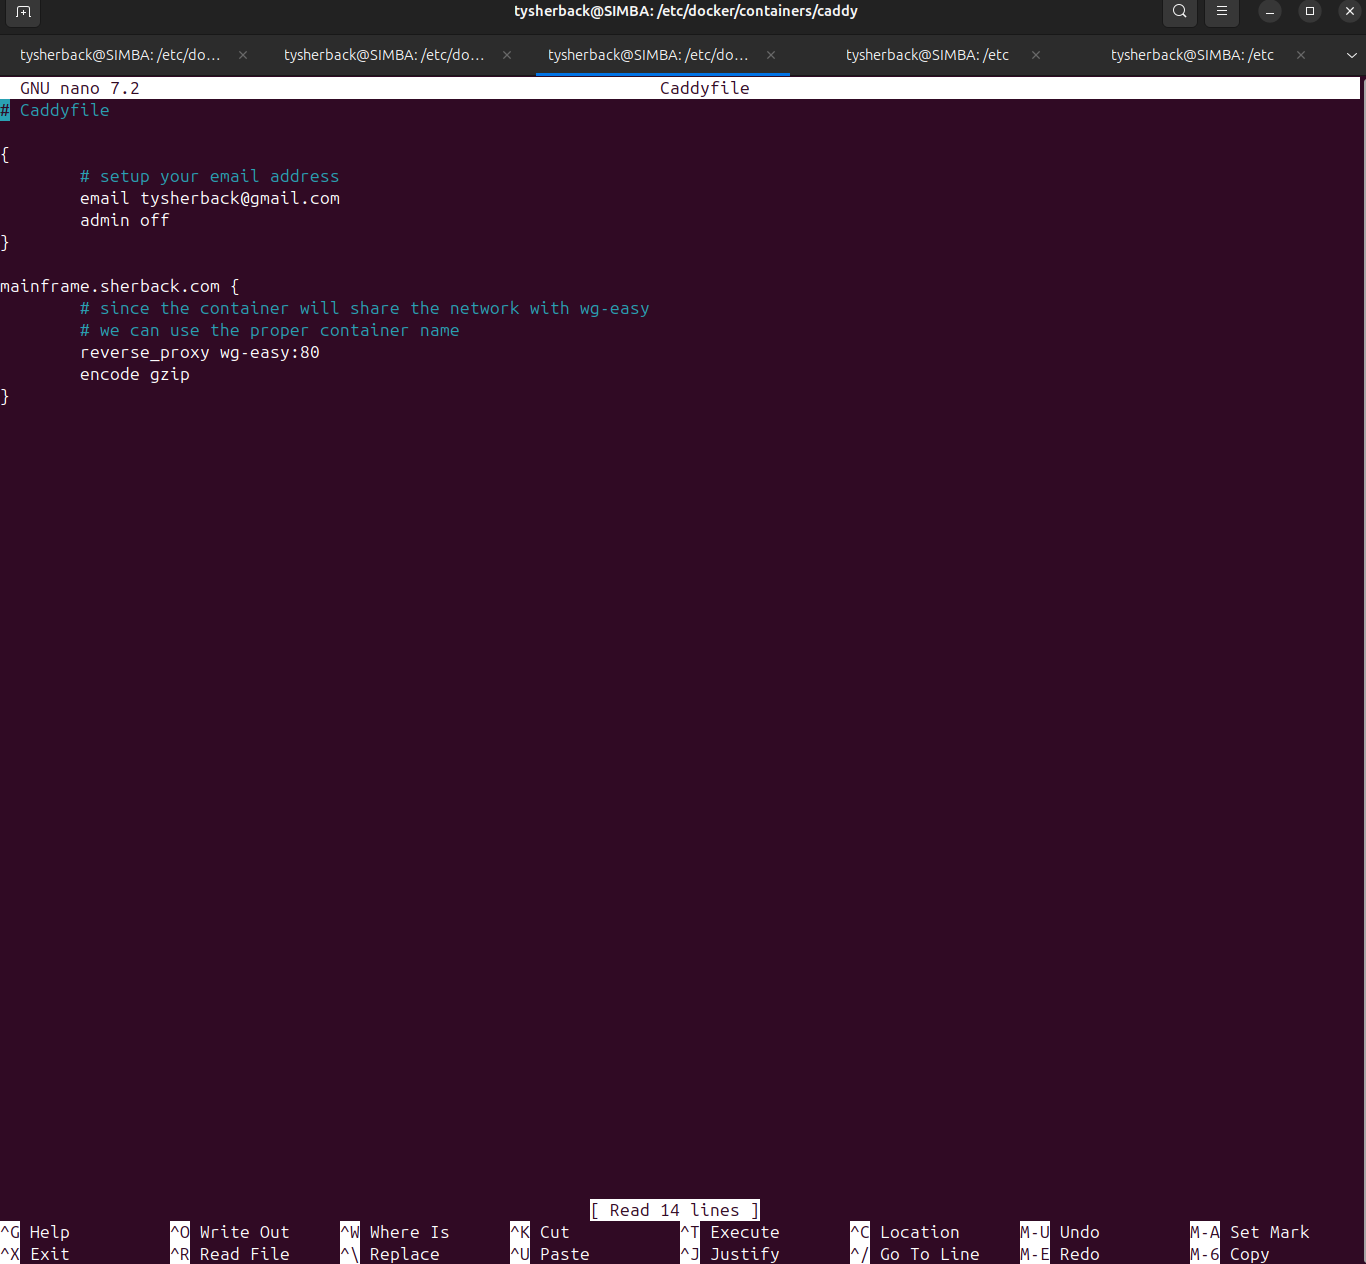
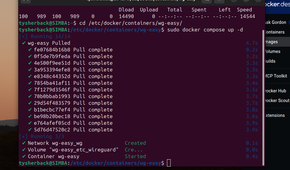
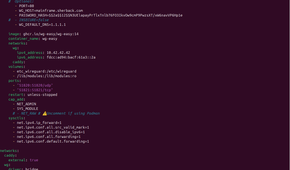
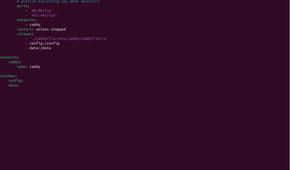
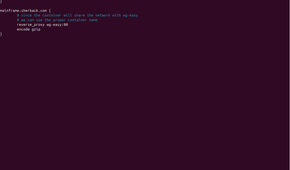
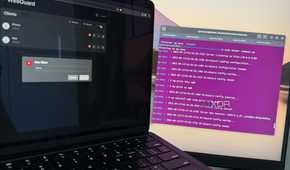
Setting up the network within Docker itself wasn't an issue at all, as wg-easy just needs a static IP and a couple of ports open to communicate with Caddy. I also had to port-forward and open UDP 51820 on my router and host firewall, otherwise peers wouldn't be able to communicate with WireGuard. After generating a password hash (that is no longer in use!), I was basically ready to start setting up Caddy.
Caddy listens for the requests from ports 80 and 443, and applies the reverse proxy to send the requests to port 80 inside Docker, which is where wg-easy is listening. The port inside doesn't matter, so long as they're both set to be communicating using the same one. I've created a subdomain of 'mainframe' under the domain I own, and made sure it pointed to my home IP. If you do this for yourself, avoid setting up a subdomain with an obvious name like "login" or "vpn", as it could make it a target for attackers. As far as SSL certificates go, Caddy has built-in Let's Encrypt integration, allowing SSL certificates to be renewed automatically as needed, which is a huge plus. An additional bonus is the ability to add more services under the same domain using the same container.
Making the VPN accessible
Some troubleshooting was needed

While getting things all set up, I ran into some key sticking points, which mainly revolved around getting my clients properly connected to the VPN in the first place. The simplest part was sharing the configuration with them, which wg-easy makes a trivial process through the web console. The more difficult part, was making sure all IPv4 traffic was able to be forwarded through the host properly, which is a simple toggle in sysctl.conf. Slightly more annoying was the NAT issues I was running into, which were solved by adding the correct masquerade rules, but after everything was properly setup, actually using the VPN was a breeze.
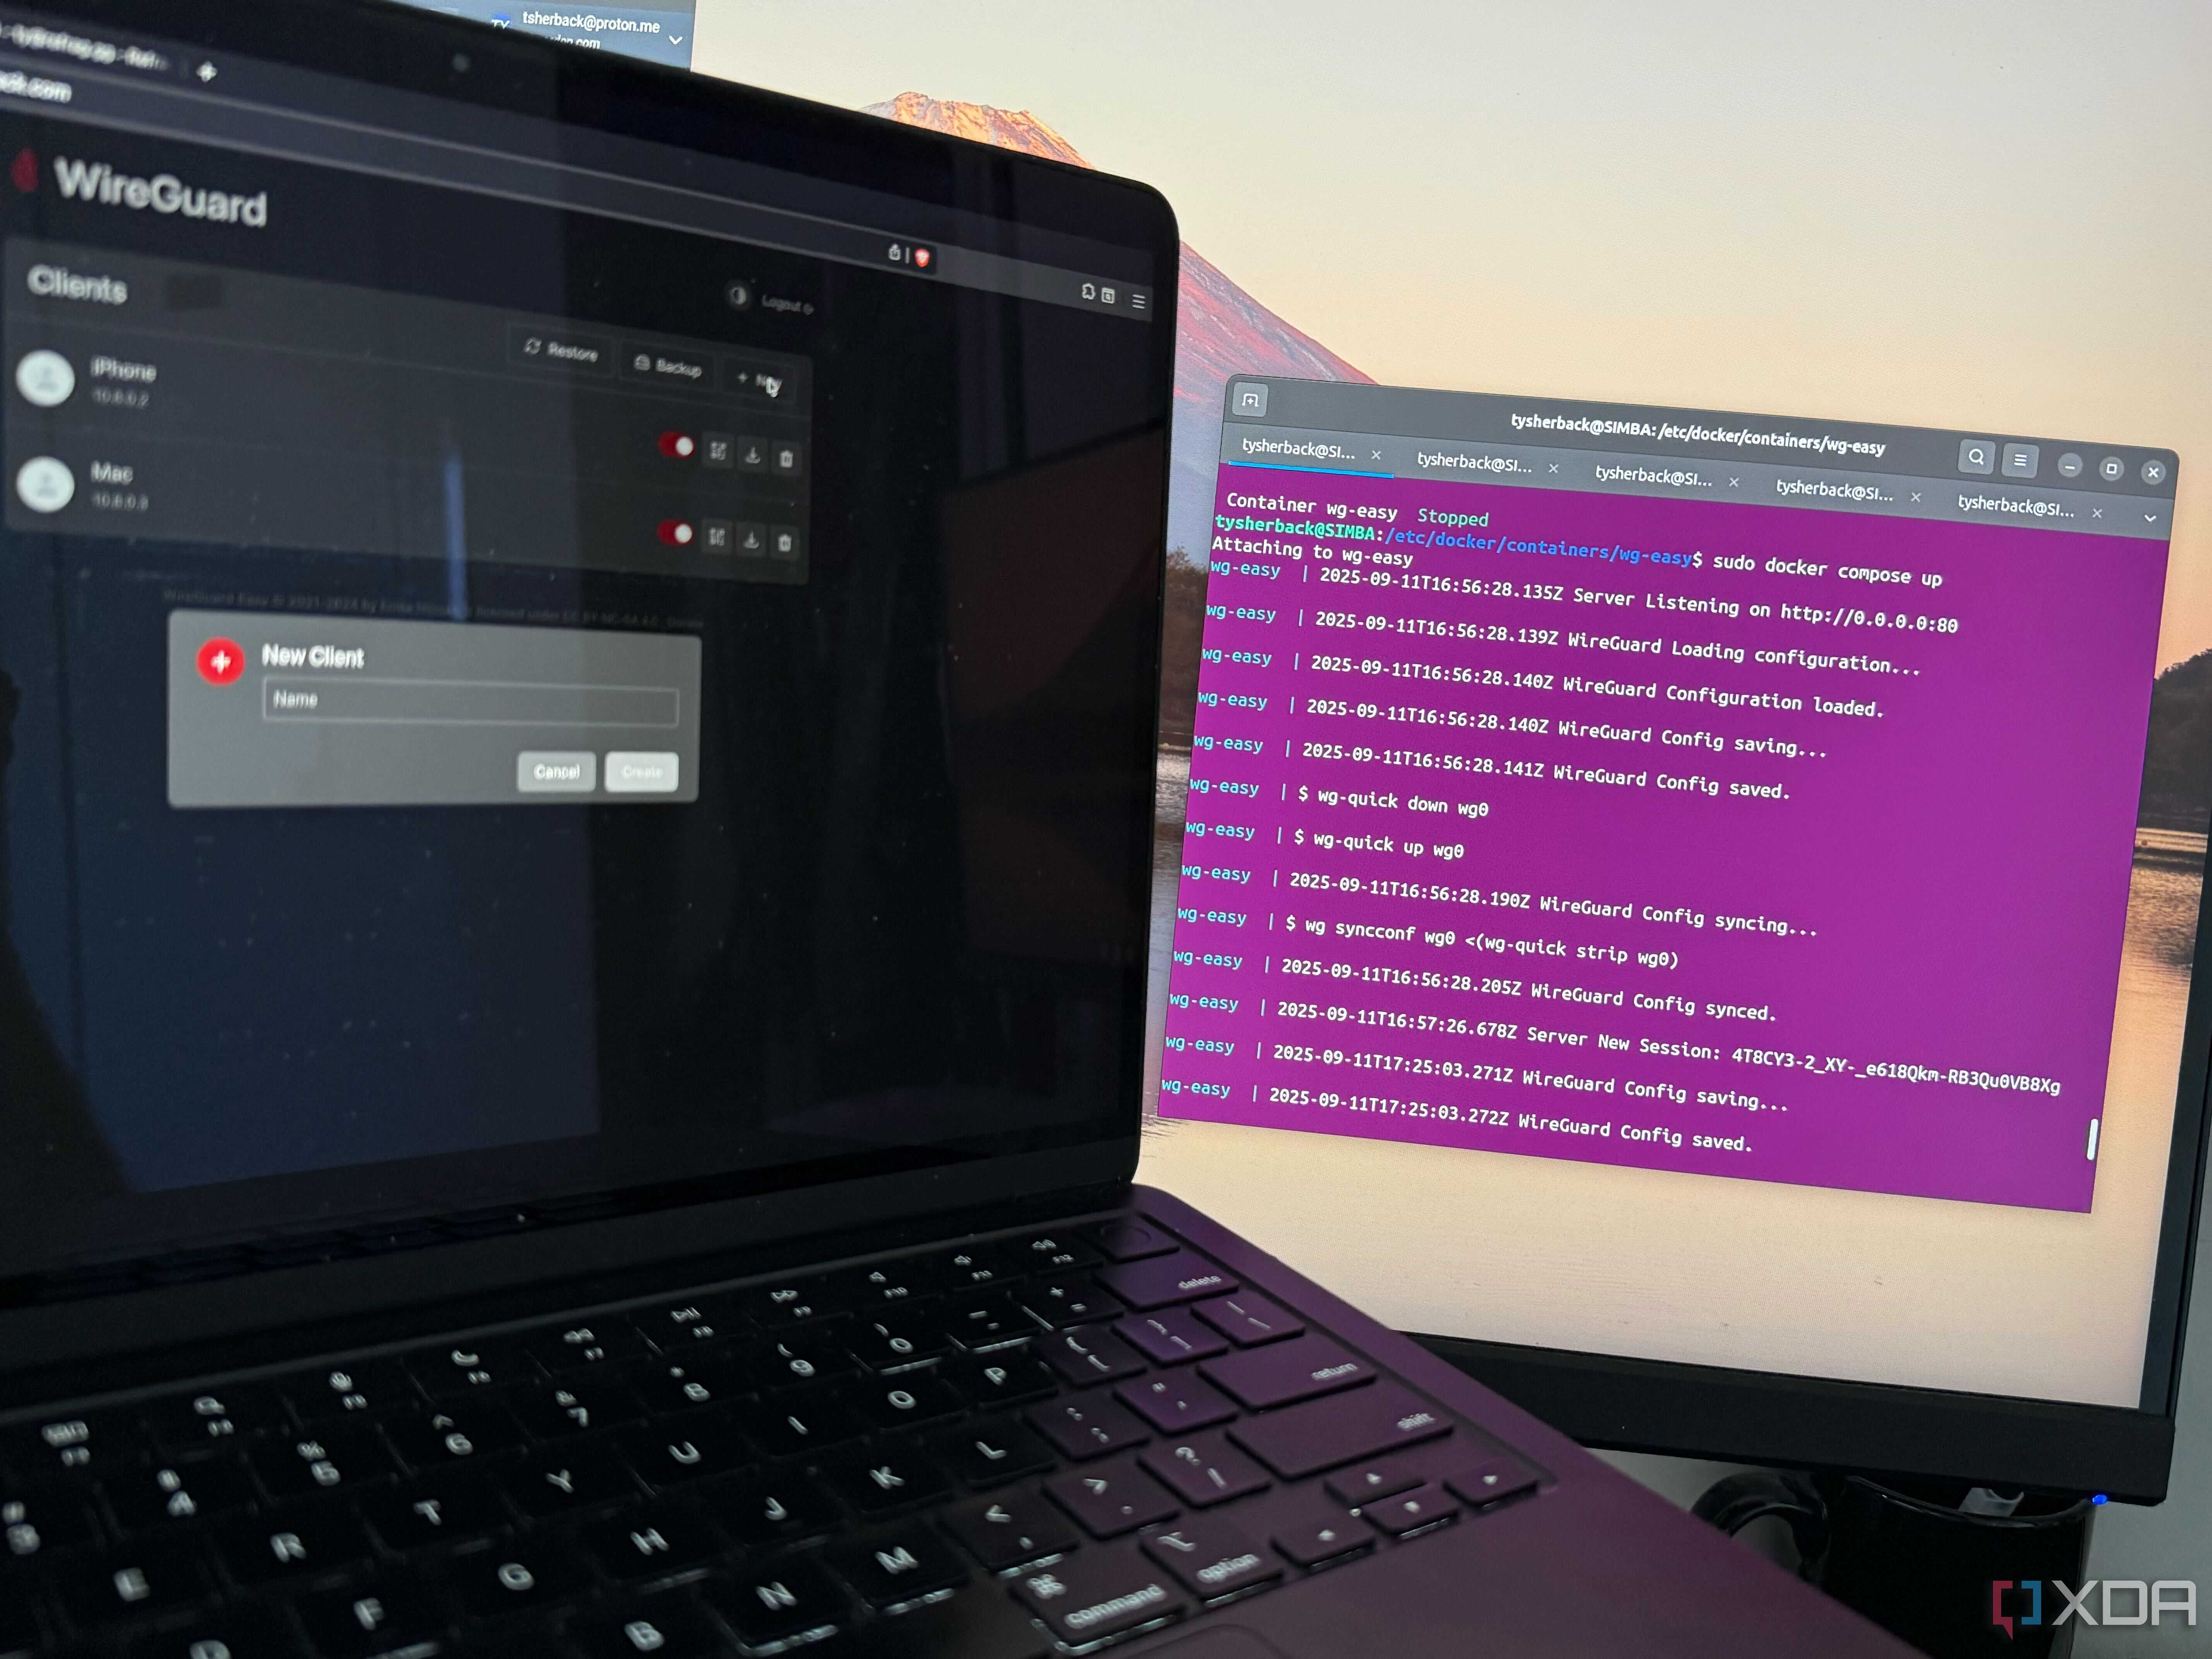
Testing through my mobile data on my iPhone using the WireGuard app, the time it took between sharing the configuration file to getting connected was incredibly slim. Internet access was working, and if I needed to, access to things on my home network was also available. It's important to note that when the VPN is connected, the full IP address will show, while disconnected, it shows the subdomain as configured. From the web panel, you can create new peers with the click of a button or the scan of a QR code. You can also do some basic traffic monitoring, as it displays how much data has been transmitted over a connection.
A note on DDNS and the web UI
Secure your web panel

One thing to note about making the VPN accessible from anywhere, is that your home IP address will rarely stay the same. Residential ISPs can change your public IP at a whim, and once that happens, your subdomain will no longer point to the right address, and you're out of luck until you point your subdomain back to the correct address. You can mitigate this completely with a Dynamic DNS setup with a service like Cloudflare DDNS, which will update your "A" record automatically whenever your IP changes. In my particular instance, my domain was purchased from a third-party reseller who doesn't directly expose NS records for configuration, so this is something you'll have to keep in mind if you plan on purchasing a domain from a reseller.
While you may not share the subdomain with people you don't trust, that doesn't mean people can't find it, navigate to it, and attempt to brute force the password to your web panel. You can mitigate this somewhat with a whitelist through Caddy so that it's only accessible through the machine running WireGuard, or alternatively, you can protect it with a service like Authelia, which adds IP-based rules and even MFA.
A self-hosted VPN with an incredibly simple management interface
Running your own VPN is about maintaining access to your home network and the services you host, but it doesn't have to be something that you pull your hair out while trying to set up. wg-easy takes out some of the hardest parts of managing WireGuard, and combined with Caddy, the result is a flexible VPN that works across all devices, while not being difficult to add new ones. If you're already running Docker, and you're intending to try setting up a VPN, I would look no further.
