


项目目的
为你带来优质的网络聊天室开发文章,主包将手把手带你从0逐一讲解到1(即成功开发+了解一二),给你带来node进阶文章(哈哈哈不要太感谢我)
疑惑(想象版)
为什么要会开发聊天室?
在通讯发达的今日,我们不得不学会网络聊天中的协议,原理,开发过程思路等等,那么有人要问主包了:我为什么一定要看你的文章呀??
答曰:无他,I'm unknow, too.😁
ok,我们废话不多说,直接开始正式教学
环境搭建
ps:本系列以开发聊天室为主,在这里不提供详细搭建方式(但是贴心的我提供文章链接~)
技术栈
1. Node.js:作为后端开发语言,Node.js基于Chrome V8引擎,能够高效处理异步I/O操作,特别适合实时应用开发,所以是给我们打工的不二之选
2. Express.js:简洁灵活的Web应用框架,用于搭建Node.js服务器,处理请求和路由
3. WebSocket:在TCP协议之上的网络协议,提供了双向的、全双工的通信通道,使得客户端和服务器之间可以随时相互发送数据,非常适合实现聊天室的实时通信功能
4. HTML/CSS/JavaScript:用于构建聊天室的前端界面,实现用户交互
ok,我宣布以上的几个小家伙就是这个项目的天选打工仔!
5. 本系列面向有一定html/css/js/node基础的人
搭建文档(已拥有环境请直接跳过)
- node.js环境
- vscode安装(别的IDE也可以)
- npm(请确保能用)
- live server(vscode插件,非该IDE可忽略)
项目创建
跟着我的步伐gogogo~,不要掉队哦:
- 新建一个文件夹(我命名为chatDemo),右键该文件夹,选择使用IDE打开
- 在IDE内对该文件夹新建终端(没有的用cmd命令),接下来就是安装所需模块了
-
npm install express socket.io - 输入以上命令获得神秘力量,然后新建app.js(服务器文件),index.html(前端页面),index.css(前端样式),index.js(前端脚本文件),详细如下表格所示:
| 文件名称 | 文件路径 | 文件作用 |
|---|---|---|
| app.js | 根目录 | 服务器文件 |
| index.html | 根目录 | 前端页面 |
| index.css | /public/index.css | 前端样式 |
| index.js | /public/index.js | 前端脚本文件 |
至此,恭喜你完成了环境&项目的创建~那么接下来的头脑风暴就需要你认真对待了!
构建基本框架
既然是服务端,那么我们肯定是要写一些监听客户端发生的事件,在监听之前我们肯定要启动服务对叭对叭??!这很简单,我们将实例化之后的express对象挂在http模块的createServer()上再监听一个端口即可启动服务,这里我选择监听3030端口(我也不知道为什么要选择他嘿嘿~)
那么我们使用require函数引入这些模块后进行如上的操作即可(你也试着自己来写一遍叭,不准偷看!):
const express = require('express');
const app = express();
const http = require('http').createServer(app);
const socket = require('socket.io');
const PORT = 3030;

http.listen(PORT, ()=>{
    console.log(`server is running http://localhost:${PORT}`);
})那么用node来运行(vscode可使用Code Runner)此文件即可在浏览器中查看效果:
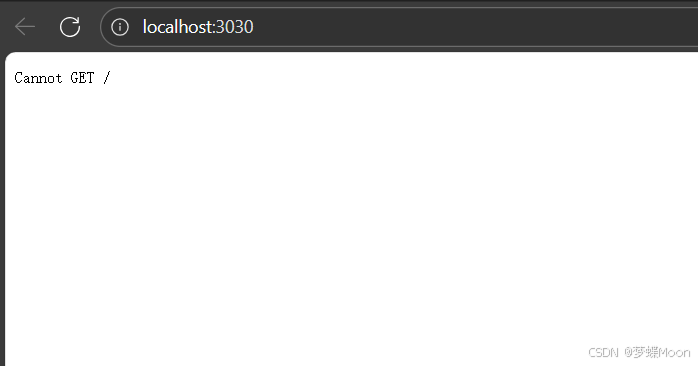
查看运行结果会发现显示了很神秘的"Cannot GET/"问题,那么我们该怎么解决他呢?
其实很so easy,让我来告诉你!(ps:没办法谁叫我心善呢嘿嘿)
解决问题
出现这个问题的根本原因是有人使用GET的请求方式访问了根页面(即'/'),但是服务器却对根页面的请求没有响应对应的GET请求结果,那么转而言之我们只需要加上对根页面的GET方法就可以了是不?没错,聪明的你是不是终于恍然大悟了呢?!
我们只需要利用express实例化之后的对象使用其已经写好的get函数即可,如下图为官方参数参考图:
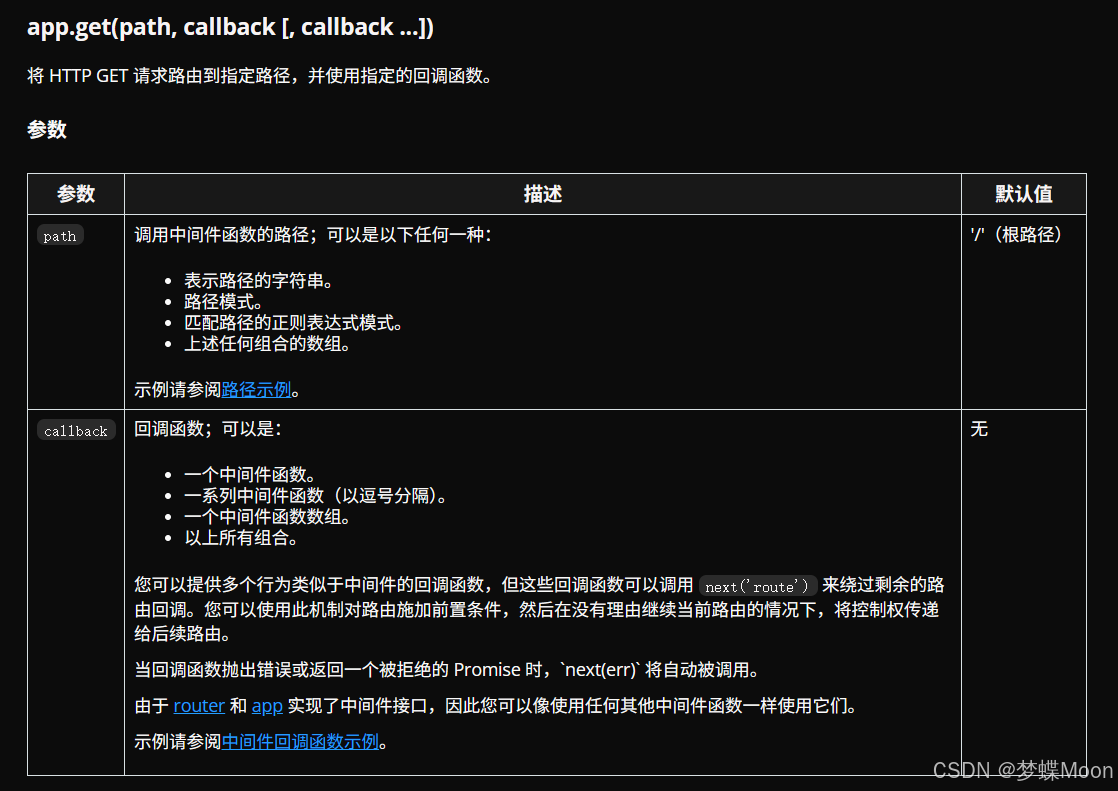
也是十分详细了,那么在回调函数中 我们一般接收两个参数:req,res;前者表示客户端(如浏览器)发送的 HTTP 请求,而后者相信聪明的你也看出来了无非就是代表服务器要返回给客户端的 HTTP 响应
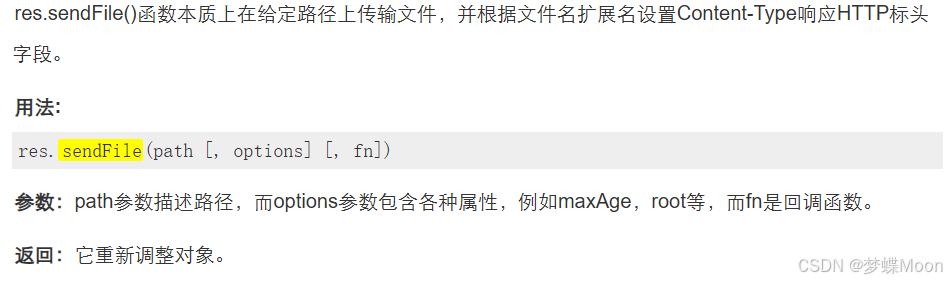
这里因为我们需要将根目录展示为index.html的内容,那么我们可以可以借助古老的sendFile函数力量来向根目录发送index.html文件进行渲染(这里需要引入path模块使用join方法发送),那么还是老样子我们来看他的参数是什么:
那么我们将使用他进行对根页面处理一下(你也自己写,老样子哦~):
const path = require('path');

app.get('/', (req, res) => {
    res.sendFile(path.join(__dirname, 'index.html'));
})
运行后效果如下图所示:
可以看到,已经成功了 !那么我们接下来需要在html中写一个输入框和发送按钮了!这里直接给出源码,因为本系列不讲解html和css内容~:
<!DOCTYPE html>
<html lang="zh-CN">
<head>
    <meta charset="UTF-8">
    <meta name="viewport" content="width=device-width, initial-scale=1.0">
    <title>web聊天室</title>
    <link rel="stylesheet" href="https://cdnjs.cloudflare.com/ajax/libs/font-awesome/6.4.0/css/all.min.css">
    <link rel="stylesheet" href="index.css">
</head>
<body>
    <div class="container">
        <div class="header">
            <h1>web聊天室</h1>
            <p>输入您的消息并发送</p>
        </div>

        <div class="chat-container" id="chatContainer">
            <div class="message received">
                <div>您好!欢迎使用我们的聊天系统。</div>
                <div class="message-info">系统 · 刚刚</div>
            </div>

            <div class="message received">
                <div>输入消息并点击发送按钮即可发送消息</div>
                <div class="message-info">系统 · 刚刚</div>
            </div>
        </div>

        <div class="input-container">
            <div class="input-wrapper">
                <input type="text" id="messageInput" placeholder="输入消息内容..." autofocus>
            </div>
            <button id="sendButton">
                <i class="fas fa-paper-plane"></i>
            </button>
        </div>
    </div>
</body>
</html>上方是index.html,下方是index.css:
* {
    margin: 0;
    padding: 0;
    box-sizing: border-box;
    font-family: 'Segoe UI', Tahoma, Geneva, Verdana, sans-serif;
}

body {
    min-height: 100vh;
    display: flex;
    align-items: center;
    justify-content: center;
    padding: 20px;
}

.container {
    max-width: 800px;
    width: 100%;
    background: white;
    border-radius: 20px;
    overflow: hidden;
    box-shadow: 0 15px 40px rgba(0, 0, 0, 0.3);
}

.header {
    background: #00b3ee;
    color: white;
    padding: 25px 30px;
    text-align: center;
}

.header h1 {
    font-size: 28px;
    margin-bottom: 5px;
    display: flex;
    align-items: center;
    justify-content: center;
}

.header p {
    opacity: 0.9;
    font-weight: 300;
}

.chat-container {
    height: 400px;
    overflow-y: auto;
    padding: 25px;
    background: #f5f8ff;
}

.message {
    max-width: 80%;
    margin-bottom: 20px;
    padding: 15px;
    border-radius: 15px;
    position: relative;
    animation: fadeIn 0.3s;
    clear: both;
}

.received {
    background: #e7e7e7;
    float: left;
    border-bottom-left-radius: 5px;
}

.sent {
    background: #4285f4;
    color: white;
    float: right;
    border-bottom-right-radius: 5px;
}

.message-info {
    font-size: 12px;
    margin-top: 8px;
    opacity: 0.8;
}

.input-container {
    padding: 25px;
    display: flex;
    gap: 15px;
    background: #f0f0f0;
}

.input-wrapper {
    flex: 1;
    position: relative;
}

input {
    width: 100%;
    padding: 18px 20px;
    border: none;
    border-radius: 50px;
    background: white;
    font-size: 17px;
    outline: none;
    transition: all 0.3s;
}

input:focus {
    box-shadow: 0 5px 15px rgba(0, 0, 0, 0.05);
}

button {
    background: #565562;
    color: white;
    border: none;
    border-radius: 50px;
    width: 60px;
    height: 60px;
    cursor: pointer;
    transition: all 0.3s;
    display: flex;
    align-items: center;
    justify-content: center;
    font-size: 24px;
}

button:hover {
    transform: translateY(-3px);
    box-shadow: 0 8px 20px rgba(0, 0, 0, 0.05);
}

button:active {
    transform: translateY(0);
    box-shadow: 0 3px 10px rgba(66, 133, 244, 0.6);
}

.features {
    padding: 20px 0;
    display: flex;
    justify-content: center;
    gap: 20px;
    background: #f0f0f0;
}

.feature {
    display: flex;
    flex-direction: column;
    align-items: center;
    color: #666;
    font-size: 13px;
    cursor: pointer;
    transition: transform 0.3s;
}

.feature:hover {
    transform: translateY(-5px);
}

.feature i {
    font-size: 20px;
    margin-bottom: 8px;
    background: linear-gradient(90deg, #4285f4, #34a853);
    -webkit-background-clip: text;
    background-clip: text;
    color: transparent;
}

@keyframes fadeIn {
    from { opacity: 0; transform: translateY(10px); }
    to { opacity: 1; transform: translateY(0); }
}

@media (max-width: 600px) {
    .input-container {
        padding: 15px;
    }

    input {
        padding: 14px 18px;
        font-size: 15px;
    }

    button {
        width: 50px;
        height: 50px;
        font-size: 20px;
    }

    .message {
        max-width: 90%;
    }
}
解决问题2
再使用这些代码并刷新页面看效果前,我们还有一个很重要的事要做-------->将public目录下的文件用express进行静态资源托管,那么我们该如何使用这股力量呢,他的来源是哪来历又是什么?别急让主包亲自给你解答:
express提供了一个static函数,通过他我们可以非常方便地创建一个静态资源服务器,比如public下的css,js文件必须被托管否则无法对外开放与访问!那么我们在app.js加上如下代码,那么public目录即可被托管(不信的小伙伴可以试试不加会出现什么事[doge]):
app.use(express.static(path.join(__dirname, 'public')));这样就可以显示啦,效果如下图所示:
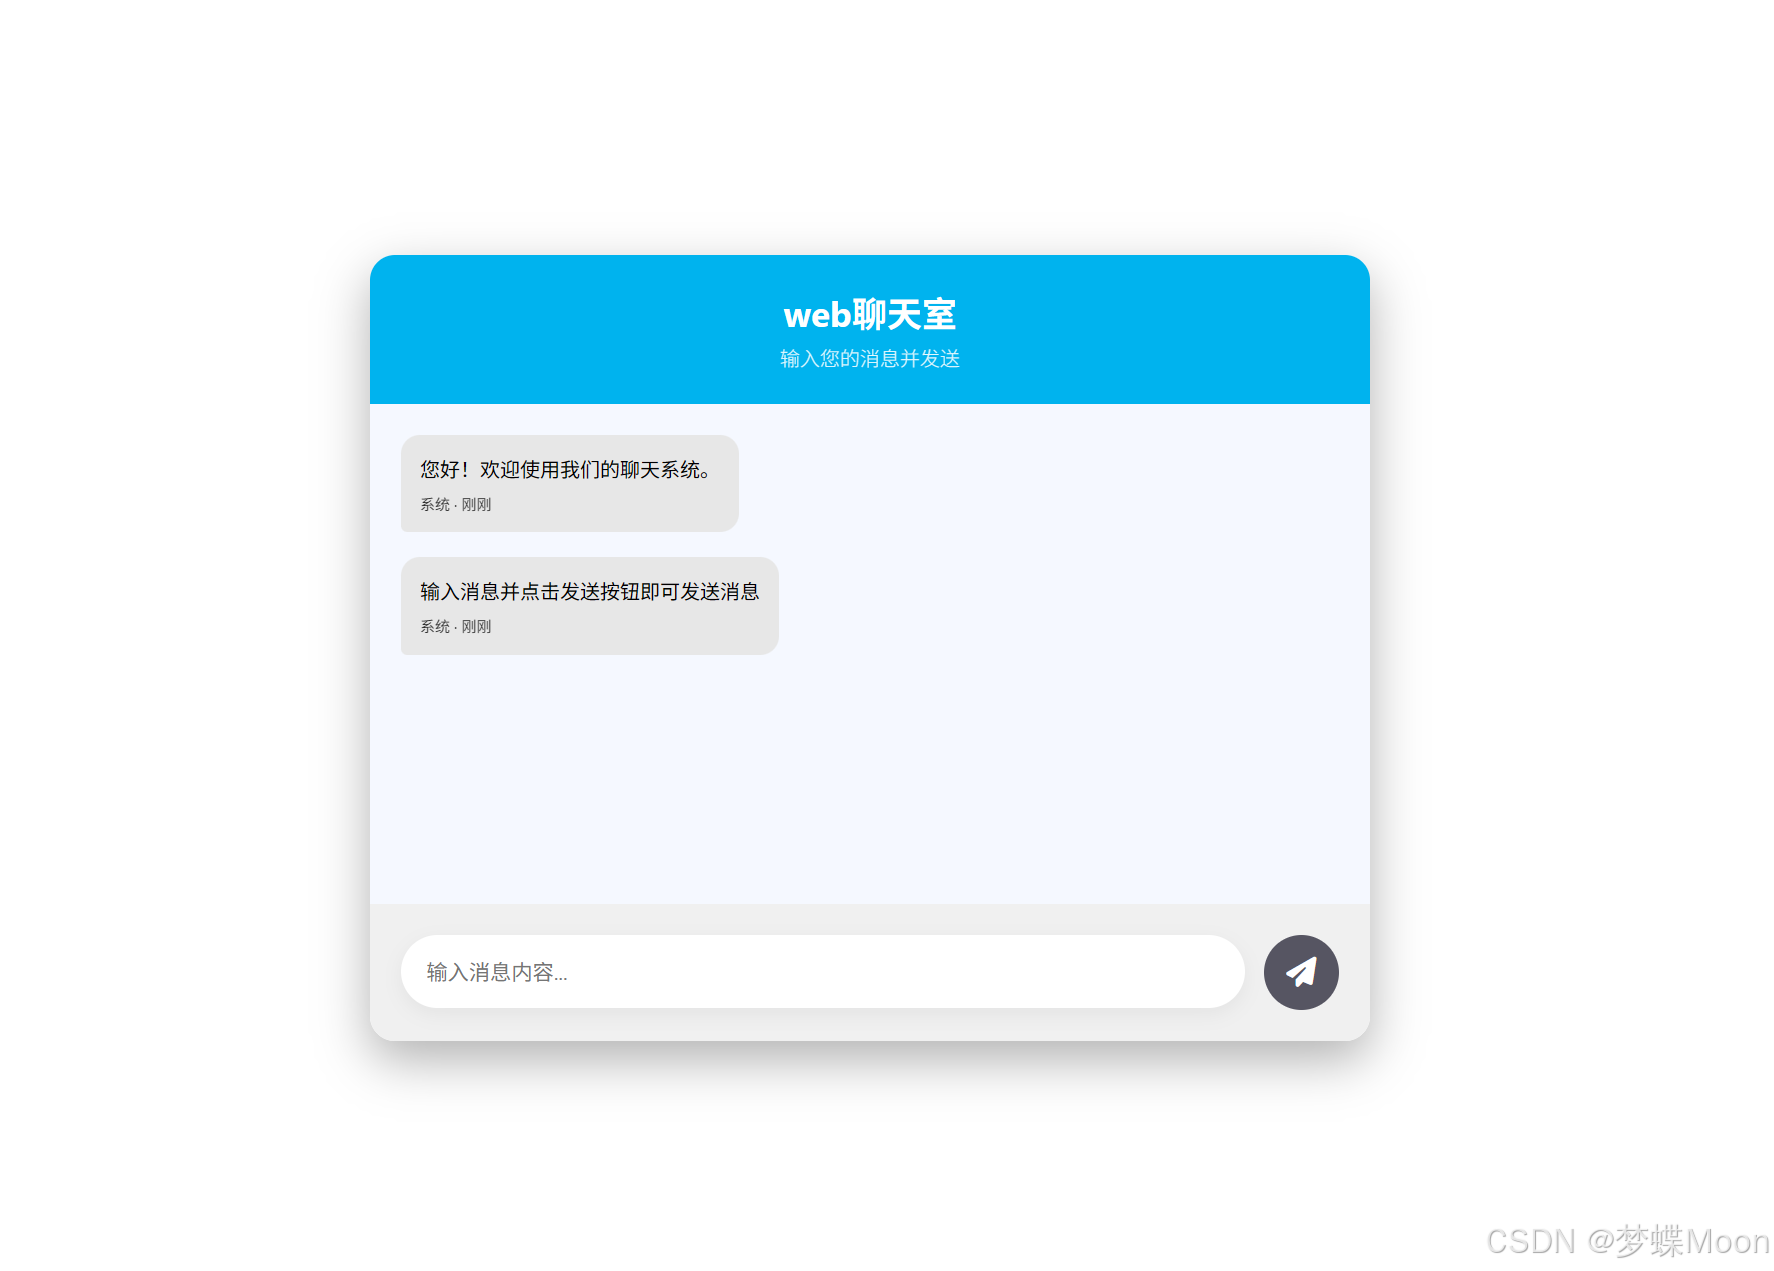
ps:为了省时省力我用了ai构建页面和样式哦~ 例外index.html里的引入css文件路径一定不要改!
第一弹就到这里咯,期待第二弹,届时我们才真正踏入了websocket!最后:
如果你会了那就会了,如果不会那你就不会
有误地方请指正,接受一切合理反驳与指正(谢谢看完它)


 855
855

 被折叠的 条评论
为什么被折叠?
被折叠的 条评论
为什么被折叠?
 到【灌水乐园】发言


