The Spring Framework allows dynamic registration of beans at runtime based on configuration properties. This feature is handy when an application's behavior or configuration needs to change based on external inputs, such as properties files or environment variables. By dynamically registering beans, you can make your application more flexible and modular without modifying the core code.
This article will guide you through dynamically registering Spring beans based on properties, ensuring that the application can adjust its behavior according to configuration.
Register Spring Beans Dynamically Based on Properties
The concept of dynamic bean registration involves defining or instantiating beans during the application startup based on property values. For example, you may want to use different implementations of a service based on a property value in your application.properties file.
Key Approaches:
@ConditionalOnProperty: Conditionally creates a bean based on the presence or value of a specific property.BeanDefinitionRegistryPostProcessor: Allows for dynamic bean definition and registration in the Spring context (not covered in this article).- Programmatic Bean Registration: Using
ConfigurableApplicationContextto register beans dynamically at runtime (not covered in this article).
This article will focus on the @ConditionalOnProperty approach.
Implementation to Register Spring Beans Dynamically Based on Properties
We will create a simple Spring Boot application that registers beans based on property values. In this example, we will choose between two payment services (PaypalService and CreditCardService) based on the value of a payment.method property.
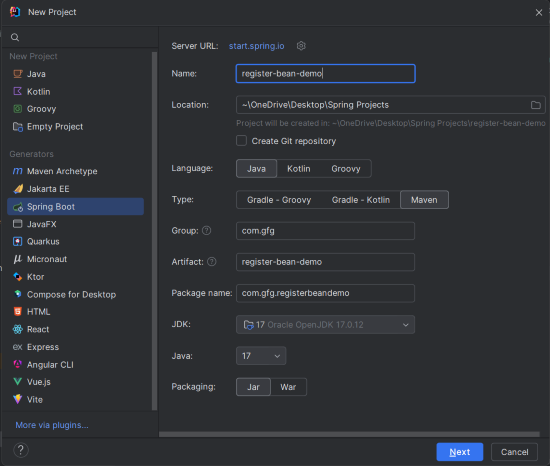
Step 1: Create a New Spring Boot Project
- Use IntelliJ IDEA or any IDE to create a new Spring Boot project.
- Configure it with the following:
- Name:
register-bean-demo - Language: Java
- Type: Maven
- Packaging: JAR
- Name:
- Click "Next" and finish the setup.
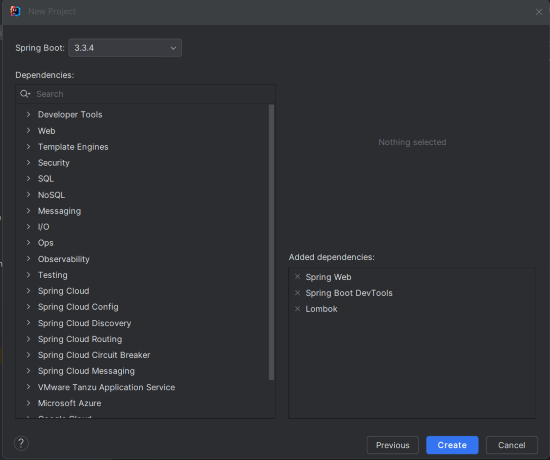
Step 2: Add the Dependencies
Add the following dependencies into the Spring Boot project.
- Spring Web
- Lombok
- Spring Boot DevTools
Click on the Create button.
Step 3: Configure Application Properties
In the src/main/resources/application.properties file, define the following property:
# Application name
spring.application.name=register-bean-demo

# Choose between 'paypal' or 'creditcard' as the payment method
payment.method=paypal
Step 4: Create the PaymentService Interface
package com.gfg.registerbeandemo.service;

public interface PaymentService {
    void processPayment();
}
This is a simple interface that defines a processPayment() method, which will be implemented by multiple payment services.
Step 5: Create the CreditCardService Class
package com.gfg.registerbeandemo.service;

public class CreditCardService implements PaymentService {
    @Override
    public void processPayment() {
        System.out.println("Processing payment through Credit Card");
    }
}
This class implements the PaymentService interface and provides a credit card-specific implementation of processPayment().
Step 6: Create the PaypalService Class
package com.gfg.registerbeandemo.service;

public class PaypalService implements PaymentService {
    @Override
    public void processPayment() {
        System.out.println("Processing payment through PayPal");
    }
}
Similarly, this class implements the PaymentService interface but processes payments via PayPal.
Step 7: Create the PaymentServiceConfig Class
We will use the @ConditionalOnProperty annotation to register beans based on the payment.method property.
package com.gfg.registerbeandemo.config;

import com.gfg.registerbeandemo.service.CreditCardService;
import com.gfg.registerbeandemo.service.PaymentService;
import com.gfg.registerbeandemo.service.PaypalService;
import org.springframework.boot.autoconfigure.condition.ConditionalOnProperty;
import org.springframework.context.annotation.Bean;
import org.springframework.context.annotation.Configuration;

@Configuration
public class PaymentServiceConfig {

    @Bean
    @ConditionalOnProperty(name = "payment.method", havingValue = "paypal")
    public PaymentService paypalService() {
        return new PaypalService();
    }

    @Bean
    @ConditionalOnProperty(name = "payment.method", havingValue = "creditcard")
    public PaymentService creditCardService() {
        return new CreditCardService();
    }
}
This configuration class registers the PaypalService or CreditCardService based on the value of payment.method in application.properties.
- If
payment.method=paypal, thePaypalServicebean is registered. - If
payment.method=creditcard, theCreditCardServicebean is registered.
Step 8: Create the PaymentController Class
package com.gfg.registerbeandemo.controller;

import com.gfg.registerbeandemo.service.PaymentService;
import org.springframework.beans.factory.annotation.Autowired;
import org.springframework.web.bind.annotation.GetMapping;
import org.springframework.web.bind.annotation.RestController;

@RestController
public class PaymentController {

    @Autowired
    private PaymentService paymentService;

    @GetMapping("/pay")
    public String processPayment() {
        paymentService.processPayment();
        return "Payment processed successfully!";
    }
}
This REST controller exposes an API at /pay. When a GET request is made to this endpoint, the corresponding PaymentService (based on the configuration) is used to process the payment.
Step 9: Main Class
No changes are required in the main class. It remains the same as a typical Spring Boot starter class:
package com.gfg.registerbeandemo;

import org.springframework.boot.SpringApplication;
import org.springframework.boot.autoconfigure.SpringBootApplication;

@SpringBootApplication
public class RegisterBeanDemoApplication {
    public static void main(String[] args) {
        SpringApplication.run(RegisterBeanDemoApplication.class, args);
    }
}
pom.xml File
<?xml version="1.0" encoding="UTF-8"?>
<project xmlns="https://maven.apache.org/POM/4.0.0" xmlns:xsi="https://www.w3.org/2001/XMLSchema-instance"
         xsi:schemaLocation="https://maven.apache.org/POM/4.0.0 https://maven.apache.org/xsd/maven-4.0.0.xsd">
    <modelVersion>4.0.0</modelVersion>
    <parent>
        <groupId>org.springframework.boot</groupId>
        <artifactId>spring-boot-starter-parent</artifactId>
        <version>3.3.4</version>
        <relativePath/> <!-- lookup parent from repository -->
    </parent>
    <groupId>com.gfg</groupId>
    <artifactId>register-bean-demo</artifactId>
    <version>0.0.1-SNAPSHOT</version>
    <name>register-bean-demo</name>
    <description>register-bean-demo</description>
    <url/>
    <licenses>
        <license/>
    </licenses>
    <developers>
        <developer/>
    </developers>
    <scm>
        <connection/>
        <developerConnection/>
        <tag/>
        <url/>
    </scm>
    <properties>
        <java.version>17</java.version>
    </properties>
    <dependencies>
        <dependency>
            <groupId>org.springframework.boot</groupId>
            <artifactId>spring-boot-starter-web</artifactId>
        </dependency>

        <dependency>
            <groupId>org.springframework.boot</groupId>
            <artifactId>spring-boot-devtools</artifactId>
            <scope>runtime</scope>
            <optional>true</optional>
        </dependency>
        <dependency>
            <groupId>org.projectlombok</groupId>
            <artifactId>lombok</artifactId>
            <optional>true</optional>
        </dependency>
        <dependency>
            <groupId>org.springframework.boot</groupId>
            <artifactId>spring-boot-starter-test</artifactId>
            <scope>test</scope>
        </dependency>
    </dependencies>

    <build>
        <plugins>
            <plugin>
                <groupId>org.springframework.boot</groupId>
                <artifactId>spring-boot-maven-plugin</artifactId>
                <configuration>
                    <excludes>
                        <exclude>
                            <groupId>org.projectlombok</groupId>
                            <artifactId>lombok</artifactId>
                        </exclude>
                    </excludes>
                </configuration>
            </plugin>
        </plugins>
    </build>

</project>
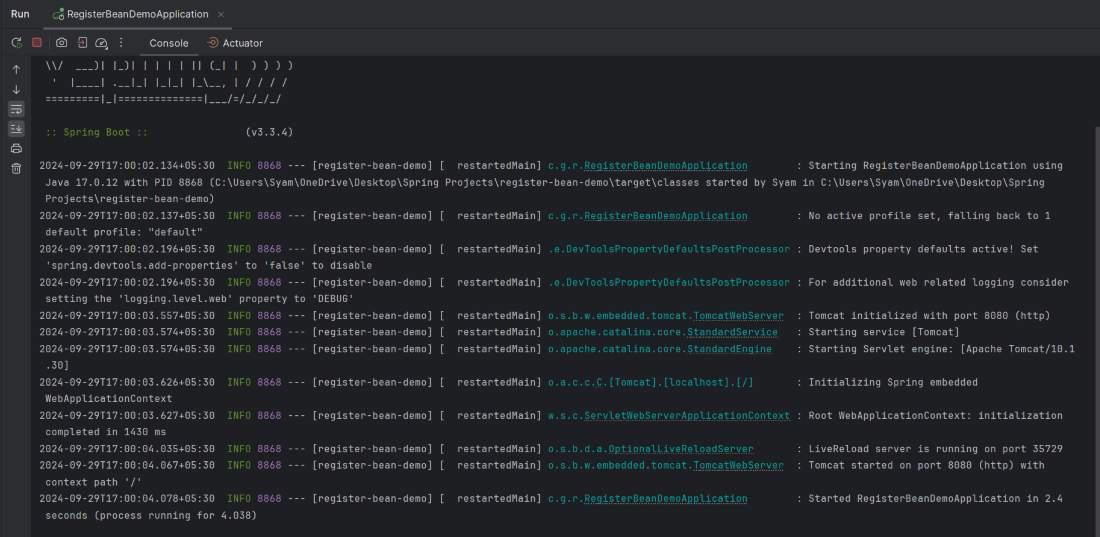
Step 10: Run the Application
- Run the application using your IDE or via Maven with
mvn spring-boot:run. - The application will start at
http://localhost:8080. - If the
payment.method=paypal, thePaypalServicewill be registered, and ifpayment.method=creditcard, theCreditCardServicewill be registered.
Step 11: Testing the Application
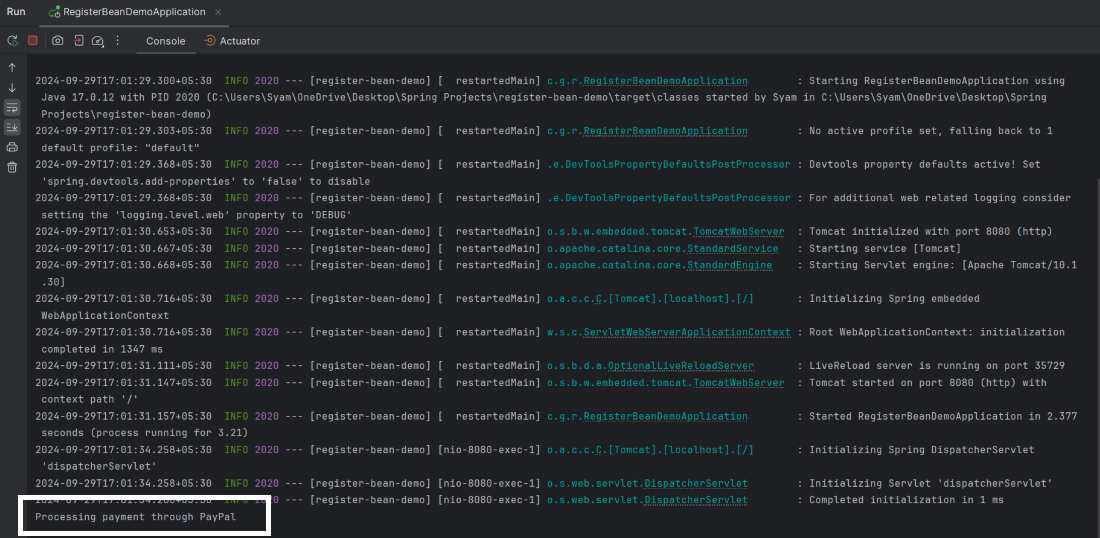
You can test the application using Postman or directly in your browser. Make a GET request to:
GET http://localhost:8080/payResponse:

If payment.method=paypal, the output will be:
To switch the payment method,
- Open
application.properties. - Change
payment.method=creditcard. - Re-run the application.
The service will now process payments using the CreditCardService.
spring.application.name=register-bean-demo

# Choose between 'paypal' or 'creditcard'
payment.method=creditcard
Run again:
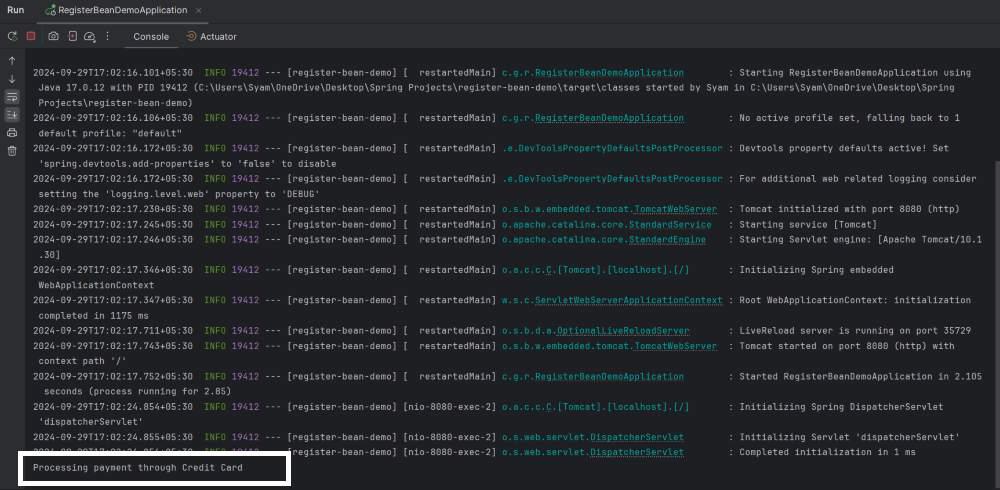
If payment.method=creditcard, the output will be:
Conclusion
Dynamically registering Spring beans based on properties provides a flexible way to adjust the behavior of your application without changing the core code. This technique is useful in building configurable systems where behavior can be altered based on external configurations, making the application more modular and easier to maintain.
