OAuth2 is an authorization framework that enables secure and limited access to user resources on HTTP services like Google, GitHub, or Facebook. It allows users to authorize third-party applications to access their data without revealing their credentials.
This guide walks you through integrating OAuth2 with Spring Boot and Spring Security to enable secure login and access through OAuth2 providers such as Google.
What is OAuth2?
OAuth2 (Open Authorization 2.0) is a framework that allows applications to access user data hosted on external services without requiring users to share their passwords. Instead, users authorize access via tokens issued by the service provider.
Key Components of OAuth2
- Resource Owner: The user who grants access to their data.
- Client: The application requesting access to the user’s account.
- Authorization Server: The server that authenticates the user and issues access tokens.
- Resource Server: The server that hosts the protected resources and validates access tokens.
OAuth2 Authorization Flows
OAuth2 defines multiple flows depending on the type of application:
- Authorization Code Grant: Commonly used for server-side applications. The client receives an authorization code, then exchanges it for an access token.
- Implicit Grant: Used for client-side (browser-based) applications where the access token is returned directly without a code exchange.
- Resource Owner Password Credentials Grant: Used when the client can directly request credentials from the resource owner (trusted applications only).
- Client Credentials Grant: Used when a client accesses its own resources instead of a user’s.
Prerequisites:
- Good understanding of Spring Boot and Spring Security
- JDK 17 installed
- IntelliJ IDEA or any IDE
- Google Cloud Console account (for OAuth client setup)
- Maven for dependency management
Implementation Steps
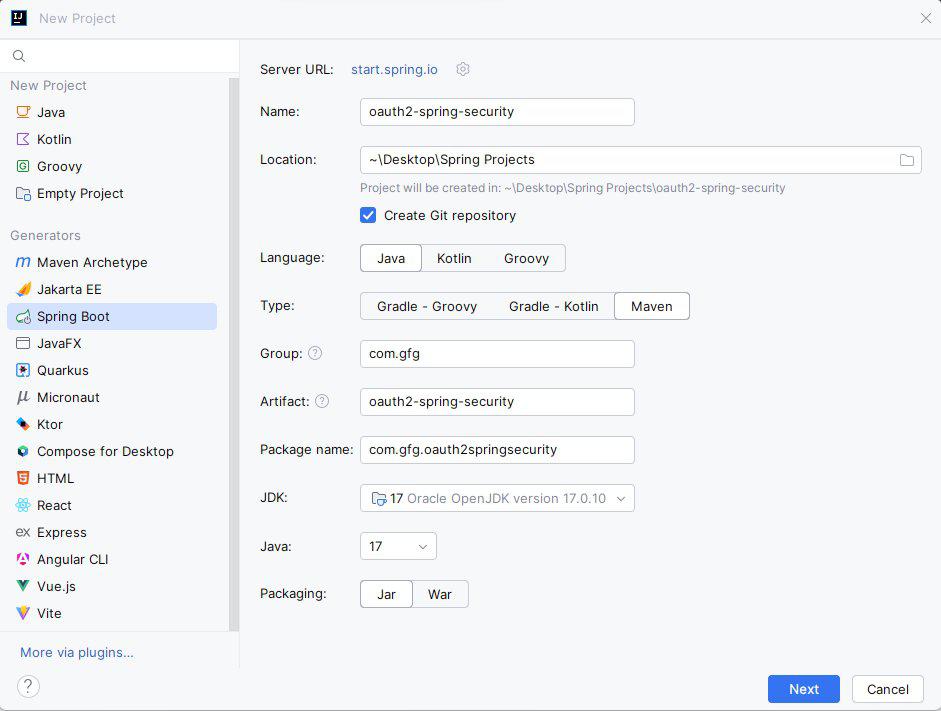
Step 1: Create a New Spring Boot Project
Create a Spring Boot project with the following options:
- Project Name: oauth2-spring-security
- Language: Java
- Type: Maven
- Packaging: Jar
Step 2: Add the Dependencies
Add the following dependencies in the pom.xml:
<dependencies>
    <dependency>
        <groupId>org.springframework.boot</groupId>
        <artifactId>spring-boot-starter-oauth2-client</artifactId>
    </dependency>
    <dependency>
        <groupId>org.springframework.boot</groupId>
        <artifactId>spring-boot-starter-security</artifactId>
    </dependency>
    <dependency>
        <groupId>org.springframework.boot</groupId>
        <artifactId>spring-boot-starter-thymeleaf</artifactId>
    </dependency>
    <dependency>
        <groupId>org.springframework.boot</groupId>
        <artifactId>spring-boot-starter-web</artifactId>
    </dependency>
    <dependency>
        <groupId>org.thymeleaf.extras</groupId>
        <artifactId>thymeleaf-extras-springsecurity6</artifactId>
    </dependency>
    <dependency>
        <groupId>org.projectlombok</groupId>
        <artifactId>lombok</artifactId>
        <optional>true</optional>
    </dependency>
</dependencies>
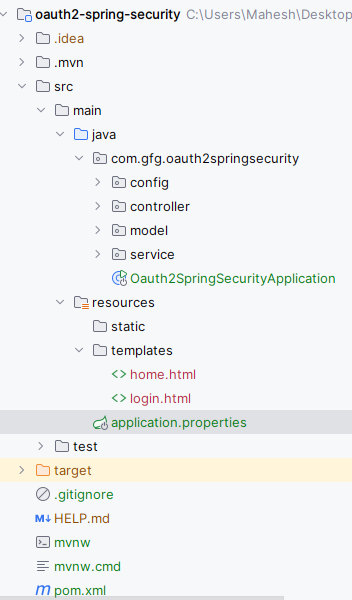
After creating the project, the folder structure in the IDE will be like below image:
Step 3: Configure application.properties
Add the following Google OAuth2 configuration:
spring.application.name=oauth2-spring-security
spring.security.oauth2.client.registration.google.client-id=YOUR_GOOGLE_CLIENT_IDspring.security.oauth2.client.registration.google.client-secret=YOUR_GOOGLE_CLIENT_SECRET
spring.security.oauth2.client.registration.google.redirect-uri=http://localhost:8080/login/oauth2/code/{registrationId}
spring.security.oauth2.client.registration.google.scope=profile,email
Step 4: Create the User Model
User.java:
package com.gfg.oauth2springsecurity.model;

import lombok.Data;

@Data
public class User {
    private String name;
    private String email;
}
This class defines a user with name and email fields and uses Lombok for boilerplate reduction.
Step 5: Create the Service Class
This service class is responsible for creating User objects from OAuth2User data.
UserService.java:
package com.gfg.oauth2springsecurity.service;

import com.gfg.oauth2springsecurity.model.User;
import org.springframework.security.oauth2.core.user.OAuth2User;
import org.springframework.stereotype.Service;

@Service
public class UserService {

    public User createUser(OAuth2User oAuth2User) {
        User user = new User();
        user.setName(oAuth2User.getAttribute("name"));
        user.setEmail(oAuth2User.getAttribute("email"));
        return user;
    }
}
This service converts OAuth2 user data into a local User object.
Step 6: Configure Spring Security
SecurityConfig.java:
package com.gfg.oauth2springsecurity.config;

import org.springframework.context.annotation.Bean;
import org.springframework.context.annotation.Configuration;
import org.springframework.security.config.annotation.web.builders.HttpSecurity;
import org.springframework.security.config.annotation.web.configuration.EnableWebSecurity;
import org.springframework.security.web.SecurityFilterChain;

@Configuration
@EnableWebSecurity
public class SecurityConfig {

    @Bean
    public SecurityFilterChain securityFilterChain(HttpSecurity http) throws Exception {
        http
            .authorizeHttpRequests(auth -> auth
                .requestMatchers("/", "/login").permitAll()
                .anyRequest().authenticated()
            )
            .oauth2Login(oauth -> oauth
                .loginPage("/login")
                .defaultSuccessUrl("/home", true)
            );
        return http.build();
    }
}
This configuration secures all routes except / and /login and sets up OAuth2 login.
Step 7: Create the Controller
HomeController.java:
package com.gfg.oauth2springsecurity.controller;

import org.springframework.security.core.annotation.AuthenticationPrincipal;
import org.springframework.security.oauth2.core.user.OAuth2User;
import org.springframework.stereotype.Controller;
import org.springframework.ui.Model;
import org.springframework.web.bind.annotation.GetMapping;

@Controller
public class HomeController {

    @GetMapping("/home")
    public String home(@AuthenticationPrincipal OAuth2User principal, Model model) {
        model.addAttribute("name", principal.getAttribute("name"));
        return "home";
    }

    @GetMapping("/login")
    public String login() {
        return "login";
    }
}
The controller handles login and home routes, displaying the user’s name after authentication.
Step 8: Main Application Class
No changes are required in the main class.
package com.gfg.oauth2springsecurity;

import org.springframework.boot.SpringApplication;
import org.springframework.boot.autoconfigure.SpringBootApplication;

@SpringBootApplication
public class Oauth2SpringSecurityApplication {
    public static void main(String[] args) {
        SpringApplication.run(Oauth2SpringSecurityApplication.class, args);
    }
}
This is the entry point for the Spring Boot application.
Step 9: Create the Login Page
This HTML file contains the structure and styles for the login page. It includes a button to initiate the OAuth2 login with Google.
Go to src > main > resources > templates > login.html and put the below HTML code.
<!DOCTYPE html>
<html xmlns:th="https://www.thymeleaf.org/">
<head>
    <title>Login</title>
    <link rel="stylesheet" href="https://stackpath.bootstrapcdn.com/bootstrap/4.5.2/css/bootstrap.min.css">
    <style>
        body {
            background-color: #f8f9fa;
        }
        .navbar {
            background-color: #81c784; /* Light Green */
        }
        .navbar-brand {
            color: white !important;
        }
        .container {
            margin-top: 100px;
        }
        .card {
            border: none;
            border-radius: 10px;
            box-shadow: 0 4px 8px rgba(0, 0, 0, 0.1);
        }
        .card-header {
            background-color: #81c784; /* Light Green */
            color: white;
            border-top-left-radius: 10px;
            border-top-right-radius: 10px;
        }
        .btn-custom {
            background-color: #81c784; /* Light Green */
            color: white;
            border-radius: 5px;
        }
        .btn-custom:hover {
            background-color: #66bb6a; /* Darker Green */
            color: white;
        }
    </style>
</head>
<body>
<nav class="navbar navbar-expand-lg">
    <a class="navbar-brand" href="#">My App</a>
</nav>
<div class="container">
    <div class="row justify-content-center">
        <div class="col-md-6">
            <div class="card">
                <div class="card-header text-center">
                    Login with OAuth2
                </div>
                <div class="card-body text-center">
                    <p class="card-text">Please login using one of the following options:</p>
                    <a class="btn btn-custom" href="/oauth2/authorization/google">Login with Google</a>
                </div>
            </div>
        </div>
    </div>
</div>
<script src="https://code.jquery.com/jquery-3.5.1.slim.min.js"></script>
<script src="https://cdn.jsdelivr.net/npm/@popperjs/core@2.9.2/dist/umd/popper.min.js"></script>
<script src="https://stackpath.bootstrapcdn.com/bootstrap/4.5.2/js/bootstrap.min.js"></script>
</body>
</html>
Step 10: Create the Home HTML File
This HTML file displays the home page after successful login.
Go to src > main > resources > templates > home.html and put the below HTML code.
<!DOCTYPE html>
<html xmlns:th="https://www.thymeleaf.org/">
<head>
    <title>Home</title>
    <link rel="stylesheet" href="https://stackpath.bootstrapcdn.com/bootstrap/4.5.2/css/bootstrap.min.css">
    <style>
        body {
            background-color: #f8f9fa;
        }
        .navbar {
            background-color: #81c784; /* Light Green */
        }
        .navbar-brand, .nav-link {
            color: white !important;
        }
        .container {
            margin-top: 50px;
        }
        .card {
            border: none;
            border-radius: 10px;
            box-shadow: 0 4px 8px rgba(0, 0, 0, 0.1);
        }
        .card-header {
            background-color: #81c784; /* Light Green */
            color: white;
            border-top-left-radius: 10px;
            border-top-right-radius: 10px;
        }
    </style>
</head>
<body>
<nav class="navbar navbar-expand-lg">
    <a class="navbar-brand" href="#">My App</a>
    <div class="collapse navbar-collapse">
        <ul class="navbar-nav ml-auto">
            <li class="nav-item">
                <a class="nav-link" href="/logout">Logout</a>
            </li>
        </ul>
    </div>
</nav>
<div class="container">
    <div class="row justify-content-center">
        <div class="col-md-8">
            <div class="card">
                <div class="card-header">
                    Welcome, <span th:text="${name}"></span>!
                </div>
                <div class="card-body">
                    <p class="card-text">You are now logged in using OAuth2.</p>
                </div>
            </div>
        </div>
    </div>
</div>
<script src="https://code.jquery.com/jquery-3.5.1.slim.min.js"></script>
<script src="https://cdn.jsdelivr.net/npm/@popperjs/core@2.9.2/dist/umd/popper.min.js"></script>
<script src="https://stackpath.bootstrapcdn.com/bootstrap/4.5.2/js/bootstrap.min.js"></script>
</body>
</html>
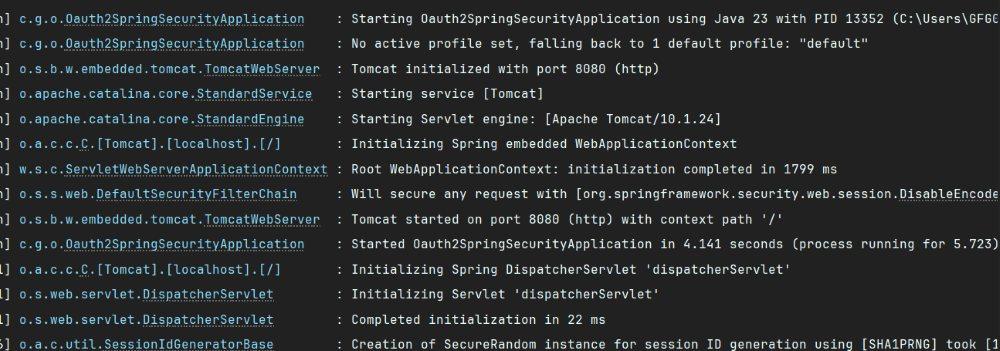
Step 11: Run the application
Step 12: Testing the Application
To test the OAuth2 login, navigate to the following URLs in your web browser:
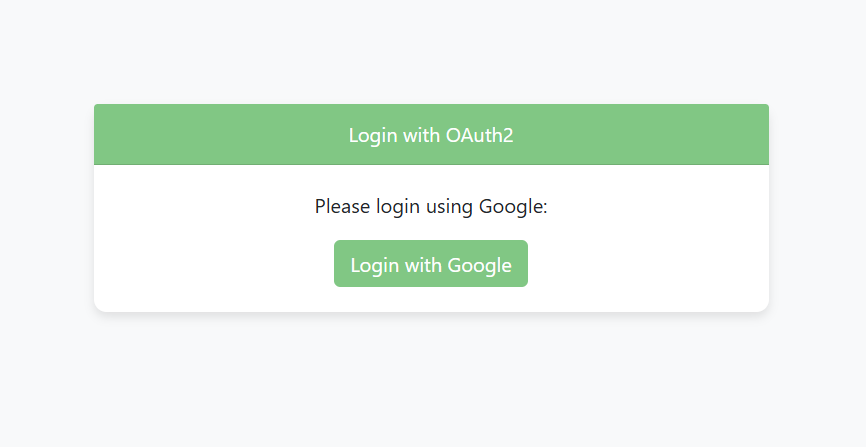
Login Page:
http://localhost:8080/login
Output:
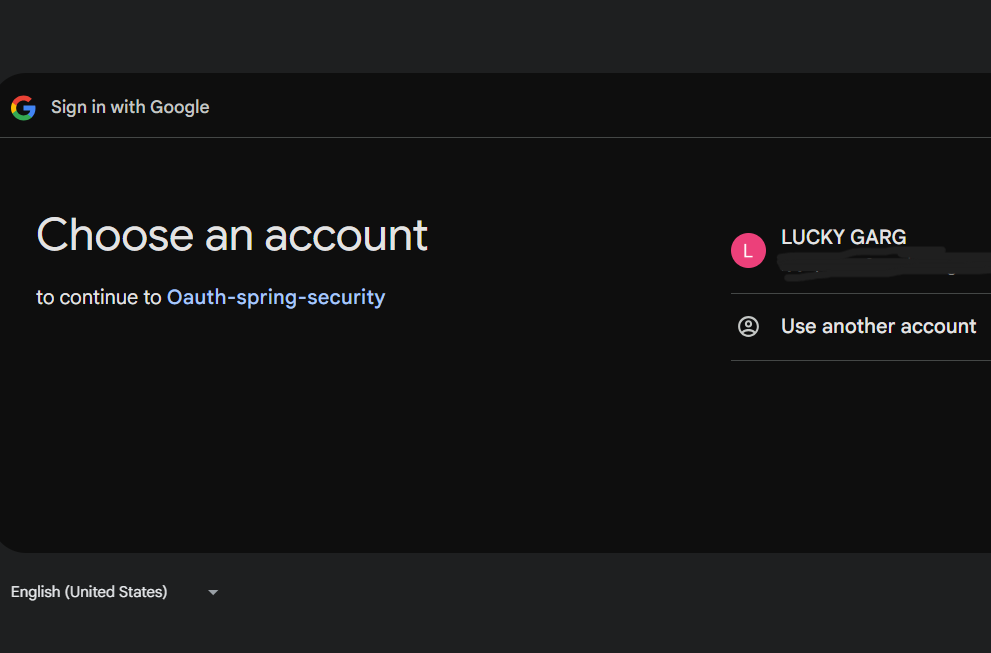
Google OAuth Authentication:
Home Page:
http://localhost:8080/home
Output:
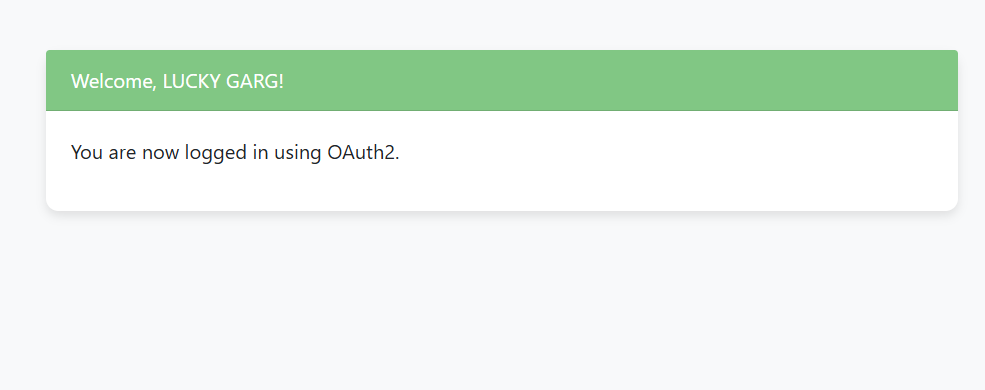
You will see the login page, followed by the Google OAuth2 authentication process. Upon successful login, you will be redirected to the home page with a personalized welcome message.
Benefits of using OAuth2
- Security: Applications can access user data without exposing credentials.
- User Experience: Users can log in using trusted providers like Google or GitHub.
- Scalability: Supports multiple flows suited for different architectures.
- Interoperability: Widely adopted standard that integrates with various platforms.
