@Modifying in Spring Data JPA is used to execute update, delete, or insert queries defined with @Query. It is required when a query changes data instead of just fetching it.
- Ensures transaction integrity while performing data changes.
- Enables native queries for data transformation.
- Supports automatic flushing and clearing of durability references.
Real-world example: In a banking application, when a user updates their account status (e.g., activating or deactivating an account), a custom update query with @Modifying can directly modify the status field in the database without loading the entire entity.
Implementation of @Modifying Annotation of Spring Data JPA
The @Modifying annotation in Spring Data JPA is implemented by applying it to repository methods with @Query to execute update or delete operations directly on the database.
Step 1: Define Entity Class
Define an entity class named User that contains fields such as id, name, age, and isActive to represent user data.
@Entity
@Data
public class User {

    // Primary key
    @Id
    @GeneratedValue(strategy = GenerationType.IDENTITY)
    private int id;

    // User's name
    private String name;

    // User's age
    private int age;

    // Indicates if the user is active
    @Column(name="active")
    private Boolean isActive = true;
}
Step 2: Define Repository Interface
Create a repository interface named UserDao that extends JpaRepository with @Modifying and is annotated with @Query annotation to perform update actions.
@Repository
public interface UserDao extends JpaRepository<User, Integer>{

    // Modifying query to update user's active status based on age
    @Modifying
    @Query(nativeQuery = true, value = "update user u set u.active=0 where u.age < :age")
    void updateUser(@Param("age") int age);

}
Step 3: Create Service Class
Create one class named UserserviceDemo. Inside this class, call the updateUser method that will update data in the database.
@Service
public class UserServiceDemo {
    @Autowired
    private UserDao userDao;

    //get user data from database..
    public List<User> getUserDetail() {
        return userDao.findAll();
    }

    //update user data using our custom method..
    public String updateUserDetail(int age) {
         userDao.updateUser(age);
         return "successfully update !!";
    }
}
Step 4: Implement Controller
Inside the controller, create one class named UserControllerDemo to process HTTP requests, including using endpoints to retrieve user data and update user information.
@RestController
public class UserControllerDemo {
// Autowired UserServiceDemo bean
@Autowired
private UserServiceDemo userServiceDemo;
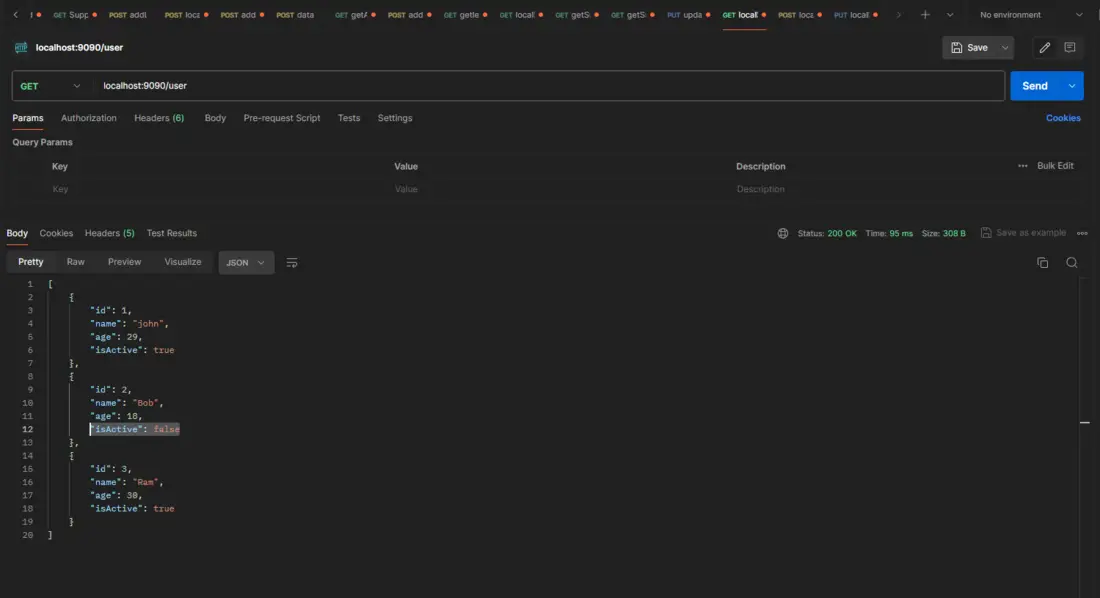
// GET endpoint to retrieve user data
@GetMapping("user")
public List<User> getUser() {
return userServiceDemo.getUserDetail();
}
// PUT endpoint to update user details based on age
@PutMapping("updateuser/{age}")
public String updateUser(@PathVariable int age) {
return userServiceDemo.updateUserDetail(age);
}
}
Step 5: Run the application
Now , run the application and verify the update and delete operations, ensuring successful modification of data in the database.
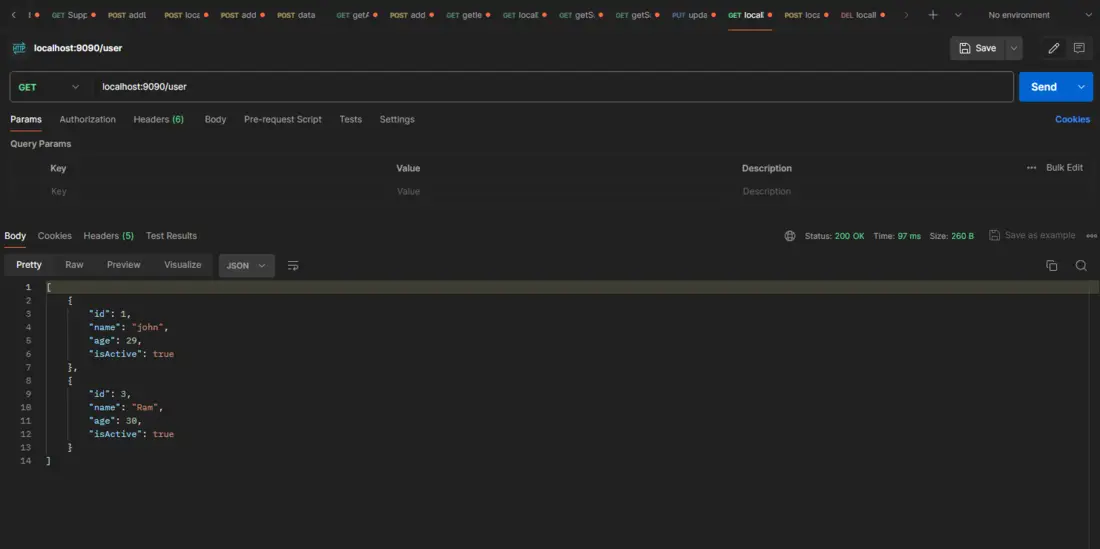
Output:
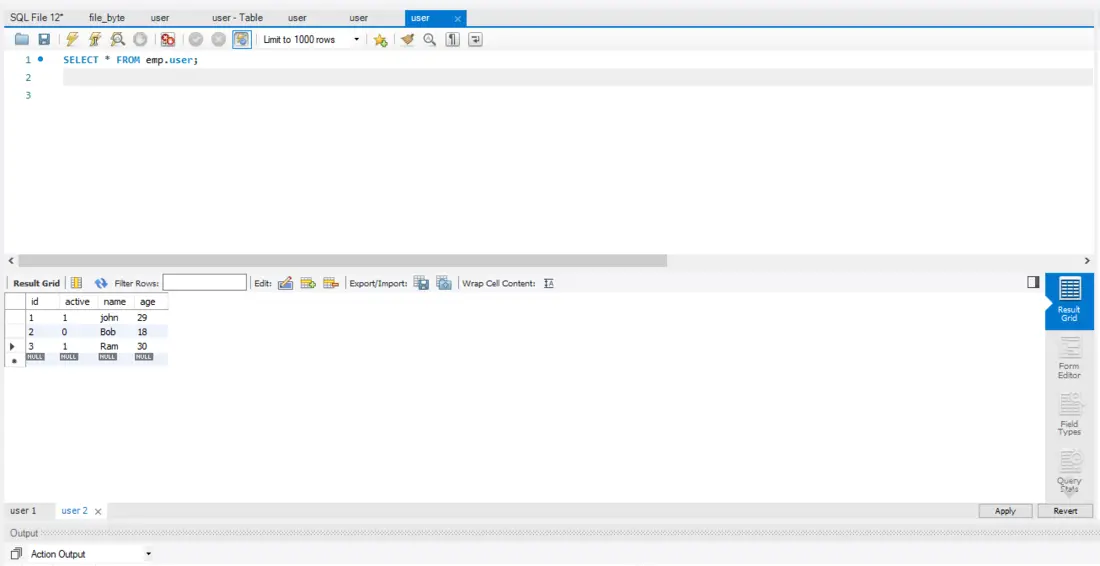
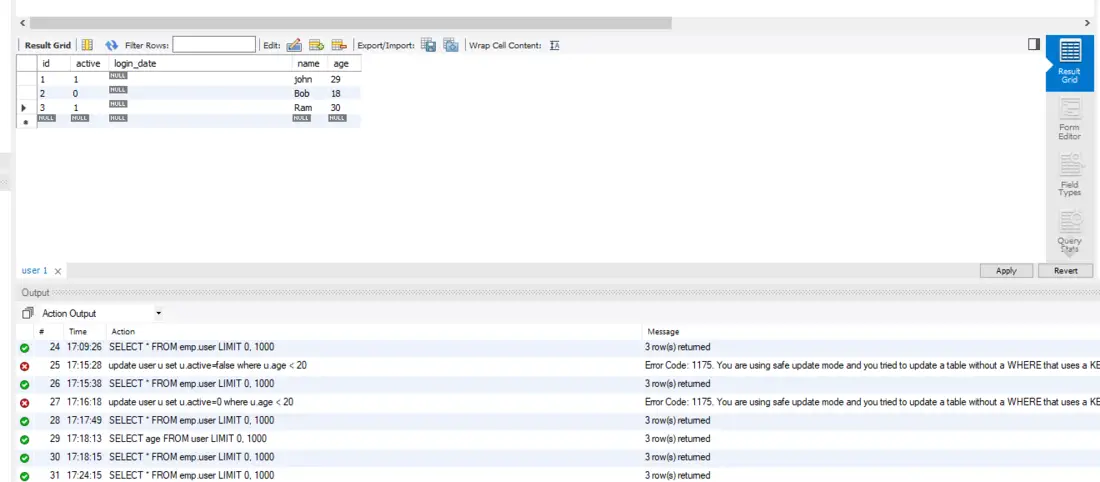
Update activation status: false where age less than 20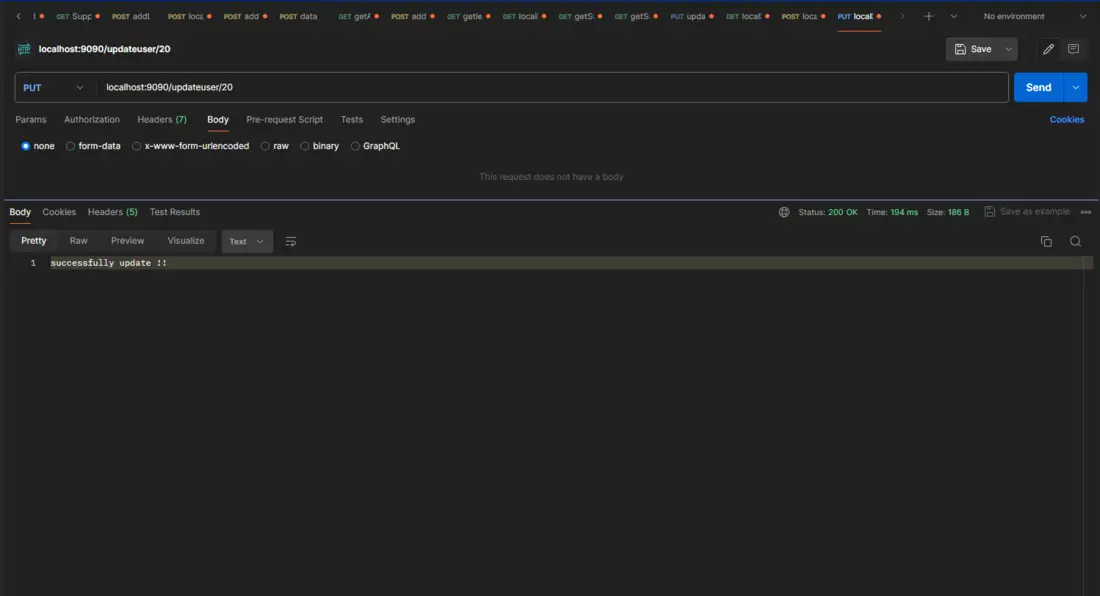
Here, we can see the status update properly in the database.
The above is updating data using the @Modifying annotation. If we have to delete data from the database using the @Modifying annotation, then add the below method to the repository.
@Modifying
@Query(nativeQuery = true,value = "delete from user u where u.active = false")
void deleteDeactivatedUsers();
It can successfully delete data from a database where the activation status is false.
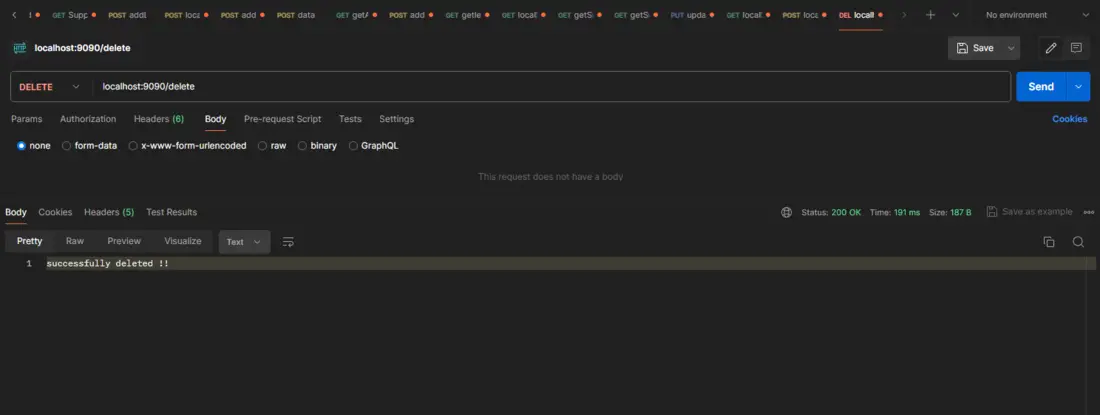
Here, we can see the data was properly deleted in the database.
We can see updates and deletes using the @Modifying annotation. Now we can work with DDL queries using the @Modifying annotation, which means alter, drop, etc.
@Modifying
@Query(value = "alter table user u drop column u.login_date", nativeQuery = true)
void deletedColumn();
The above method can be used to drop/delete a column from a database that will be unnecessary in the table. Now we can alter the table using the @Modifying annotation.
Output:
Before executing the above method, the login_date column is unnecessary in database table.
Now, execute the deleteColumn() method.
.png)
After executing the method, we can see the column was successfully deleted.