Spring Security account activation by email is a common authentication feature used in modern web applications. It verifies the authenticity of users by sending a verification link to their registered email address during the registration process. The account becomes active only after the user clicks the verification link, which improves application security and prevents fake registrations.
- Sends a verification email to newly registered users.
- Activates the account only after email verification.
- Enhances security and validates user email addresses.
Working of Email Account Activation
The email verification process in Spring Security works in multiple steps to ensure secure user registration and authentication.
- User Registration: User enters email and password, and the account is saved as disabled.
- Generate Verification Token: The application creates a unique token for the user.
- Send Verification Email: An email with the activation link is sent to the user.
- Click Verification Link: User clicks the link received in the email.
- Activate Account: If the token is valid, the account is enabled successfully.
- Invalid Token Handling: If the token is invalid or expired, an error message is shown.
Implementation to Activate a New Account by Email in Spring Security
Below is the implementation to activate a new account by email in spring security.
Step 1: Create Spring Boot Project
Create a Spring Boot project using Spring Initializr.
Add Dependencies
- Spring Web
- Spring Security
- Spring Data JPA
- Spring Mail
- Thymeleaf
- MySQL Driver
- Lombok
- Validation
<?xml version="1.0" encoding="UTF-8"?>
<project xmlns="https://maven.apache.org/POM/4.0.0" xmlns:xsi="https://www.w3.org/2001/XMLSchema-instance"
         xsi:schemaLocation="https://maven.apache.org/POM/4.0.0 https://maven.apache.org/xsd/maven-4.0.0.xsd">
    <modelVersion>4.0.0</modelVersion>
    <parent>
        <groupId>org.springframework.boot</groupId>
        <artifactId>spring-boot-starter-parent</artifactId>
        <version>3.2.5</version>
        <relativePath/> <!-- lookup parent from repository -->
    </parent>
    <groupId>org.example</groupId>
    <artifactId>spring-security-account-activate-email</artifactId>
    <version>0.0.1-SNAPSHOT</version>
    <name>spring-security-account-activate-email</name>
    <description>spring-security-account-activate-email</description>
    <properties>
        <java.version>17</java.version>
    </properties>
    <dependencies>
        <dependency>
            <groupId>org.springframework.boot</groupId>
            <artifactId>spring-boot-starter-data-jpa</artifactId>
        </dependency>
        <dependency>
            <groupId>org.springframework.boot</groupId>
            <artifactId>spring-boot-starter-security</artifactId>
        </dependency>
        <dependency>
            <groupId>org.springframework.boot</groupId>
            <artifactId>spring-boot-starter-thymeleaf</artifactId>
        </dependency>
        <!-- https://mvnrepository.com/artifact/org.springframework.boot/spring-boot-starter-mail -->
        <dependency>
            <groupId>org.springframework.boot</groupId>
            <artifactId>spring-boot-starter-mail</artifactId>
            <version>3.2.5</version>
        </dependency>

        <!-- https://mvnrepository.com/artifact/org.webjars/bootstrap -->
        <dependency>
            <groupId>org.webjars</groupId>
            <artifactId>bootstrap</artifactId>
            <version>5.3.3</version>
        </dependency>


        <dependency>
            <groupId>org.springframework.boot</groupId>
            <artifactId>spring-boot-starter-web</artifactId>
        </dependency>
        <dependency>
            <groupId>org.thymeleaf.extras</groupId>
            <artifactId>thymeleaf-extras-springsecurity6</artifactId>
        </dependency>

        <dependency>
            <groupId>org.springframework.boot</groupId>
            <artifactId>spring-boot-devtools</artifactId>
            <scope>runtime</scope>
            <optional>true</optional>
        </dependency>
        <dependency>
            <groupId>com.mysql</groupId>
            <artifactId>mysql-connector-j</artifactId>
            <scope>runtime</scope>
        </dependency>
        <dependency>
            <groupId>org.projectlombok</groupId>
            <artifactId>lombok</artifactId>
            <optional>true</optional>
        </dependency>
        <dependency>
            <groupId>org.springframework.boot</groupId>
            <artifactId>spring-boot-starter-test</artifactId>
            <scope>test</scope>
        </dependency>
        <dependency>
            <groupId>org.springframework.security</groupId>
            <artifactId>spring-security-test</artifactId>
            <scope>test</scope>
        </dependency>
    </dependencies>

    <build>
        <plugins>
            <plugin>
                <groupId>org.springframework.boot</groupId>
                <artifactId>spring-boot-maven-plugin</artifactId>
                <configuration>
                    <excludes>
                        <exclude>
                            <groupId>org.projectlombok</groupId>
                            <artifactId>lombok</artifactId>
                        </exclude>
                    </excludes>
                </configuration>
            </plugin>
        </plugins>
    </build>

</project>
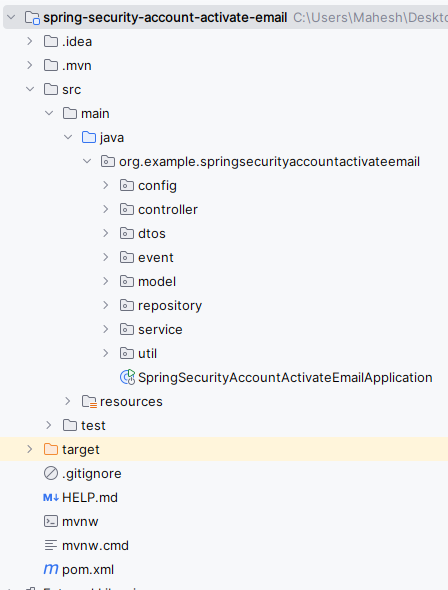
After the project creation done, the folder structure will be like below.
Step 2: Configure application.properties
Configure MySQL database and mail settings.
spring.datasource.url=jdbc:mysql://localhost:3306/email_verification
spring.datasource.username=root
spring.datasource.password=
spring.jpa.hibernate.ddl-auto=update
spring.mail.host=smtp.gmail.com
spring.mail.port=587
spring.mail.username=your_email@gmail.com
spring.mail.password=your_app_password
spring.mail.properties.mail.smtp.auth=true
spring.mail.properties.mail.smtp.starttls.enable=true
Step 3: Create User Entity
- Create a User class inside the model package.
- The
enabledfield checks whether the account is verified or not.
package org.example.springsecurityaccountactivateemail.model;

import jakarta.persistence.*;
import lombok.AllArgsConstructor;
import lombok.Data;
import lombok.NoArgsConstructor;

import java.util.UUID;

@Entity
@Data
@AllArgsConstructor
@NoArgsConstructor
public class User {

    @Id
    @GeneratedValue(strategy = GenerationType.AUTO)
    private UUID id;

    @Column(nullable = false, unique = true)
    private String email;

    @Column(nullable = false)
    private String password;

    @Column(nullable = false)
    private boolean enabled;

    private String verificationToken;

}
Step 4: Create Repository Layer
- Create
UserRepositoryinterface. - Repository layer communicates with the database and fetches user details.
package org.example.springsecurityaccountactivateemail.repository;


import org.example.springsecurityaccountactivateemail.model.User;
import org.springframework.data.jpa.repository.JpaRepository;

import java.util.Optional;
import java.util.UUID;

public interface UserRepository extends JpaRepository<User, UUID> {
    Optional<User> findByEmail(String email);
    Optional<User> findByVerificationToken(String token);
}
Step 5: Create DTO Class
- Create UserRegistrationDto class.
- DTO transfers registration form data between controller and service layers.
package org.example.springsecurityaccountactivateemail.dtos;


import lombok.AllArgsConstructor;
import lombok.Data;
import lombok.NoArgsConstructor;

@Data
@AllArgsConstructor
@NoArgsConstructor
public class UserRegistrationDto {
    private String email;
    private String password;

}
Step 6: Create User Service
- Create UserService class.
- A unique verification token is generated and sent through email during registration.
package org.example.springsecurityaccountactivateemail.service;


import org.example.springsecurityaccountactivateemail.dtos.UserRegistrationDto;
import org.example.springsecurityaccountactivateemail.model.User;
import org.example.springsecurityaccountactivateemail.repository.UserRepository;
import org.springframework.beans.factory.annotation.Autowired;
import org.springframework.security.crypto.bcrypt.BCryptPasswordEncoder;
import org.springframework.stereotype.Service;

import java.util.UUID;

@Service
public class UserService {

    @Autowired
    private UserRepository userRepository;

    @Autowired
    private EmailService emailService;

    public User registerNewUserAccount(UserRegistrationDto userDto) {
        User user = new User();
        user.setEmail(userDto.getEmail());
        user.setPassword(new BCryptPasswordEncoder().encode(userDto.getPassword()));
        user.setEnabled(false);
        userRepository.save(user);

        // Generate verification token and send email
        String token = UUID.randomUUID().toString();
        user.setVerificationToken(token);
        userRepository.save(user);

        String confirmationUrl = "http://localhost:8080/verify-email?token=" + token;
        emailService.sendEmail(user.getEmail(), "Email Verification", "Click the link to verify your email: " + confirmationUrl);

        return user;
    }

    public String validateVerificationToken(String token) {
        User user = userRepository.findByVerificationToken(token).orElse(null);
        if (user == null) {
            return "invalid";
        }

        user.setEnabled(true);
        userRepository.save(user);
        return "valid";
    }
}
Step 7: Create Email Service
- Create EmailService class.
- This service sends verification emails to registered users.
package org.example.springsecurityaccountactivateemail.service;

import org.springframework.beans.factory.annotation.Autowired;
import org.springframework.mail.SimpleMailMessage;
import org.springframework.mail.javamail.JavaMailSender;
import org.springframework.stereotype.Service;

@Service
public class EmailService {

    @Autowired
    private JavaMailSender mailSender;

    public void sendEmail(String to, String subject, String text) {
        SimpleMailMessage message = new SimpleMailMessage();
        message.setTo(to);
        message.setSubject(subject);
        message.setText(text);
        mailSender.send(message);
    }
}
Step 8: Create Verification Service
Create a new package named service. Inside this package, create a Java class named VerificationTokenService.
package org.example.springsecurityaccountactivateemail.service;

import org.example.springsecurityaccountactivateemail.model.User;
import org.example.springsecurityaccountactivateemail.repository.UserRepository;
import org.springframework.beans.factory.annotation.Autowired;
import org.springframework.stereotype.Service;

@Service
public class VerificationTokenService {

    @Autowired
    private UserRepository userRepository;

    public void createVerificationToken(User user, String token) {
        user.setVerificationToken(token);
        userRepository.save(user);
    }

    public String validateVerificationToken(String token) {
        User user = userRepository.findByVerificationToken(token).orElse(null);
        if (user == null) {
            return "invalid";
        }

        user.setEnabled(true);
        userRepository.save(user);
        return "valid";
    }
}
Step 9: Configure Spring Security
- Create SecurityConfig class.
- Spring Security protects application endpoints and allows public access only to registration and login pages.
package org.example.springsecurityaccountactivateemail.config;

import org.springframework.context.annotation.Bean;
import org.springframework.context.annotation.Configuration;
import org.springframework.security.config.annotation.web.builders.HttpSecurity;
import org.springframework.security.config.annotation.web.configuration.EnableWebSecurity;
import org.springframework.security.web.SecurityFilterChain;

@Configuration
@EnableWebSecurity
public class SecurityConfig {

    @Bean
    public SecurityFilterChain securityFilterChain(HttpSecurity http) throws Exception {
        http
                .authorizeHttpRequests((requests) -> requests
                        .requestMatchers("/register", "/verify-email", "/login").permitAll()
                        .anyRequest().authenticated()
                )
                .formLogin((form) -> form
                        .loginPage("/login")
                        .permitAll()
                )
                .logout((logout) -> logout.permitAll());

        return http.build();
    }
}
Step 10: Create Random String Generator
- Create a package named util and create a class RandomStringGenerator.
- This utility generates secure random strings for tokens.
package org.example.springsecurityaccountactivateemail.util;

import java.security.SecureRandom;

public class RandomStringGenerator {

    private static final String CHARACTERS = "ABCDEFGHIJKLMNOPQRSTUVWXYZabcdefghijklmnopqrstuvwxyz0123456789";
    private static final SecureRandom random = new SecureRandom();

    public static String generateString(int length) {
        StringBuilder sb = new StringBuilder(length);
        for (int i = 0; i < length; i++) {
            sb.append(CHARACTERS.charAt(random.nextInt(CHARACTERS.length())));
        }
        return sb.toString();
    }
}
Step 11: Create Registration Event
- Create a package named event and create a class OnRegistrationCompleteEvent.
- This event is triggered after successful registration.
package org.example.springsecurityaccountactivateemail.event;

import org.example.springsecurityaccountactivateemail.dtos.UserRegistrationDto;
import org.example.springsecurityaccountactivateemail.model.User;
import org.example.springsecurityaccountactivateemail.repository.UserRepository;
import org.example.springsecurityaccountactivateemail.service.EmailService;
import org.springframework.beans.factory.annotation.Autowired;
import org.springframework.context.ApplicationEvent;
import org.springframework.security.crypto.bcrypt.BCryptPasswordEncoder;
import org.springframework.stereotype.Service;

import java.util.UUID;

public class OnRegistrationCompleteEvent extends ApplicationEvent {
    private final User user;

    public OnRegistrationCompleteEvent(User user) {
        super(user);
        this.user = user;
    }

    public User getUser() {
        return user;
    }
}
Step 12: Create Registration Listener
- In the event package, create a class RegistrationListener.
- The listener automatically handles email verification after registration.
package org.example.springsecurityaccountactivateemail.event;

import org.example.springsecurityaccountactivateemail.model.User;
import org.example.springsecurityaccountactivateemail.service.EmailService;
import org.example.springsecurityaccountactivateemail.service.VerificationTokenService;
import org.springframework.beans.factory.annotation.Autowired;
import org.springframework.context.ApplicationListener;
import org.springframework.stereotype.Component;

import java.util.UUID;

@Component
public class RegistrationListener implements ApplicationListener<OnRegistrationCompleteEvent> {

    @Autowired
    private VerificationTokenService tokenService;

    @Autowired
    private EmailService emailService;

    @Override
    public void onApplicationEvent(OnRegistrationCompleteEvent event) {
        this.confirmRegistration(event);
    }

    private void confirmRegistration(OnRegistrationCompleteEvent event) {
        User user = event.getUser();
        String token = UUID.randomUUID().toString();
        tokenService.createVerificationToken(user, token);

        String recipientAddress = user.getEmail();
        String subject = "Email Verification";
        String confirmationUrl = "http://localhost:8080/verify-email?token=" + token;
        String message = "Click the link to verify your email: " + confirmationUrl;

        emailService.sendEmail(recipientAddress, subject, message);
    }
}
Step 13: Create Registration Controller
- Create a package named controller and create a class RegistrationController.
- It validates tokens and activates user accounts.
package org.example.springsecurityaccountactivateemail.controller;

import org.example.springsecurityaccountactivateemail.dtos.UserRegistrationDto;
import org.example.springsecurityaccountactivateemail.event.OnRegistrationCompleteEvent;
import org.example.springsecurityaccountactivateemail.model.User;
import org.example.springsecurityaccountactivateemail.service.UserService;
import org.springframework.beans.factory.annotation.Autowired;
import org.springframework.context.ApplicationEventPublisher;
import org.springframework.stereotype.Controller;
import org.springframework.ui.Model;
import org.springframework.web.bind.annotation.GetMapping;
import org.springframework.web.bind.annotation.ModelAttribute;
import org.springframework.web.bind.annotation.PostMapping;
import org.springframework.web.bind.annotation.RequestParam;

@Controller
public class RegistrationController {

    @Autowired
    private UserService userService;

    @Autowired
    private ApplicationEventPublisher eventPublisher;

    @GetMapping("/register")
    public String showRegistrationForm(Model model) {
        model.addAttribute("user", new UserRegistrationDto());
        return "registration";
    }

    @PostMapping("/register")
    public String registerUserAccount(@ModelAttribute("user") UserRegistrationDto userDto, Model model) {
        User registered = userService.registerNewUserAccount(userDto);
        eventPublisher.publishEvent(new OnRegistrationCompleteEvent(registered));
        return "redirect:/verify-email";
    }

    @GetMapping("/verify-email")
    public String verifyEmail(@RequestParam("token") String token, Model model) {
        String result = userService.validateVerificationToken(token);
        if (result.equals("valid")) {
            model.addAttribute("message", "Your account has been verified successfully.");
            return "verified";
        } else {
            model.addAttribute("message", "Invalid verification token.");
            return "verify-email";
        }
    }
}
Step 14: Create Login Controller
- In the controller package, create a class LoginController.
- This controller returns the custom login page.
package org.example.springsecurityaccountactivateemail.controller;

import org.springframework.stereotype.Controller;
import org.springframework.web.bind.annotation.GetMapping;

@Controller
public class LoginController {

    @GetMapping("/login")
    public String showLoginForm() {
        return "login";
    }
}
Step 15: Main Application Class
- Open the main Spring Boot application class.
- This class starts the Spring Boot application.
package org.example.springsecurityaccountactivateemail;

import org.springframework.boot.SpringApplication;
import org.springframework.boot.autoconfigure.SpringBootApplication;

@SpringBootApplication
public class SpringSecurityAccountActivateEmailApplication {

    public static void main(String[] args) {
        SpringApplication.run(SpringSecurityAccountActivateEmailApplication.class, args);
    }

}
Step 16: Create Registration Page
- Create registration.html.
- This page contains the registration form.
<!DOCTYPE html>
<html xmlns:th="http://www.thymeleaf.org">
<head>
    <title>Registration</title>
    <link rel="stylesheet" href="https://stackpath.bootstrapcdn.com/bootstrap/4.5.2/css/bootstrap.min.css">
</head>
<body>
<div class="container">
    <h2 class="mt-5">Register</h2>
    <form th:action="@{/register}" method="post" class="needs-validation" novalidate>
        <div class="mb-3">
            <label for="email" class="form-label">Email</label>
            <input type="email" class="form-control" id="email" name="email" required/>
            <div class="invalid-feedback">
                Please provide a valid email.
            </div>
        </div>
        <div class="mb-3">
            <label for="password" class="form-label">Password</label>
            <input type="password" class="form-control" id="password" name="password" required/>
            <div class="invalid-feedback">
                Please provide a password.
            </div>
        </div>
        <button type="submit" class="btn btn-primary">Register</button>
    </form>
</div>
<script src="https://cdn.jsdelivr.net/npm/bootstrap@5.3.0/dist/js/bootstrap.bundle.min.js"></script>
<script>
    (function () {
        'use strict'
        var forms = document.querySelectorAll('.needs-validation')
        Array.prototype.slice.call(forms)
            .forEach(function (form) {
                form.addEventListener('submit', function (event) {
                    if (!form.checkValidity()) {
                        event.preventDefault()
                        event.stopPropagation()
                    }
                    form.classList.add('was-validated')
                }, false)
            })
    })()
</script>
</body>
</html>
Step 17: Create Verify Email Page
- Create verify-email.html.
- This page displays verification success or failure messages.
<!DOCTYPE html>
<html xmlns:th="http://www.thymeleaf.org">
<head>
    <title>Verify Email</title>
    <link rel="stylesheet" href="https://stackpath.bootstrapcdn.com/bootstrap/4.5.2/css/bootstrap.min.css">
</head>
<body>
<div class="container">
    <h2 class="mt-5">Verify Email</h2>
    <div th:if="${message}" class="alert" th:classappend="${message == 'Your account has been verified successfully.' ? 'alert-success' : 'alert-danger'}">
        <span th:text="${message}"></span>
    </div>
</div>
</body>
</html>
Step 18: Create Login Page
- Create login.html.
- This page provides a custom login form.
<!DOCTYPE html>
<html xmlns:th="http://www.thymeleaf.org">
<head>
    <title>Login</title>
    <link rel="stylesheet" href="https://stackpath.bootstrapcdn.com/bootstrap/4.5.2/css/bootstrap.min.css">
</head>
<body>
<div class="container">
    <h2 class="mt-5">Login</h2>
    <form th:action="@{/login}" method="post" class="needs-validation" novalidate>
        <div class="mb-3">
            <label for="username" class="form-label">Email</label>
            <input type="text" class="form-control" id="username" name="username" required/>
            <div class="invalid-feedback">
                Please provide a valid email.
            </div>
        </div>
        <div class="mb-3">
            <label for="password" class="form-label">Password</label>
            <input type="password" class="form-control" id="password" name="password" required/>
            <div class="invalid-feedback">
                Please provide a password.
            </div>
        </div>
        <button type="submit" class="btn btn-primary">Login</button>
    </form>
</div>
<script src="https://cdn.jsdelivr.net/npm/bootstrap@5.3.0/dist/js/bootstrap.bundle.min.js"></script>
<script>
    (function () {
        'use strict'
        var forms = document.querySelectorAll('.needs-validation')
        Array.prototype.slice.call(forms)
            .forEach(function (form) {
                form.addEventListener('submit', function (event) {
                    if (!form.checkValidity()) {
                        event.preventDefault()
                        event.stopPropagation()
                    }
                    form.classList.add('was-validated')
                }, false)
            })
    })()
</script>
</body>
</html>
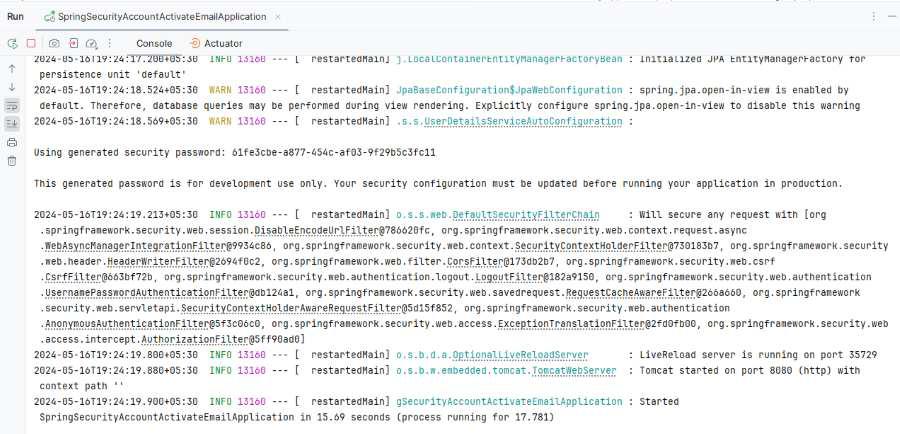
Step 19: Run the Application
Now, we will run the application and it will start at port 8080.
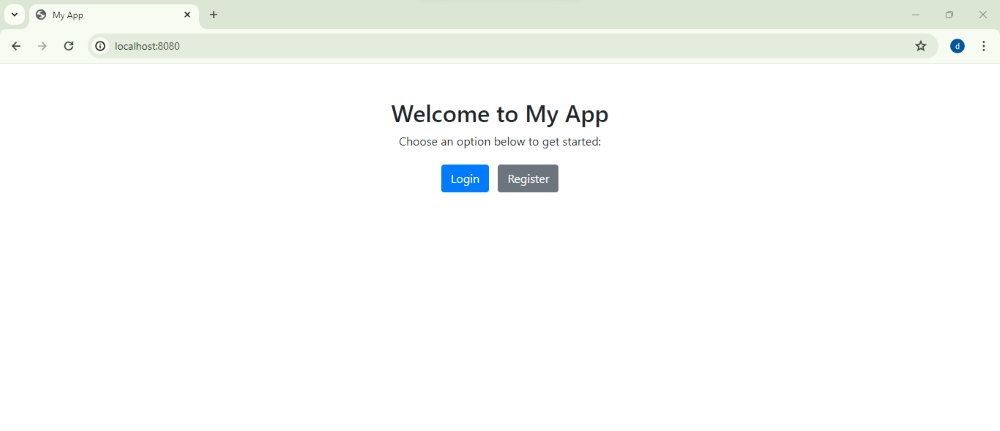
Home page
Endpoint:
http://localhost:8080/
Output:
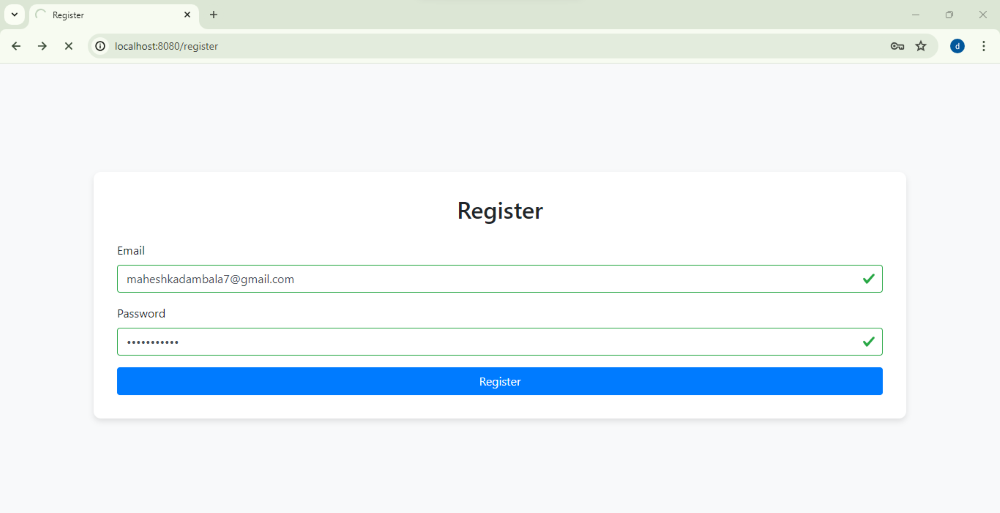
Register Page Endpoint:
http://localhost:8080/register
Output:
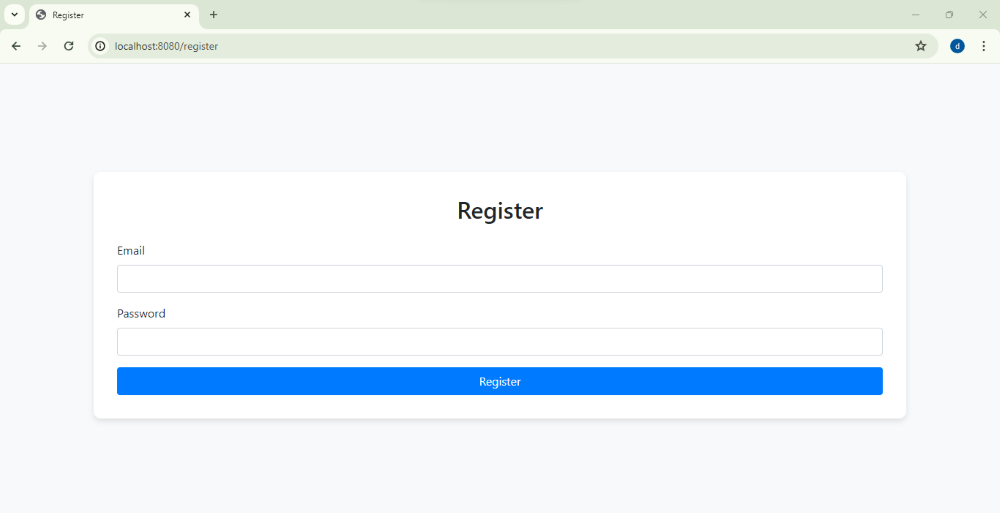
Enter the email and password and click on register then send the verification email to user email account.
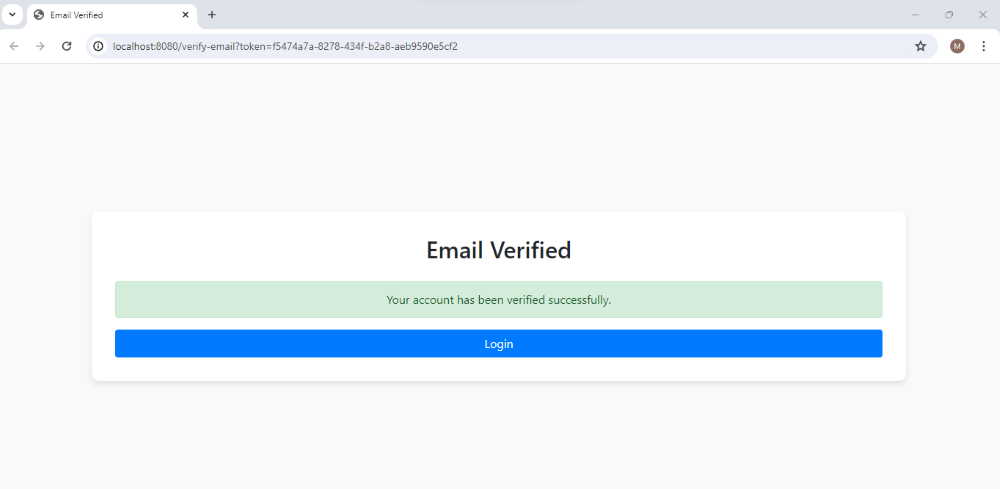
Email verification:

Click on the link, then the below page will open. After that verify the account and finally account will be activated.
This project demonstrate how to implement the spring security to activate the new account by the email of the spring boot application.
