Desktop sharing refers to technologies that enable remote access and remote collaboration on a computer desktop via a graphical terminal emulator. Desktop sharing allows two or more Internet-enabled computer users to work on the same files from different locations.
In this article, we will show you how to enable desktop sharing in Ubuntu and Linux Mint, with a few vital security features.
Enabling Desktop Sharing in Ubuntu and Linux Mint
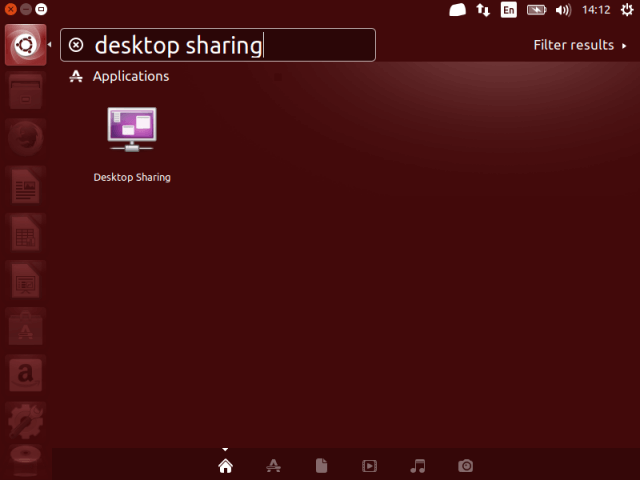
1. In the Ubuntu Dash or Linux Mint Menu, search for “desktop sharing” as shown in the following screenshot, once you get it, launch it.
2. Once you launch Desktop sharing, there are three categories of desktop sharing settings: sharing, security and notification settings.
Under sharing, check the option “Allow others users to view your desktop” to enable desktop sharing. Optionally, you can also permit other users to remotely control your desktops by checking the option “Allow others users to control your desktop”.

3. Next in security section, you can choose to manually confirm each remote connection by checking the option “You must confirm each access to this computer”.
Again, another useful security feature is creating a certain shared password using the option “Require user to enter this password”, that remote users must know and enter each time they want to access your desktop.
4. Concerning notifications, you can keep an eye on remote connections by choosing to show the notification area icon each time there is a remote connection to your desktops by selecting “Only when someone is connected”.

When you have set all the desktop sharing options, click Close. Now you have successfully permitted desktop sharing on your Ubuntu or Linux Mint desktop.
Testing Desktop Sharing in Ubuntu Remotely
You can test to ensure that it’s working using a remote connection application. In this example, I will show you how some of the options we set above work.
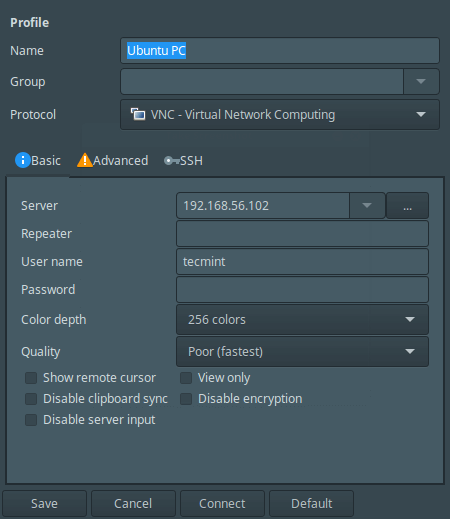
5. I will connect to my Ubuntu PC using VNC (Virtual Network Computing) protocol via remmina remote connection application.

6. After clicking on Ubuntu PC item, I get the interface below to configure my connection settings.
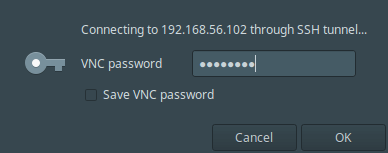
7. After performing all the settings, I will click Connect. Then provide the SSH password for the username and click OK.
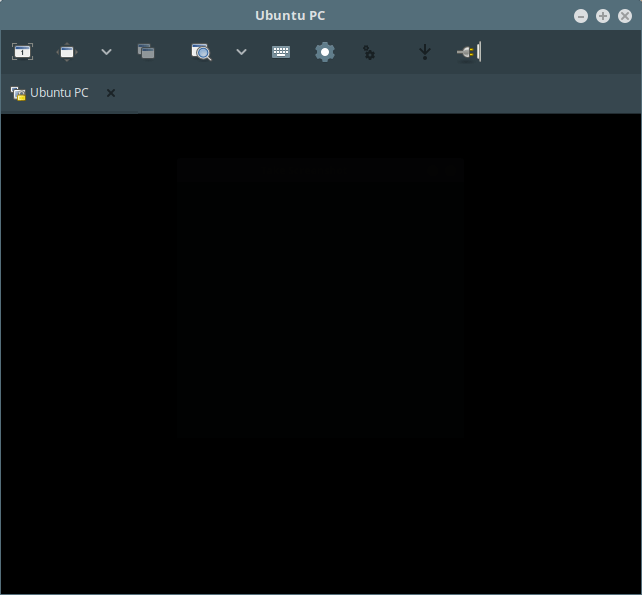
I have got this black screen after clicking OK because, on the remote machine, the connection has not been confirmed yet.
8. Now on the remote machine, I have to accept the remote access request by clicking on “Allow” as shown in the next screenshot.

9. After accepting the request, I have successfully connected, remotely to my Ubuntu desktop machine.

That’s it! In this article, we described how to enable desktop sharing in Ubuntu and Linux Mint. Use the comment section below to write back to us.

Any idea how to enable desktop sharing in MX Linux?
All I saw was for Ubuntu. I have nothing like that on Mint 20.
Hello TecMint,
Could we do the same setting using Terminal? if yes please let me know as soon as possible.
How can I connect to Ubuntu Desktop sharing from Windows as remmina not available for windows?
Use the VNC server + viewer – https://www.realvnc.com/en/
Not helpful article, no mention of port number.
Nice! But how to make connection if computers are on different places (a few kilometers distance) and no public ip address. One computer at home& other on work with zoneminder server…
Currently I use VNC server + viewer but no picture quality & other problems exist…
Thanks
@Miroslav
You need connectivity between the computers for desktop sharing to work.
That was something I learnt new today.
@Arindam
Thanks for the feedback.
Hi,
So many thanks
I don’t have access to the GUI of remote machine. All I can is to connect to its terminal. How can I enable those options in Desktop Sharing Preferences from terminal commands?
@Zana
You need to install a GUI on the server first, before you can enable desktop sharing.
Thanks Aaron. Super useful article as always.
@jaro
Welcome, and many thanks for the kind words of appreciation and always following us.