[EN] Fashion & Outfit Photos: Taking Your Own

*こちらは英語版ページです。
▷ 日本語版は、こちらからご覧いただけます ◁
Hi! It’s Hilda.
Typically, I write ▷ “From My Closet To You” ◁ as stand‑alone episodes―a narrative essay series weaving fashion and heart.
Today, I’m sharing "how to take outfit photos by yourself".
This article covers items for a photo session, features of good locations, step‑by‑step instructions, ideas for keeping your face out of the frame, and simple posing tips.
It is "beginner-friendly content" for those who want to take outfit photos on their own or are trying it for the first time.
I love fashion, so I know the feeling of wanting to keep a record of your outfits. But it can be embarrassing to ask someone else to take the photos for you. And wouldn’t it be nice if you could take clean, well‑lit shots on your own, whenever it suits you? I’ve felt that way many times myself.
Asking someone to take your photos is one option, but it can also feel like a big hurdle.
I've tried various ways to take photos. Some worked out, others didn't. Reflecting on those experiences, I decided to write this article for beginners.
I hope this article will serve as a guide for people who think, "I'd like to try taking photos on my own first.”
Also, I post my outfit photos on Instagram. If you’d like, please take a look for reference.
▷ Here’s my Instagram (@hilda_tu.tu) ◁
*This account does not sell paid content, pressure anyone to make purchases, or collect personal information.
Alright, let's get started!
1. Items for a photo session
When taking photos alone, prepare the following 3 items in addition to your smartphone.
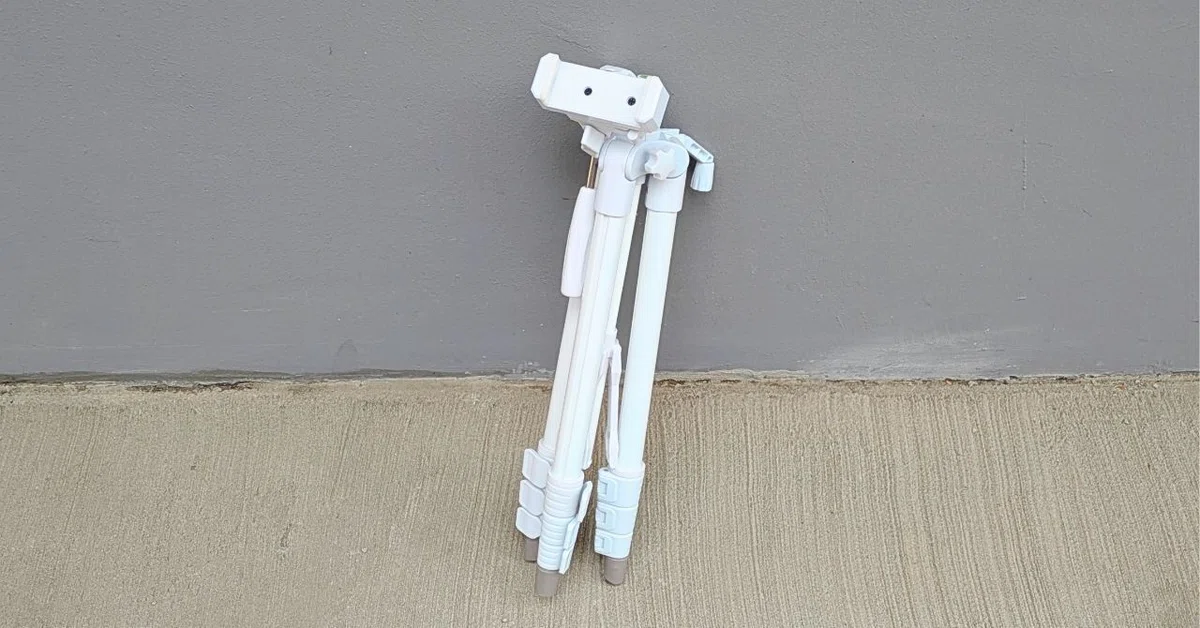
◆Smartphone tripod
In some situations you can set your phone down and take, but when you’re starting out a tripod provides more stability. Here are the points to consider when choosing one.
・Extends to at least about 1 m and is self‑standing
・Includes a phone holder that fits your smartphone
*If the tripod is about 1 m tall, leaving roughly 2 m between you and the tripod makes it easier to capture your full body. If it extends higher, you can stand a little closer. If it’s under 1 m tall, it becomes harder to capture your full body unless you stand more than 2 m away.
◆Bluetooth remote shutter
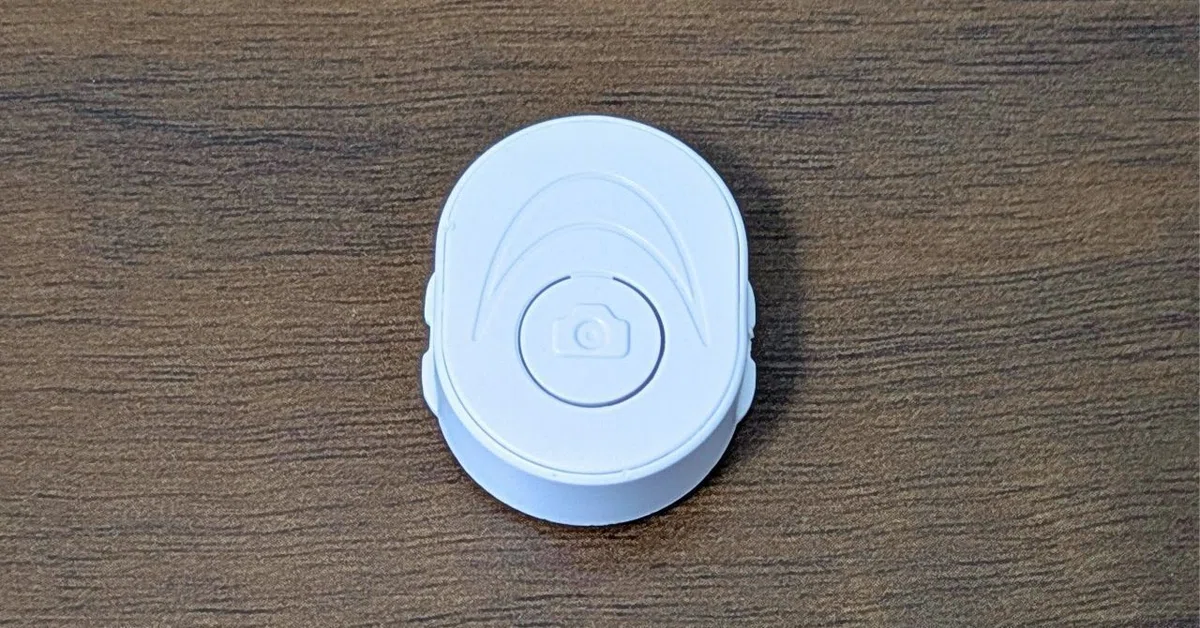
Some smartphones and apps have remote shutter features, but it’s useful to have a remote control as well. To minimize how much it shows up in your photos, choose one that meets the following conditions.
・Small enough to fit in the palm of your hand
・Low profile color such as black or white
*You won't often find these in physical stores, but they are available from online retailers. Some tripods are sold with a remote shutter included.
◆Battery (for Bluetooth remote shutter)
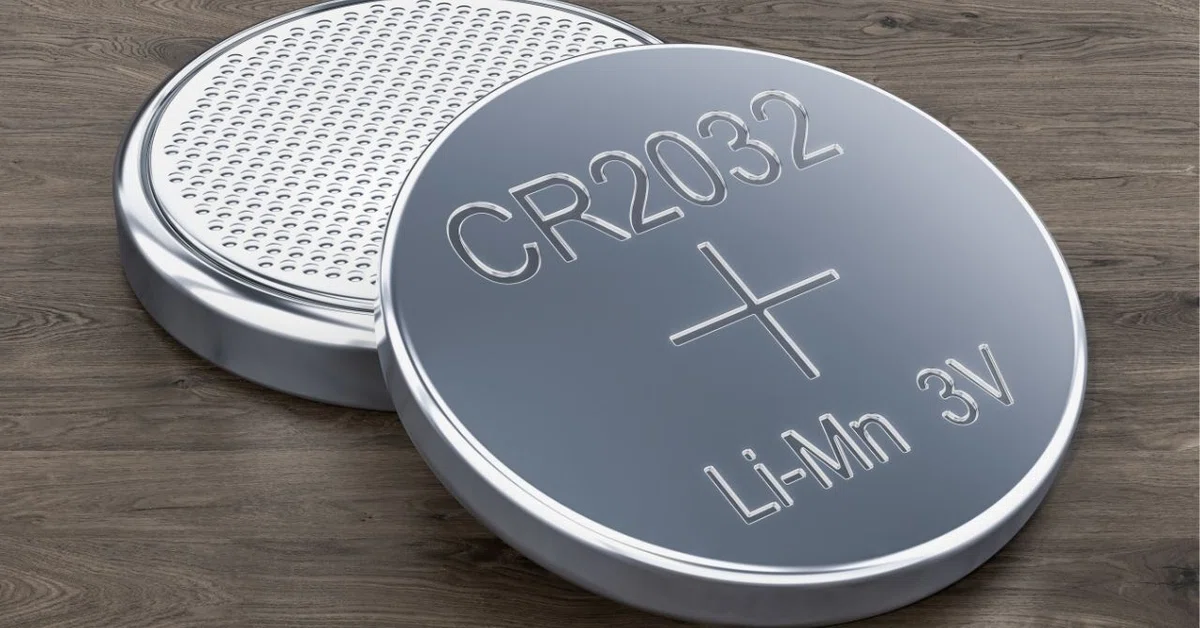
Some remotes are sold without batteries, or their batteries may run out quickly, so prepare spare batteries before shooting.
*Remote shutters often use coin‑cell batteries rather than AA or AAA, so check the battery type before you buy.
2. Features of a good location for taking photos
Once you’ve gathered what you need, the next question is where to take photos. Begin by researching and scouting spots in and around your home and neighborhood. Below are the features of locations that work well for taking photos.
*Be mindful of etiquette and privacy; even for hobby photography, some locations may require permission, so check in advance to be safe.
〈Features〉
Based on the five points below, look around your home and neighborhood for places that match.
(1)A place where you won't have to worry about onlookers and can take photos in peace.
(2)A spot with ample natural light or cool white lighting that provides sufficient brightness.
(3)A simple wall in a neutral color that you can stand in front of.
(4)A location where the frame won’t include anything that could identify you, reveal signs of everyday life, or show fixtures.
(5)Assume you'll use a tripod and make sure there's enough space—for a tripod about 1 m high, allow roughly 2 m of distance.
〈Precautions for photographing through a mirror〉
This is an easy, tripod‑free method to try, but be careful about the following when taking photos.
・Check that your hands or arms aren’t hiding your outfit.
・Make sure glare or reflections in the mirror don’t obscure the outfit.
・Ensure you’re not so close to the mirror that your full‑body proportions look distorted.
・Make sure nothing other than you and your outfit —including any objects or fixtures— is visible in the mirror.
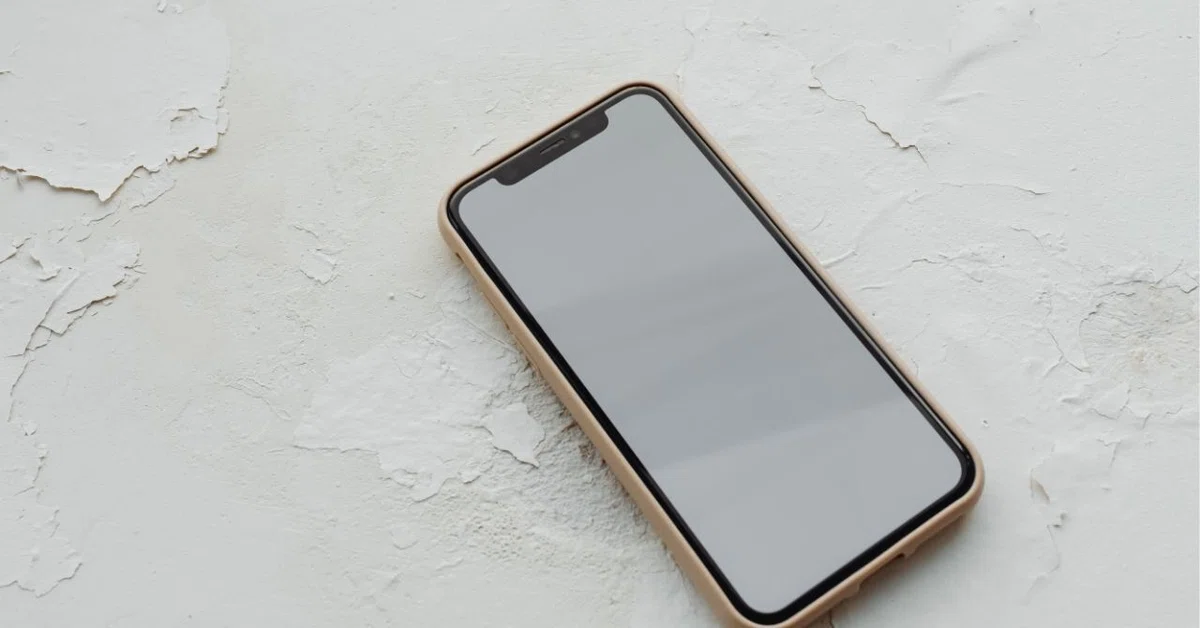
3. Taking photos
Once you have the items you need and a location set, it’s time to take photos. I’ll walk you through the steps and highlight the key points.
(1)Setting
If you're not used to this, it can take longer than you expect, so build extra time into your schedule.
①Adjust the tripod height
As a reminder, set the tripod to at least 1 m and place it on a level surface.
②Mount the phone on the tripod
When taking photos alone, use the front‑facing (selfie) camera so you can easily check the screen. Mount the phone with the front camera facing you.
③Stand at least 2 m from the tripod
If the tripod is about 1 m high, stand at least 2 m away. Be sure to keep the remote shutter in your hand.
④Test shots
・After you step back, use the remote shutter to take a test shot.
・Check the test photo to make sure nothing—like your head or feet—is cut off.
・If something is cut off, move a little farther from the tripod and take another test shot.
〈Key point〉
When taking photos, avoid framing yourself tightly from head to toe; leave some space above and below (headroom and footroom). This makes the shoot run more smoothly and makes cropping or zooming in during editing much easier.
〈If you prefer not to show your face〉
Even if you prefer not to show your face, I recommend shooting full‑body photos during the session. It’s difficult to keep only the area below your neck consistently in frame, so taking full‑body shots and cropping or editing later will save you time and effort. That said, if you’re still uncomfortable, try the following.
・Turn to the side.
・Let some hair fall over your face.
・Hold a prop in front of your face.
*If you don’t need to appear in the photos, consider shooting product‑style images instead. Choose the approach that works best for you.
(Examples: dress a mannequin or hanger; arrange the outfit flat on a surface and photograph it.)
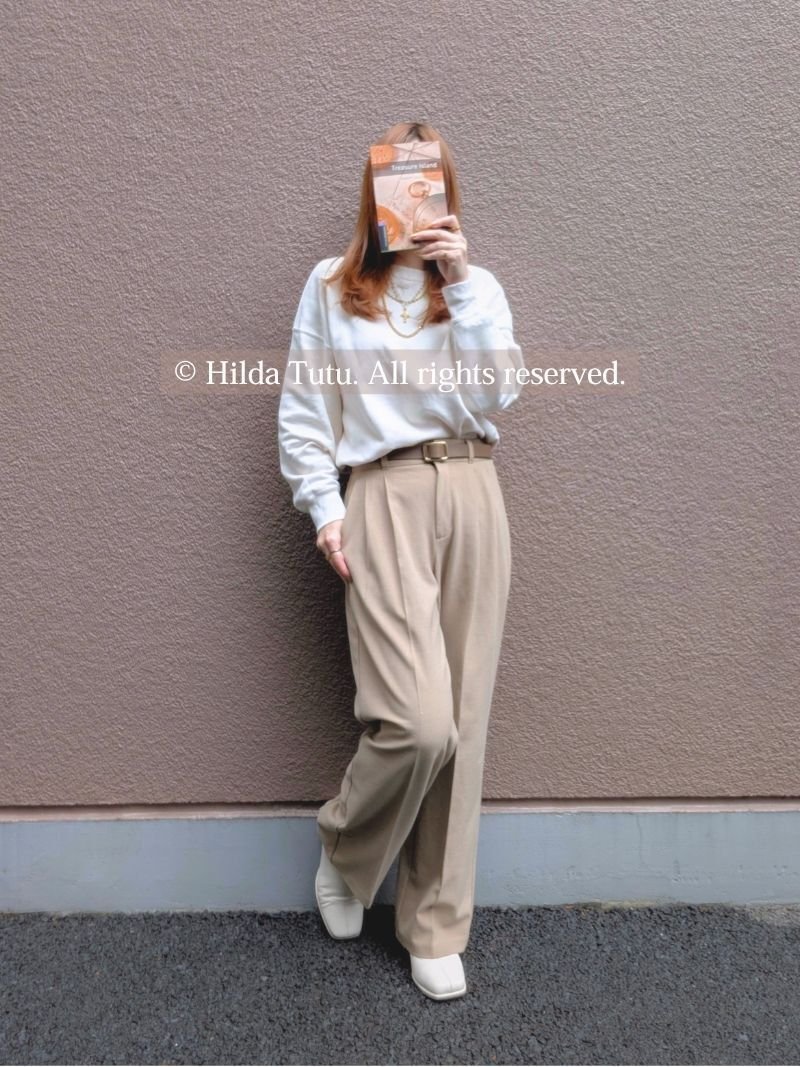
(2) Main photo session
If the test shots look good, start taking the main shots.
①Shutter timing
When you’re not used to it, focus on stopping your body before taking the photo. Try this sequence: [pose → hold still → take the shot].
②Posing
In my experience, simply standing straight often doesn’t look very stylish. Here are three easy poses that beginners can try.
◆Place one foot diagonally forward
Step one foot diagonally forward, either left or right. A half step forward creates a more poised, elegant look. Stepping the foot farther forward creates a more active, dynamic impression. Decide how far to step based on the look you want in the photo.
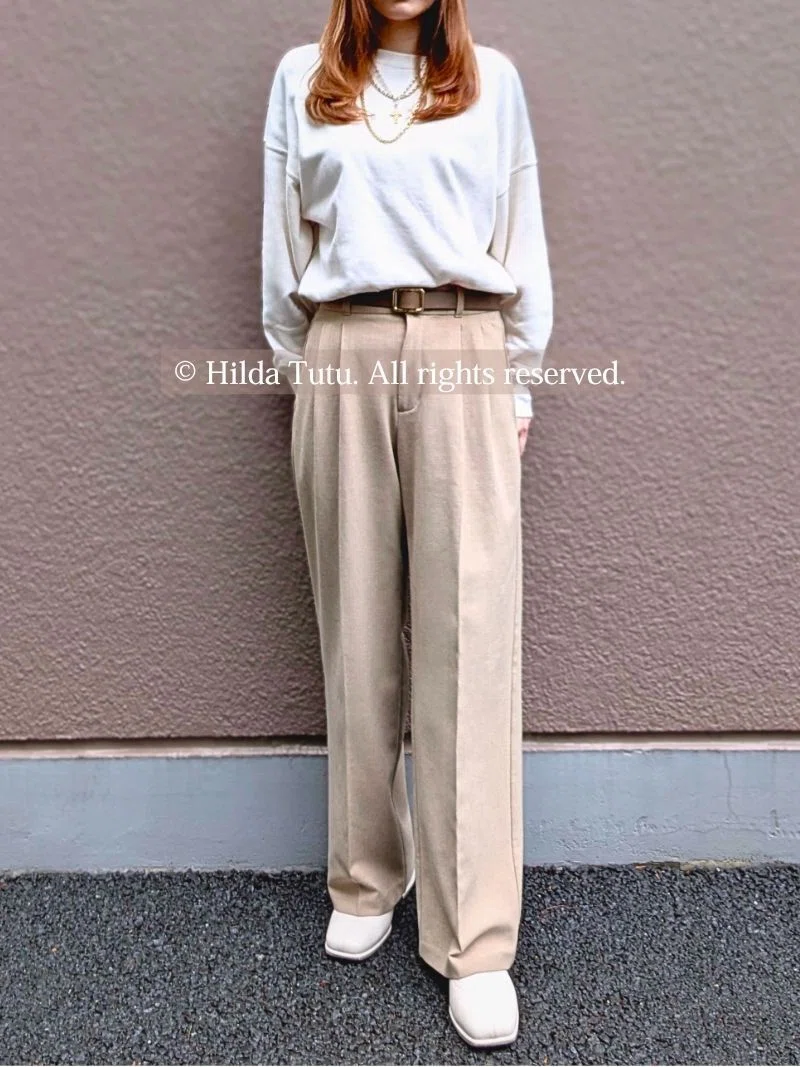
◆Bring your left and right heels together
Bring your heels together. Keep your toes slightly turned out. Turning your body slightly to the side creates a more stylish impression, while a front-facing pose gives a casual feel. Try this pose to match the look you want in the photo.
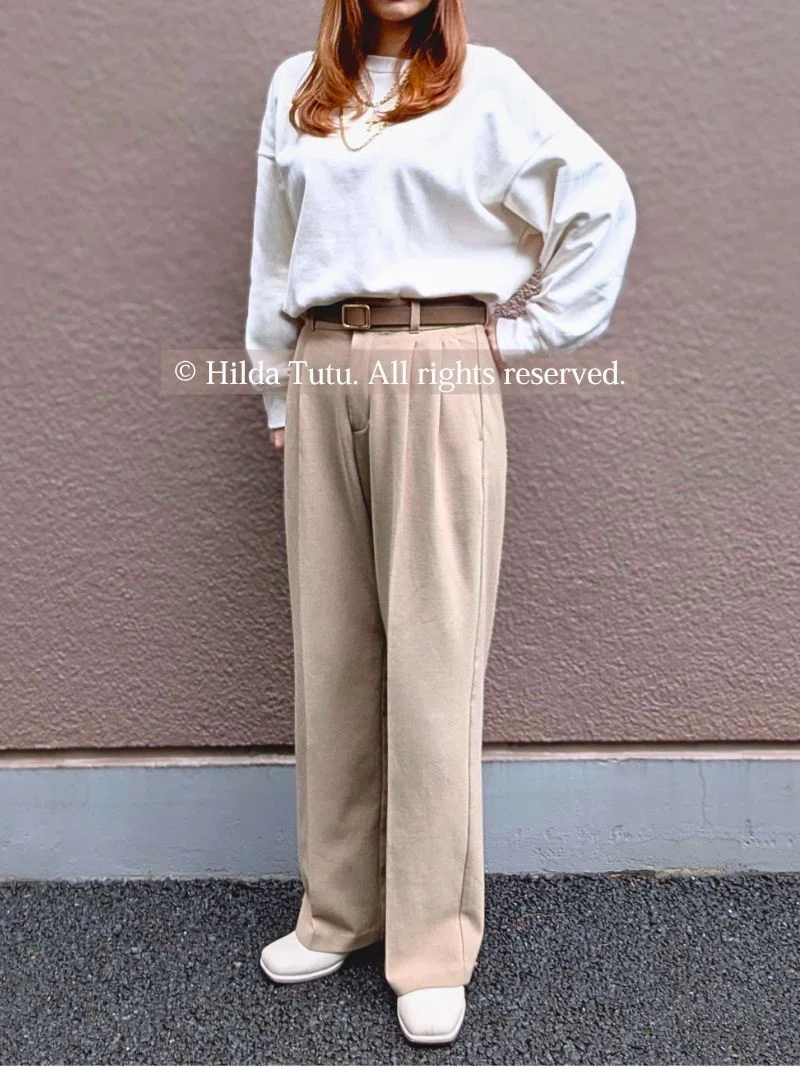
◆Shift your weight onto one leg
Stand with your feet about shoulder‑width apart and shift your weight onto one leg. Angle the toes of your other foot slightly to the side and you’ll get the "classic fashion‑snap pose."
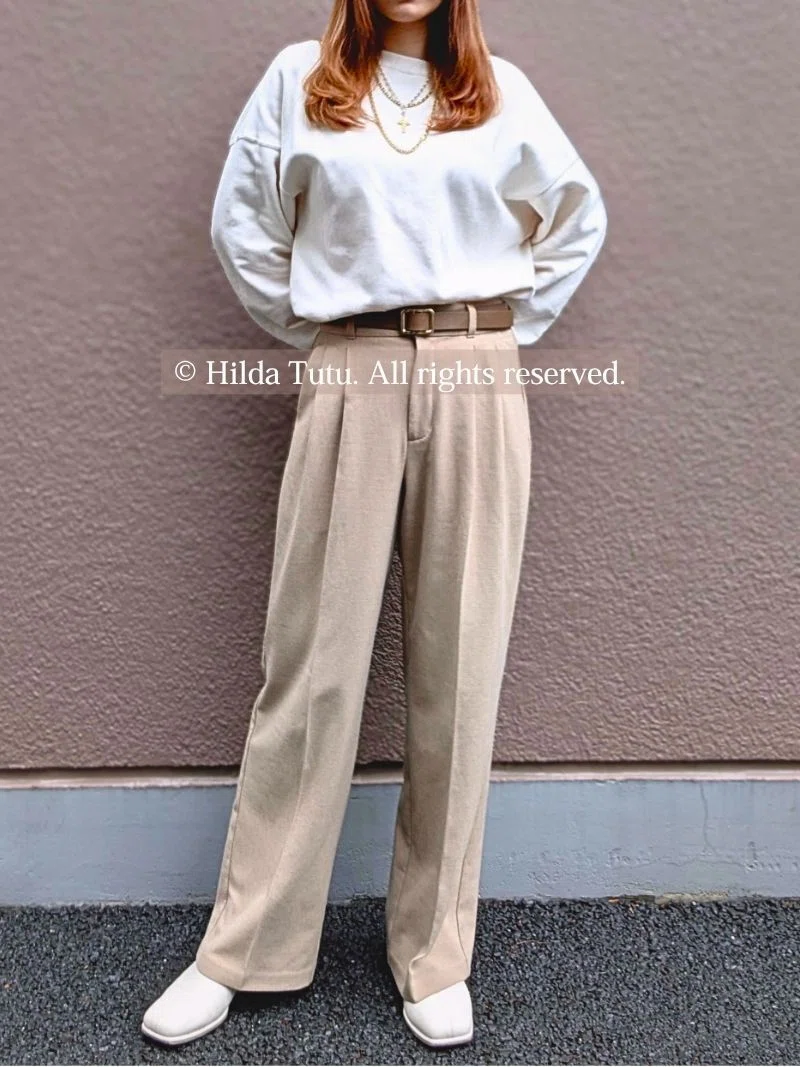
〈Key point〉
Poses come in many variations. When you’re just starting out, it’s difficult to master them all, so use the two guidelines below as your reference.
・Try taking photos with simple poses based on the "lower‑body (leg) movements" shown earlier.
・For each photo session, aim for about "two to three variations" of posing. Of course, doing just one is fine. Add more only after you feel comfortable.
*As mentioned earlier, if you don't want your face shown, be sure to try things like "turning your head to the side", "letting some hair fall across your face", or "holding a prop in front of your face".
(3) To close the gap between your image and the photos
When you actually start a photo session, it's common to think, "This isn't what I imagined." Getting a perfect shot on the first try is difficult. To narrow that gap, try the following.
①Brief check after each pose change
When you change poses or just before you move, briefly check the photos you’ve taken.
Check the two points below.
・Check that clothing, accessories, and props haven’t shifted.
・Check that the pose doesn’t look forced or overly effortful.
②Take multiple photos per pose
Take multiple photos of each pose. If you notice anything that concerns you later, you can compare them with the others and choose the best one.
4. In closing
Taking your own outfit photos can feel like something that looks doable, yet somehow never quite works out. That’s how it felt for me before, too. There are still moments of trial and error, but once the process begins, it can actually become enjoyable in its own way. Hold on to that feeling of wanting to give it a try.
In the next article, I’ll explain beginner-friendly retouching techniques to make your photos more appealing.
▷ Fashion & Retouching: Editing Basics for Outfit Photos ◁
▷ Upcoming Fashion Articles ◁
Also, on Instagram, I post photos of my outfits. I hope you find them useful as a reference.
▷ Here’s my Instagram (@hilda_tu.tu) ◁
*As for this account, you can find more details below.
▷ How It Differs from This Platform ◁
Psst―I’ll say this quietly…if you’d like to support me, comments, likes, or follows on Instagram really encourage me (haha).
▷ Profile ◁
▷ Fashion Writing ◁
▷ About “From My Closet To You” ◁
▷ List of Available Pieces(Stand-Alone Episodes) ◁
I’ll continue to offer this world of “fashion” and “words” to you.
See you again here!
― Hilda Tutu ―
© Hilda Tutu. All rights reserved.
Unauthorized reproduction, modification, or distribution is prohibited.
Contact ▷ Inquiries ◁
