A Test Suite in TestNG is a collection of test cases or test classes executed together using a testng.xml file. It helps organize and manage test execution efficiently in automation projects.
- Groups multiple test classes into a single suite.
- Executes tests in a structured and organized manner.
- Supports parallel execution and test grouping.
Steps to Create Test Suite in TestNG
Follow the steps below to create and configure a TestNG Test Suite for executing multiple test classes together.
Step 1. Setting Up TestNG Environment
Before creating a TestNG test suite, ensure that TestNG is properly configured in your project.
- In IntelliJ IDEA, TestNG support is available without additional setup.
- In Eclipse, install and configure the TestNG plugin before proceeding.
- Create a Maven project and add the required TestNG dependencies to manage libraries automatically.
Step 2. Create a new Maven Project
Create a new Maven project using your preferred IDE. Maven provides a standard project structure and a dedicated directory for test classes (src/test/java).
Step 3: Add TestNG Dependencies
Open the pom.xml file and add the required Selenium and TestNG dependencies. Maven will automatically download and manage the necessary libraries for test automation.
<dependencies>
    <dependency>
        <groupId>org.seleniumhq.selenium</groupId>
        <artifactId>selenium-java</artifactId>
        <version>4.18.1</version>
    </dependency>

    <dependency>
        <groupId>org.testng</groupId>
        <artifactId>testng</artifactId>
        <version>7.9.0</version>
        <scope>test</scope>
    </dependency>
</dependencies>
Step 4: Create Test Classes
Create test classes inside the src/test/java directory.
Package Structure Example:
src
└── test
└── java
└── com.geeksforgeeks.browsertests
├── TestClassA.java
└── TestClassB.java
Note: Use a reverse domain naming convention (e.g.,
com.geeksforgeeks) for package names. This is a standard Java practice that helps organize and manage test classes efficiently.
Step 5: Create Test Classes
TestClassA
import org.openqa.selenium.By;
import org.openqa.selenium.WebDriver;
import org.openqa.selenium.WebElement;
import org.openqa.selenium.chrome.ChromeDriver;
import org.testng.annotations.AfterClass;
import org.testng.annotations.BeforeClass;
import org.testng.annotations.Test;

import java.time.Duration;

public class TestClassA {
    private WebDriver driver;
    private WebElement searchBar;
    String searchBarXpath="//*[@id=\"RA-root\"]/div/div[1]/div[1]/div[2]/span/span/span[1]/input";
    String searchButtonXpath="//*[@id=\"RA-root\"]/div/div[1]/div[1]/div[2]/span/span/span[2]/button";

    @BeforeClass
    public void setUp() {
        driver=new ChromeDriver();
        driver.get("https://www.geeksforgeeks.org/");
        driver.manage().timeouts().implicitlyWait(Duration.ofSeconds(3));
        searchBar=driver.findElement(By.xpath(searchBarXpath));
    }

    @Test(groups = {"page-search"})
    public void testWebPageSearch() {
        searchBar.sendKeys("TestNG and Selenium");
        driver.findElement(By.xpath(searchButtonXpath)).click();
    }

    @AfterClass
    public void tearDown() {
        driver.quit();
    }
}
TestClassB
import org.openqa.selenium.By;
import org.openqa.selenium.Keys;
import org.openqa.selenium.WebDriver;
import org.openqa.selenium.WebElement;
import org.openqa.selenium.chrome.ChromeDriver;
import org.testng.annotations.AfterClass;
import org.testng.annotations.BeforeClass;
import org.testng.annotations.Test;

import java.time.Duration;

public class TestClassB {
    private WebDriver driver;
    private WebElement searchIcon;
    private WebElement searchBar;
    String navSearchIconXpath="//*[@id=\"gcse-form\"]/button/i";
    String navSearchBarXpath="//*[@id=\"gcse-search-input\"]";

    @BeforeClass
    public void setUp() {
        driver=new ChromeDriver();
        driver.get("https://www.geeksforgeeks.org/");
        driver.manage().timeouts().implicitlyWait(Duration.ofSeconds(3));
        searchIcon= driver.findElement(By.xpath(navSearchIconXpath));
        searchIcon.click();
    }

    @Test(groups = {"nav-search"})
    public void testNavBarSearch() {
        searchBar=driver.findElement(By.xpath(navSearchBarXpath));
        searchBar.sendKeys("TestNG and Selenium");
        searchBar.sendKeys(Keys.ENTER);
    }

    @AfterClass
    public void tearDown() {
        driver.quit();
    }
}
Step 6: Organize Test Classes into Packages
Place all test classes inside an appropriate package, such as:
com.geeksforgeeks.browsertests
Benefits of proper package organization:
- Improves project maintainability.
- Helps TestNG locate test classes easily.
- Simplifies test suite management.

Step 7: Create the TestNG XML File
Create a file named testng.xml in the root directory of the project. This file defines the test suite and the test classes to be executed.
<!DOCTYPE suite SYSTEM "https://testng.org/testng-1.0.dtd">
<suite name="Search Suite">
<test name="Browser Search Tests">
<classes>
<class name="com.geeksforgeeks.browsertests.TestClassA"/>
<class name="com.geeksforgeeks.browsertests.TestClassB"/>
</classes>
</test>
</suite>
Understanding TestNG XML Configuration
Introduction to testng.xml
The testng.xml file is the configuration file used by TestNG to define and control the execution of test suites. It allows multiple test classes and test methods to be executed together without running each class individually.
Structure of a TestNG XML File
A typical testng.xml file contains the following elements:
<suite name="RegressionSuite">
    <test name="Functionality Test">
        <classes>
            <class name="com.example.tests.SearchTest">
                <methods>
                    <include name="searchByProduct"/>
                    <exclude name="searchByCategory"/>
                </methods>
            </class>
        </classes>
    </test>
</suite>
Defining Test Suite, Test, and Test Classes in XML File
- Test Suite: The
<suite>tag is the root element of thetestng.xmlfile. It represents the entire test suite and contains one or more<test>tags. - Test Tag: The
<test>tag is defined inside the<suite>tag and represents a group of related test classes. A test suite can contain multiple<test>tags. - Test Classes (
<classes>and<class>): The<classes>tag is defined inside a<test>tag and contains one or more<class>tags. Each<class>tag specifies a test class that will be executed as part of the test. The classes do not need to be related to the name of the parent<test>tag; the name is simply used for identification and reporting.
Creating Test Suites Using TestNG XML
Guide to Creating a Basic Test Suite
A TestNG test suite is defined using a testng.xml file. The root element of this file is the <suite> tag, which represents the entire test suite and contains one or more <test> tags.
Example:
<suite name="Regression Suite">
<test></test><test></test>
</suite>
The name attribute helps identify the test suite and should be meaningful and descriptive.
Adding Test Groups
Inside the <suite> tag, you can define multiple <test> tags. Each <test> tag represents a logical group of test classes.
Example:
<suite name="Regression Suite">
<test name="Functionality Tests">
</test><test name="UI Tests">
</test>
</suite>
Using clear and descriptive names improves the readability and maintainability of the test suite.
Including Test Classes
Each <test> tag contains a <classes> section, which specifies the test classes to be executed.
Example:
<classes>
<class name="com.example.tests.ScrollTest"/>
<class name="com.example.tests.NightModeTest"/>
</classes>
In this example, both test classes will be executed as part of the test group.
Including and Excluding Test Methods
The <methods> tag is optional and can be used to execute specific test methods within a class.
Example:
<class name="com.example.tests.SearchTest">
<methods>
<include name="searchByProduct"/>
<exclude name="searchByCategory"/>
</methods>
</class>
Here:
searchByProduct()will be executed.searchByCategory()will be skipped.
If the <methods> tag is omitted, TestNG executes all test methods in the class by default.
Parameterizing Test Suites
TestNG supports parameterization, allowing the same test to run with different input values. This helps improve test coverage and reduce code duplication.
Example:
<suite name="Regression Suite">
<parameter name="browser" value="chrome"/><test name="Search Tests">
...
</test>
</suite>
Complete TestNG XML Example
The following testng.xml file creates a test suite that executes selected methods from two test classes:
<!DOCTYPE suite SYSTEM "https://testng.org/testng-1.0.dtd">

<suite name="Regression Test Suite">
    <test name="Search Tests">
        <classes>
            <class name="com.geeksforgeeks.browsertests.TestClassA">
                <methods>
                    <include name="testWebPageSearch"/>
                </methods>
            </class>

            <class name="com.geeksforgeeks.browsertests.TestClassB">
                <methods>
                    <include name="testNavBarSearch"/>
                </methods>
            </class>
        </classes>
    </test>
</suite>
This configuration executes only:
testWebPageSearch()fromTestClassAtestNavBarSearch()fromTestClassB
while excluding any other test methods present in those classes.
Running Test Suites
Running Test Suites From IDE
To run the test suite from your IDE, right click on the testng.xml file in the side navigation bar. Then click on the option 'Run testng.xml' to run your suite:

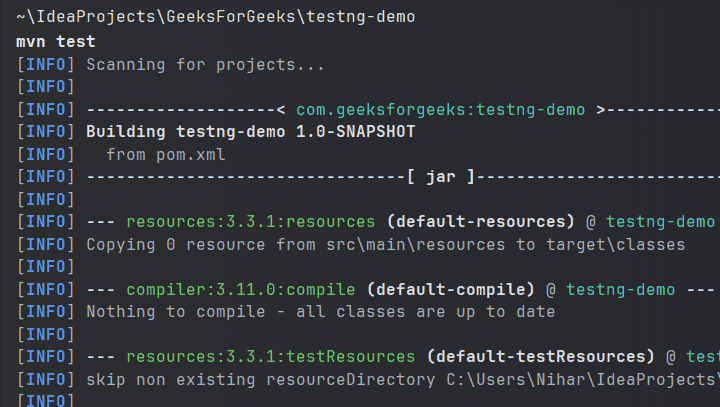
Running test suites from command line
To run test suites from command line, navigate to the root directory of your project in the terminal and type:
mvn test
This will automatically compile tests as:
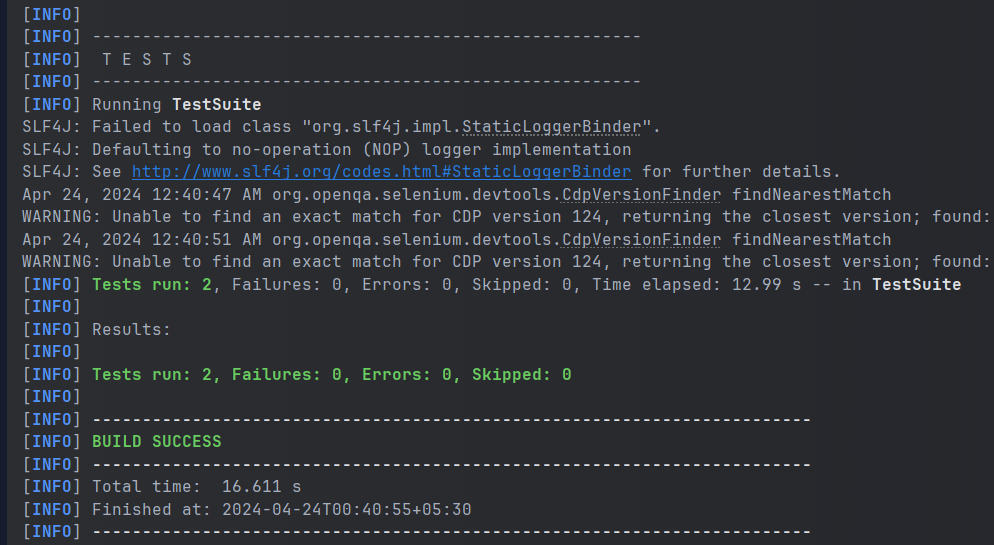
Then the testng.xml file will be automatically run as:
Finally you will see the following result logged on the console as:
Configuring Test Suite Execution Options
TestNG provides several configuration options to control how test suites are executed. Two commonly used options are Thread Count and Parallel Execution.
Thread Count
The thread-count attribute specifies the maximum number of threads that TestNG can use during test execution. Increasing the thread count can help reduce execution time when running tests in parallel.
Example:
<suite name="MySuite" thread-count="10">
  </suite>
In this example, TestNG can use up to 10 threads to execute tests.
Parallel Execution
TestNG supports parallel execution, allowing multiple tests, classes, or methods to run simultaneously. This feature helps improve execution speed, especially for large test suites.
Example:
<suite name="MySuite" parallel="classes" thread-count="5">
</suite>
Here:
parallel="classes"executes test classes in parallel.thread-count="5"allows up to five threads to run concurrently.
Common Parallel Modes:
methods:Runs test methods in parallel.classes:Runs test classes in parallel.tests:Runs<test>tags in parallel.instances:Runs test instances in parallel.
Using parallel execution can significantly reduce the overall test execution time.
